Greek yogurt is a creamy, tangy treat that can be enjoyed in a variety of ways. Whether you enjoy it with fresh fruit, granola, or simply on its own, making your own homemade Greek yogurt can be a rewarding and cost-effective endeavor. Not only is homemade yogurt fresher and free from unnecessary additives, but you can also customize it to your taste. In this guide, we’ll walk you through the process of making Greek yogurt from scratch, along with tips for achieving that signature creamy texture.
I used to like yogurt until I tried Greek yogurt. Now, I’m spoiled and that’s all I crave. Add some berries, some homemade granola, cinnamon and honey and you have a wonderfully yummy, quick and healthy snack. I crave this over sweets, which is a really good thing because I could stand to lose a few pounds…(at least!) My first attempts were, well…less than stellar. Okay, they were completely runny fails. I tried it in the slow cooker, and although there are people out there that do this with great success, I was not one of them.
The first successful method I had was with a large Igloo cooler. The ones with a spout that hold several gallons. This provided enough insulation to maintain the temperature that conventiotal-thinking says is required. I found this out by accident. I made a batch and forget to put it away and the next morning, I had yogurt. It was great yogurt!
After that, everything changed. It no longer felt like a science experiment, but a simple process that I enjoyed and could quickly whip up in a few minutes…well, minus the incubation time. I’ve not found a way around that. I literally just warm the milk to temp. Some say holding at a higher temp is better, and it may be, but I have not found it necessary.
My experience with incubation is to let the yogurt sit longer. Instead of 3-4 hours, I turn the light on in my oven and set the jars in there until the next afternoon. That’s it. Perfect yogurt every time. If you can wait, give it another few days in the fridge. This allows further fermentation to create a more potent starter for your next batch. I usually make a few jars. I like to use the first jar while allowing the others to sit a bit longer before straining. It is glorious. It’s a simple process and comes out perfect every time. Effortless. This busy mom loves that!
This post contains affiliate links, including Amazon links. As an Amazon Associate, I earn from qualifying purchases. This means I may earn a small commission at no extra cost to you. See full disclosure here
Why Make Homemade Greek Yogurt?
Before we dive into the recipe, let’s talk about why making your own Greek yogurt is worth the effort. Here are a few key benefits:
- Better Quality: You control the ingredients, so you can ensure you’re using high-quality milk and probiotics.
- Customization: You can adjust the thickness, sweetness, and flavor to suit your preferences.
- Cost-Effective: Homemade yogurt is generally much cheaper than store-bought varieties, especially if you’re making it regularly.
- No Unnecessary Additives: Many store-bought yogurts contain preservatives, stabilizers, and artificial sweeteners. When you make your own, you know exactly what’s in it.
Ingredients You’ll Need
To make homemade Greek yogurt, you’ll need only a few basic ingredients:
- Milk: You can use any kind of milk—whole, 2%, or even non-dairy options like almond or soy milk. Whole milk will yield the creamiest yogurt.
- Greek Yogurt Starter: Greek yogurt itself contains live cultures that help ferment the milk. If you don’t have Greek yogurt on hand, you can use a commercial yogurt starter.
- Sweetener (optional): Depending on your preference, you can add a little sugar or honey, though it’s optional.
Equipment You’ll Need
- Heavy-bottomed saucepan: For heating the milk.
- Thermometer: To ensure the milk reaches the right temperature. I really like this one. It has a pot clip to keep it in place, a digital readout and a backlight.
- Whisk: For stirring the milk.
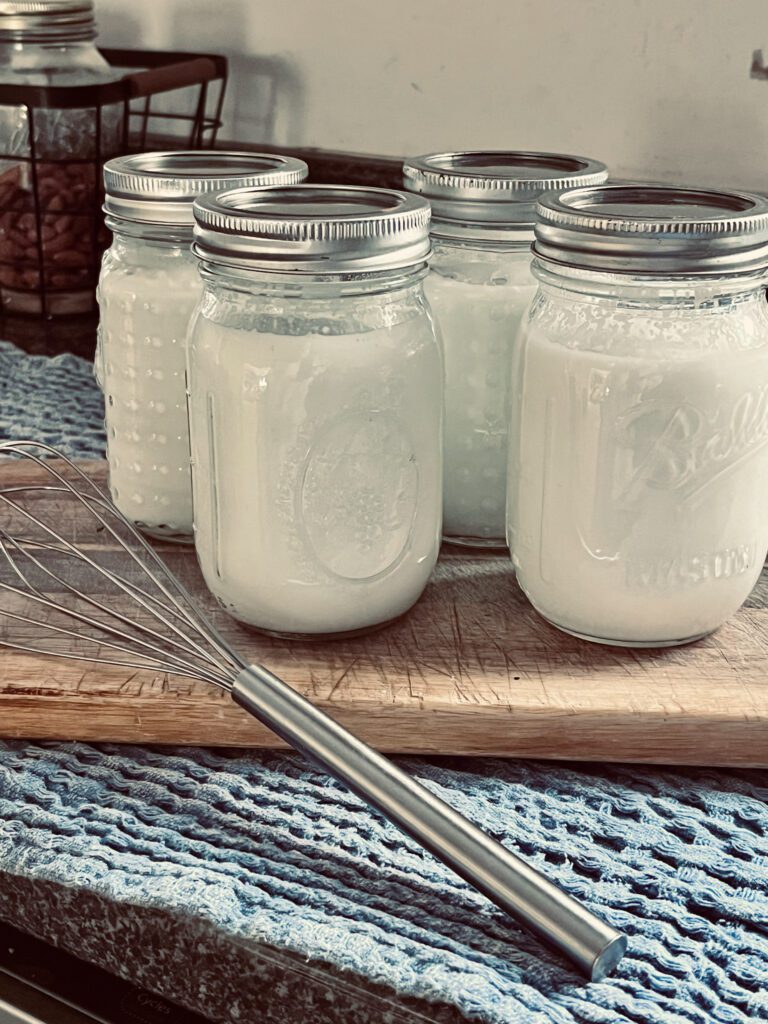
- Glass jars or containers: For culturing the yogurt. I find these canning jars with the wider mouth easier to use.
- Towel or blanket: To keep the yogurt warm while it ferments.

Homemade Greek Yogurt
Instructions
- Heat the Milk
- Start by pouring the milk into a heavy-bottomed saucepan. Heat the milk over medium heat, stirring occasionally to prevent it from scorching. Use a thermometer to monitor the temperature. When the milk reaches about 180°F (82°C), remove it from the heat. This step helps to denature the proteins in the milk, which will result in a smoother texture.
- Cool the Milk
- After the milk has been heated, let it cool down to around 110°F (43°C). This is the ideal temperature for adding the yogurt starter, as it’s warm enough to activate the cultures but not so hot that it will kill them. You can speed up the cooling process by placing the pan in a cold water bath, making sure no water gets into the milk.
- Add the Yogurt Starter
- Once the milk has cooled to the correct temperature, whisk in your yogurt starter. If you’re using store-bought Greek yogurt, take about 2 tablespoons of plain yogurt (with live cultures) and mix it with a small amount of the cooled milk to create a smooth paste. Then, whisk that paste back into the rest of the milk. This ensures an even distribution of cultures throughout the milk.
- Culture the Yogurt
- Now it’s time to let the yogurt culture. Pour the milk mixture into your glass jars or containers and cover them with a lid or plastic wrap. To maintain the proper temperature for fermentation, you can place the jars in an insulated cooler, a warm oven (with the light on), or use a yogurt maker. The yogurt needs to stay warm for 6 to 12 hours while it ferments. The longer it sits, the thicker and tangier it will become.
- Check the yogurt at the 6-hour mark. If it’s not thick enough or tangy enough for your taste, let it sit longer. The ideal temperature for fermentation is around 100°F (38°C), so you may need to adjust based on the method you’re using.
- Refrigerate the Yogurt
- Once your yogurt has reached the desired thickness and tanginess, it’s time to stop the fermentation process. Remove the jars from the warm environment and place them in the refrigerator. Let the yogurt chill for at least 2 hours to allow it to set fully.
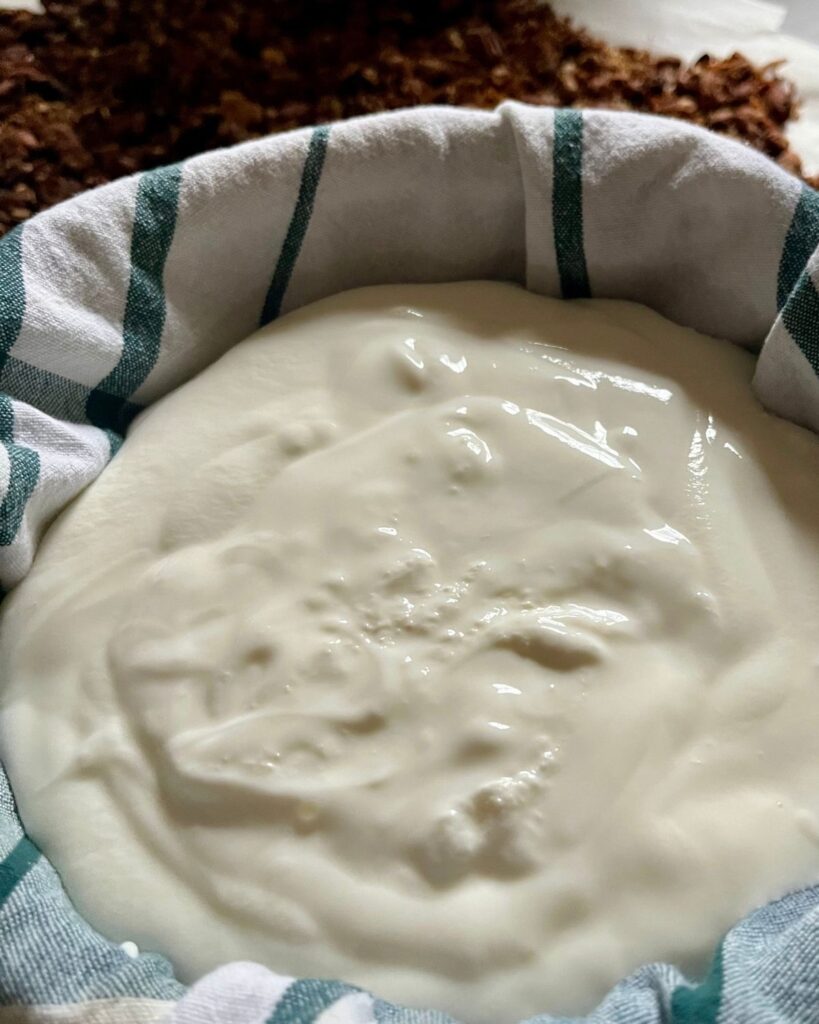
- Strain the Yogurt for Greek Yogurt
- If you prefer the thick, creamy texture of Greek yogurt, you’ll need to strain the yogurt to remove excess whey. Place a fine-mesh strainer or cheesecloth over a bowl and pour the yogurt into it. Let it drain for about 1 to 2 hours, depending on how thick you want your yogurt. The longer it drains, the thicker the yogurt will be. You can save the whey for use in smoothies, baking, or as a base for soups.
- Serve and Enjoy!
- Once your yogurt is strained to your liking, it’s ready to enjoy. You can serve it plain, or top it with your favorite fruits, nuts, honey, or granola. Homemade Greek yogurt is perfect for breakfast, snacks, or as a healthy addition to smoothies and recipes.
Tips for Perfect Homemade Greek Yogurt
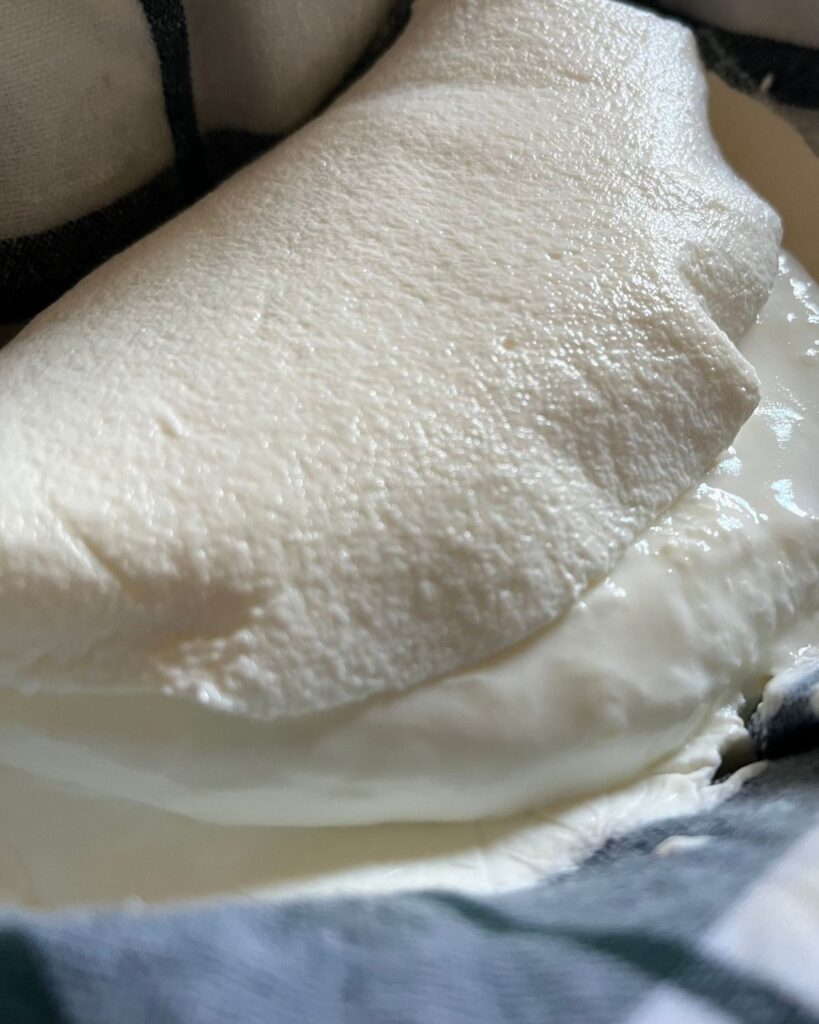
Let it sit until you can “fold” it over on itself.
You can let it sit longer or enjoy your yogurt right away.
- Start with Quality Milk: The quality of your milk directly affects the quality of your yogurt. Opt for organic, hormone-free milk for the best results.
- Keep the Yogurt Warm: Maintaining a consistent, warm temperature during the fermentation process is crucial. If you don’t have a yogurt maker, try using a warm oven or insulated cooler.
- Experiment with Sweetness: Some people prefer their yogurt on the tangier side, while others like it a little sweeter. Feel free to adjust the sweetness by adding honey, maple syrup, or your favorite sweetener.
- Use it in Recipes: Homemade Greek yogurt can be used in a variety of recipes, from baking to savory dishes. Try substituting it for sour cream or mayonnaise in dips and dressings.
Troubleshooting Common Problems
- Yogurt Is Too Thin: If your yogurt didn’t thicken up as expected, it may have been due to the milk not being heated to 180°F or the culture not being added properly. Try fermenting the yogurt for a longer period next time.
- Yogurt Is Too Sour: If your yogurt is too tangy, it likely fermented for too long. Reduce the fermentation time during your next batch.
- Yogurt Isn’t Setting: If the yogurt didn’t set at all, check the temperature of the milk before adding the starter and ensure your culture was still active.
Resources for Yogurt Making
If you’re interested in learning more about yogurt making or exploring different cultures and recipes, here are some great resources:
- The Kitchn – Homemade Yogurt Recipe: A step-by-step guide for making yogurt from scratch. Learn more here.
- Cultures for Health: A trusted source for yogurt starters and other fermentation tools. Explore their site here.
- Yogurt Maker: If you’re looking for a yogurt maker to make the process even easier, check out this guide. Shop Yogurt Makers here.
Wrapping Up
Making homemade Greek yogurt is a simple and satisfying process that yields delicious results. With just a few basic ingredients and some patience, you can enjoy fresh, creamy yogurt at home. Whether you’re eating it for breakfast, as a snack, or incorporating it into recipes, homemade Greek yogurt is versatile, nutritious, and rewarding to make.
Other Delicious Recipes From the Homestead:
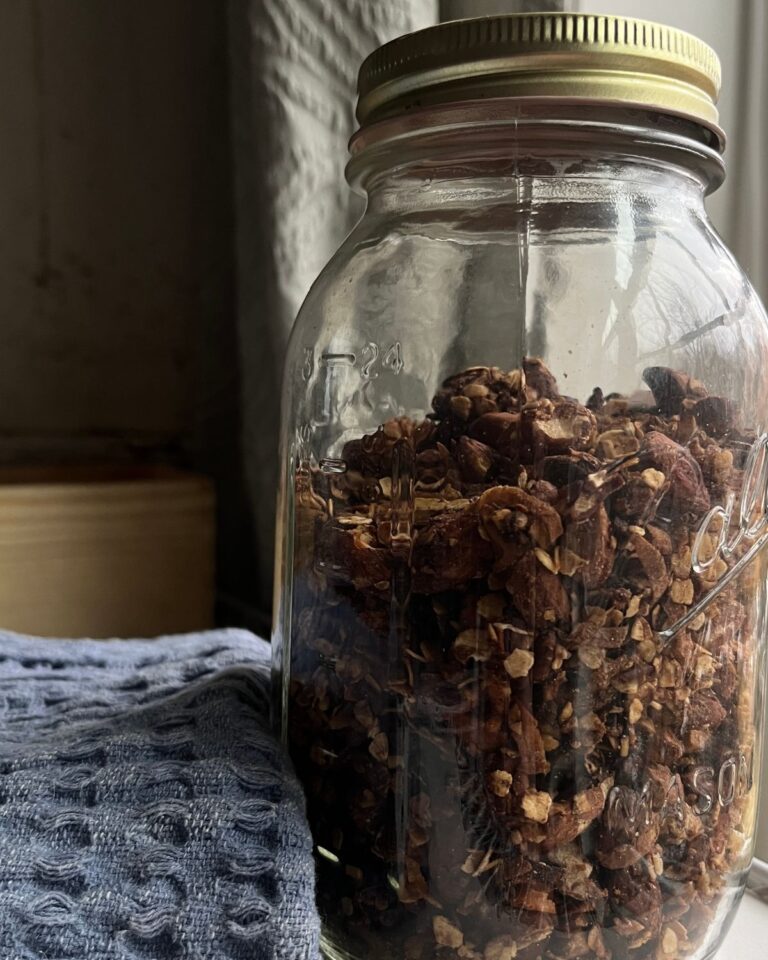
Homemade Granola Recipe: Irresistibly Delicious, Surprisingly Easy, and Perfect for Every Morning!
It can be addicting. Consider yourself warned. I’d love to see it when you finally make it. Good luck!♥
Heidi – Cook time depends on the types of oils and the temperature of the lye and oils when you…
I’ve made cold process soap for years but have never tried hot process. I want to though so maybe I…
This sounds like a great way to make soap! I do have a question, how long does the cooking process…

Leave a Reply