Learn how to easily start seeds indoors with this simple method perfect for beginners. All you need is a few items that you already have around the house, some time, and patience. Starting seeds indoors can feel intimidating, but with a little preparation, it’s simpler than you might think.
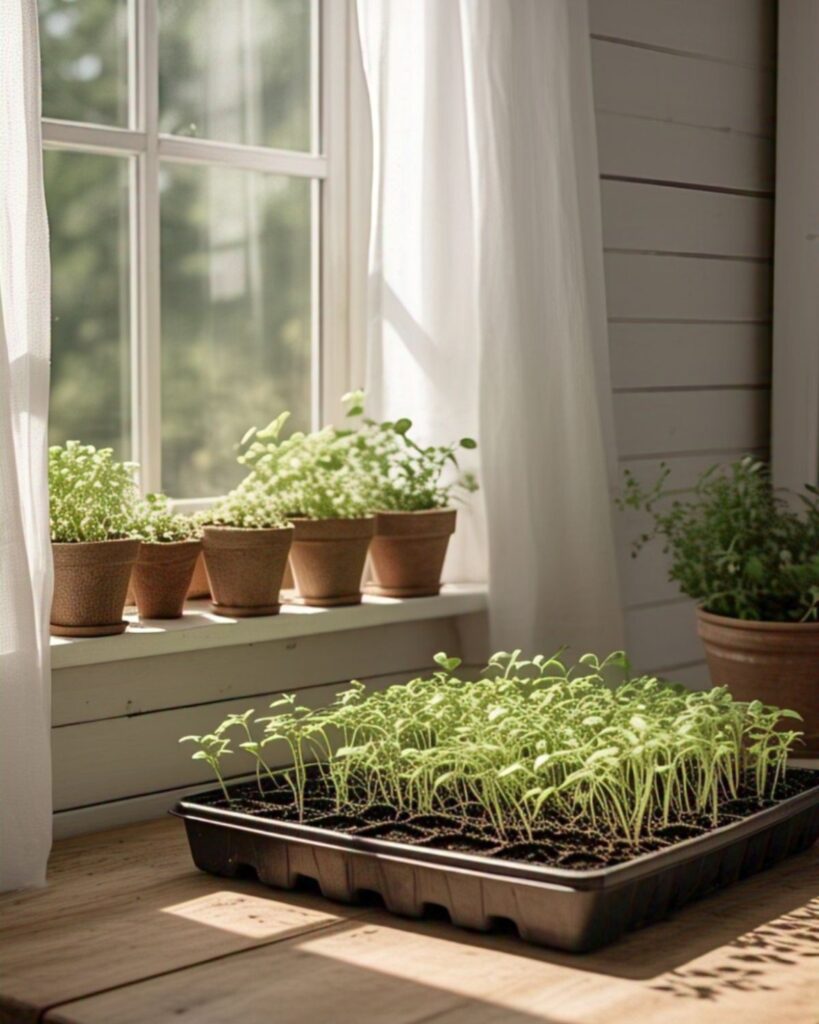
I love a festive snow between Thanksgiving and New Year’s day. On January 2nd, I’m longing for the green shoots of spring. My solution; Start seeds. It’s like an indoor winter garden on my window sill. I live in zone 7 and here, we can start things like peas, spinach, lettuce and onions pretty early. I take full advantage of this.

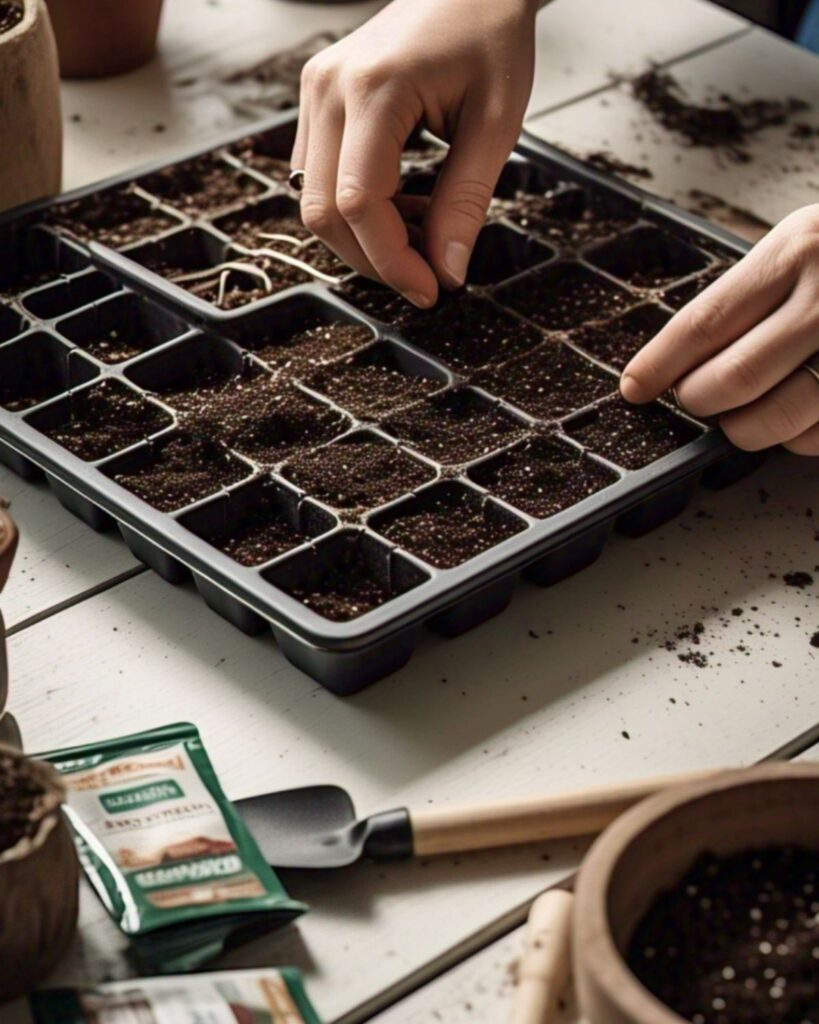
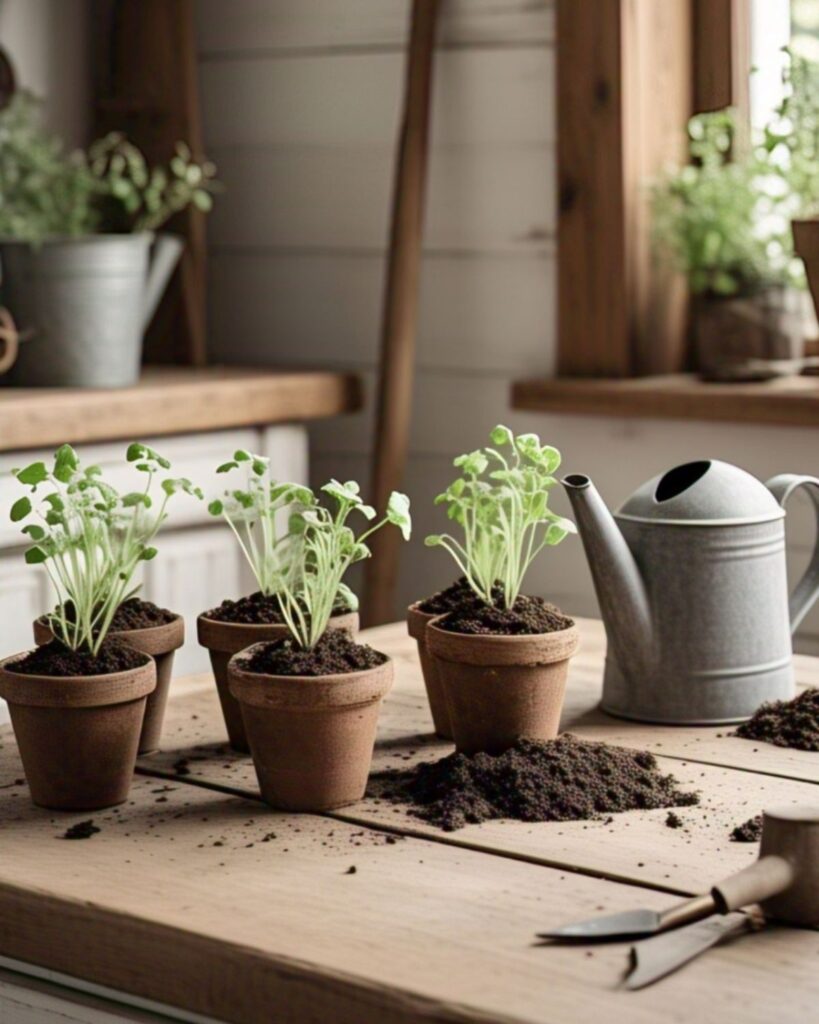
The easiest way is to use seed trays or containers with drainage holes filled with quality seed-starting mix. Unlike garden soil, seed-starting mix is lightweight, sterile, and ensures good drainage—all critical for seed germination.
Begin by filling your containers with the mix, leaving about half an inch of space at the top. Moisten the soil with water until it’s damp but not soggy. I find a spray bottle does the trick nicely without disturbing newly planted seeds. Plant seeds at the depth recommended on the seed packet. A general rule is about 1-1/2 the depth of the seed. For tiny seeds, just scatter them over the surface and press them into the soil. For the rest, cover them lightly with soil and mist the top to keep it moist. Place the containers in a warm dark spot, like the top of a refrigerator or a sunny window with plastic wrap or something covering them to maintain the humidity, which also requires less watering (I tend to forget so this is perfect for me), until they sprout.
Once the seeds germinate, move them to a sunny window or under grow lights to prevent leggy growth. Keep the soil moist, but be careful not to overwater. Label each container with the seed type and date for easy identification. If you’re short on space, consider stacking trays with a heat mat underneath to encourage quicker germination. I finally broke down and bought a heat mat last year for under $20, but it can be done without. I’ve done it that way for years.
Should I Soak Seeds Before Planting?
Soaking seeds before planting can speed up germination and improve success rates. Seeds with hard shells, such as beans, peas, and squash, benefit most from soaking. To soak, place seeds in a bowl of room-temperature water for 12-24 hours before planting. Avoid soaking them longer or they could rot.
However, not all seeds should be soaked. Tiny seeds like lettuce, basil, or snapdragons have delicate coatings that don’t require pre-soaking. If you’re unsure, consult the seed packet instructions or you may have to do a little research on that specific plant. Proper seed preparation is a critical first step toward healthy seedlings!

What Month Is the Best to Start Seeds Indoors?
Timing is everything when it comes to starting seeds indoors. The best month depends on your growing zone and the type of plants you’re growing. For most vegetables, starting seeds 6-8 weeks before the last frost date in your area is ideal.
Keep in mind that some plants, like root vegetables, prefer direct sowing outdoors and shouldn’t be started indoors. Timing your indoor seed-starting ensures strong seedlings ready for transplanting when the weather warms. I start some onions by seed and some by “sets” (young onions). If you get these just pop them into the fridge until ready to plant so they don’t begin to germinate too early. I learned this the hard way.
How to Use Toilet Paper Rolls for Seedlings?
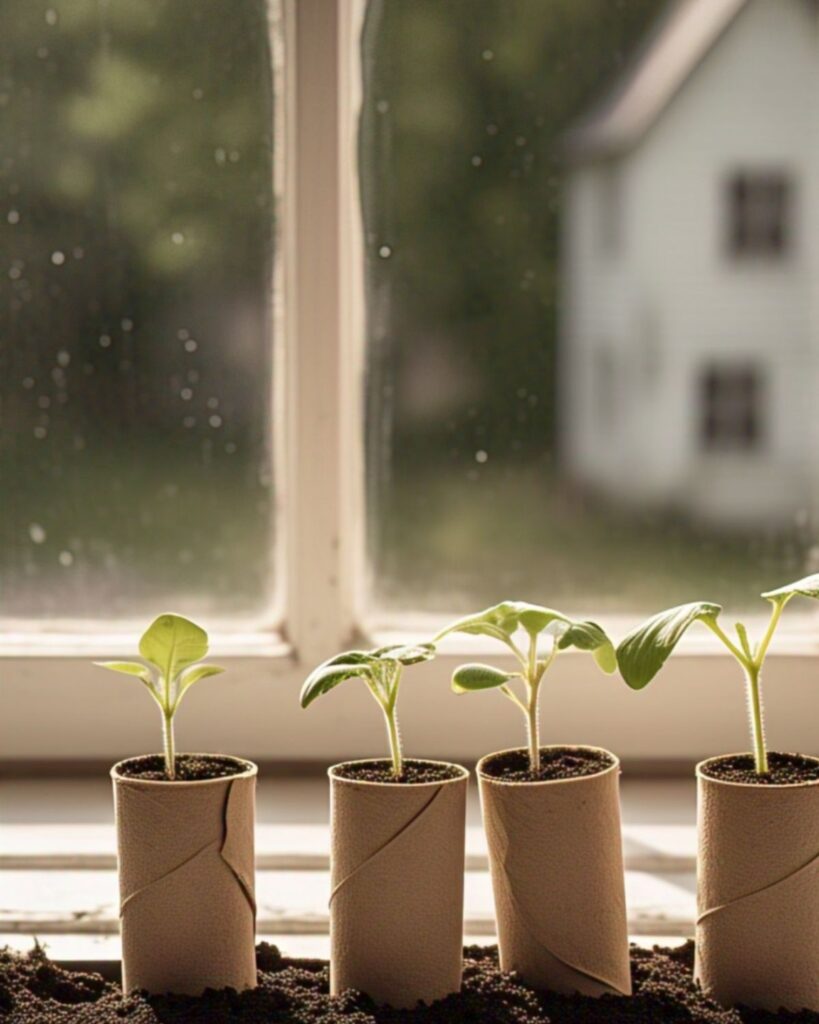
Toilet paper rolls are a resourceful and inexpensive option for starting seeds indoors. It’s also a great project for kids on snowy afternoons. To make seedling pots, cut each roll in half and place them upright in a shallow tray. Fill each roll with seed-starting mix, leaving a small gap at the top.
Plant your seeds as usual and water gently. The rolls will absorb water, so you’ll need to keep the tray moist. Once your seedlings are ready to transplant, plant the entire roll into the soil. The cardboard decomposes, enriching the soil and preventing root disturbance.
This method is especially useful for plants with sensitive roots, like cucumbers and squash. It’s a great way to repurpose household items while promoting healthy seedlings.
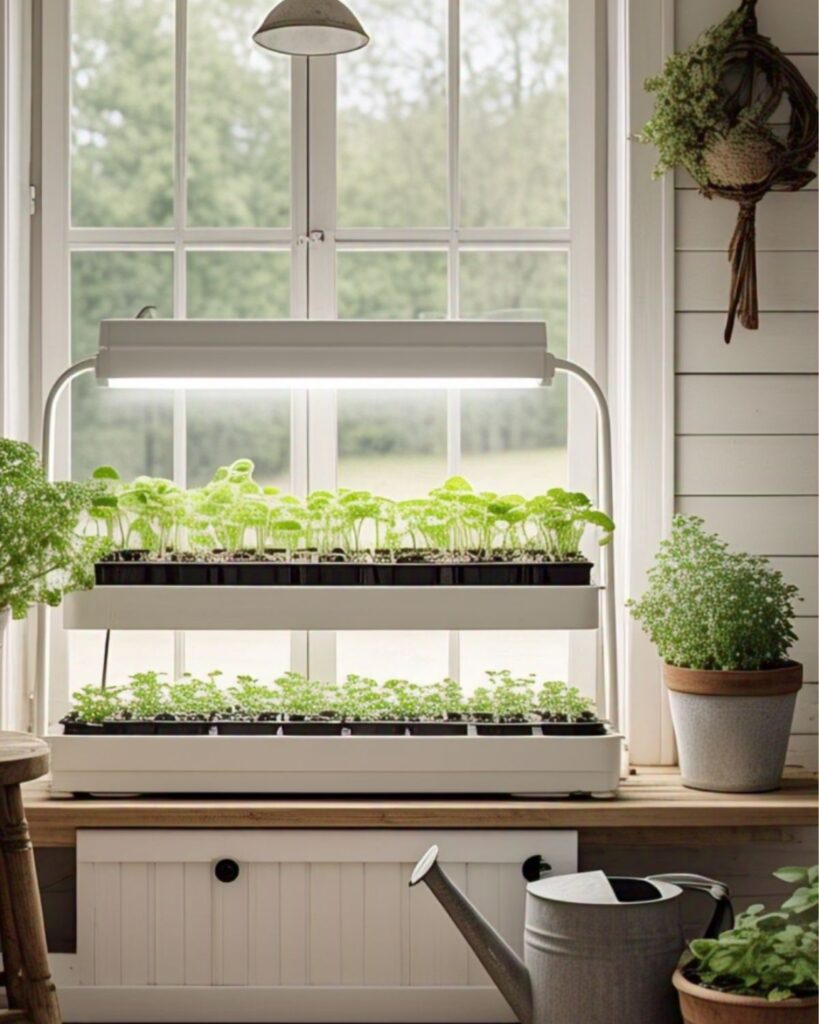
How to Start Seeds Indoors Without a Grow Light?
If you don’t have a grow light, don’t worry—you can still successfully start seeds indoors. Place your seedlings in a south-facing window that receives 6-8 hours of sunlight daily. Rotate the containers every few days to ensure even growth.
If natural light is limited, consider using inexpensive alternatives like desk lamps with LED daylight bulbs. Position the bulbs 2-3 inches above the seedlings to mimic sunlight. Keep an eye on soil moisture, as sunny windows can dry out the soil faster.
Reflective surfaces like aluminum foil or an unused mirror behind the seedlings can also help direct light toward them, ensuring they grow strong and healthy without a grow light.
How to Start Seeds Indoors with Paper Towel?
The paper towel method is a great option for testing seed viability or starting seeds indoors that can be stubborn. Seed packets will have a date on them. This is required, but does not mean that after a year they are no good. Seeds kept dry and cool will last for years generally. The viabilaty may decline as they age, but I’ve has seeds that were 5+ years old germinate. This is a great way to test them. Begin by dampening a paper towel and spreading your seeds on one half. Fold the other half over to cover them, and place the towel inside a plastic bag or container to retain moisture. Store it in a warm spot, like on top of the fridge.
Check daily for signs of germination. Once the seeds sprout, gently transfer them to seed-starting mix, being careful not to damage the roots. This method is especially useful for seeds that are slow to germinate, like peppers or tomatoes.
How to Start Seeds Indoors in an Egg Carton?
Egg cartons are another budget-friendly, and my favorite option, to start seeds indoors. Use either cardboard or plastic egg cartons. For plastic cartons, be sure to add drainage holes. This can be done by heating up a thin metal object, such as an ice pick or needle, to easily puncture the bottom. Fill each cell with seed-starting mix and plant your seeds.
Place the carton on a tray to catch excess water and keep the soil moist. Once seedlings are ready to transplant, you can cut the cardboard cells apart and plant them directly in the ground, as the material will decompose. You can also transfer the seedlings to pots once they grow too big for the egg cavity.
Leave a Reply