In this tutorial, I will show you how to make rebatch soap smooth with some simple tricks I’ve learned through the years. This guide will walk you through the process step-by-step, helping you learn how to use less water, avoid air bubbles, and get creamy bars that are lovely enough to give as gifts or sell.

Rebatching is a great way to save soap scraps, fix a lye-heavy soap, or reuse old soap while creating a new, beautiful bar. But many soapmakers end up with chunky, rough rebatched soap that feels more like a brick than a luxurious bar. If you’re looking for an easy way to make rebatch soap smooth, stick around.
In a hurry? Pin it later!
What Is Rebatch Soap?
Rebatching is the process of taking cold process soap or soap scraps and melting them down using a crock pot, slow cooker, or double boiler, then reshaping them into a new loaf. Many soapmakers rebatch to:
- Save a lye-heavy soap that would otherwise be wasted.
- Create a new recipe using an existing soap base.
- Use up grated soap or scraps from beveling.
- Add essential oils or fragrance oils that would otherwise be damaged in the initial saponification.
While rebatching is an excellent way to save soap, it can often leave you with lumpy, rough bars. Let’s fix that!
Why Is Rebatch Soap Often Lumpy?
When you rebatch, you typically add distilled water or another liquid to soften the grated soap. If you add too much water, it can take forever to harden and may crumble or crack. If you add too little water, it may not melt enough to smooth out, resulting in chunky soap.
Additionally, rebatching does not fully melt the soap like making cold process soap from scratch. You are softening and swelling the soap, not liquefying it. That means the smoother your grated soap is to start with, the smoother your rebatch will turn out.
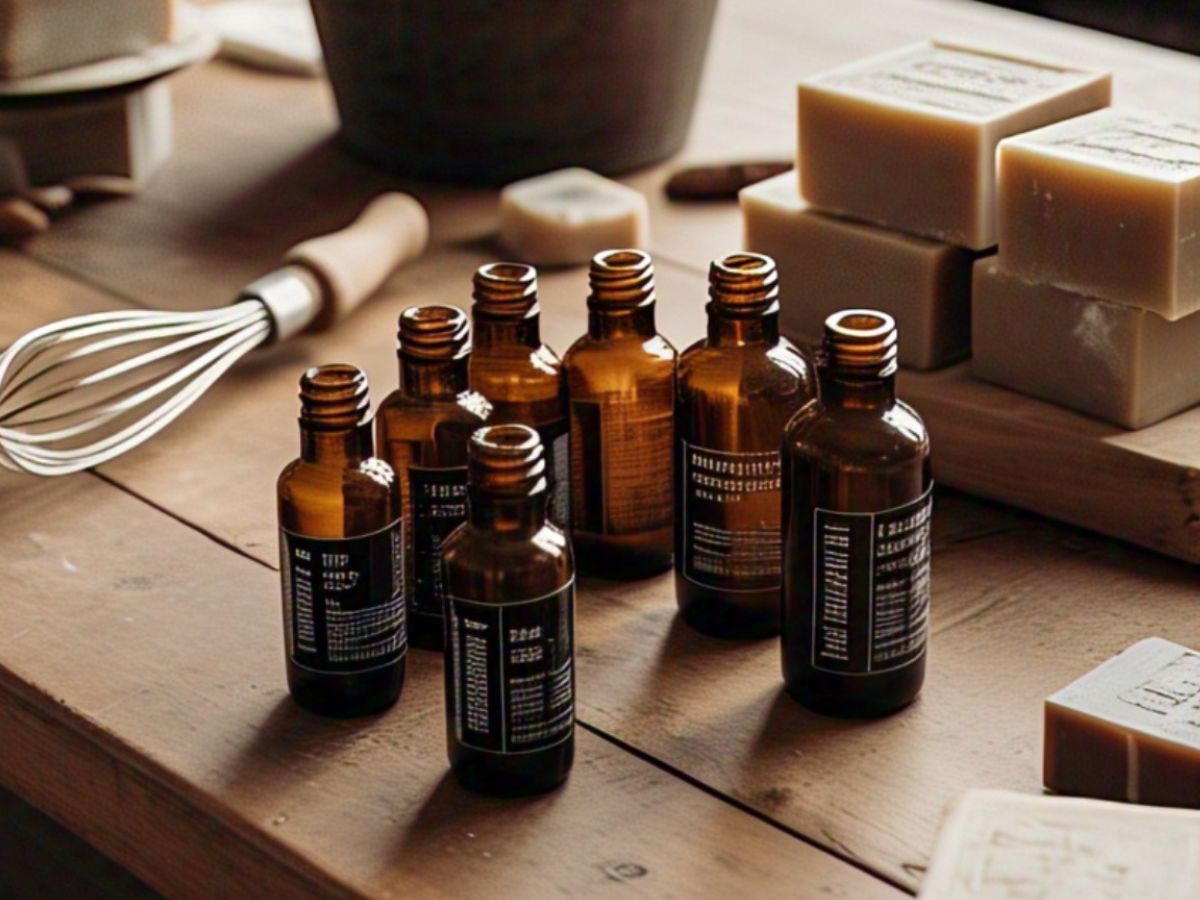
Ingredients and Tools for Smooth Rebatch Soap
Please keep soap making tools and equipment separate from cooking tools. These tools should be reserved exclusively for soap making.
- 1 pound of soap (cold process scraps, old soap, or rebatch soap base)
- Cheese grater or food processor for shredding
- Crock pot or slow cooker (you can also use a double boiler)
- Distilled water (start with small amounts, about 2-4 oz per pound)
- Goat milk, coconut milk or yogurt, about 2 to 4 oz.
- Essential oils or fragrance oil for scent (optional).
- Olive oil, coconut oil, or cocoa butter for extra conditioning (optional)
- Stick blender (optional, but highly recommended)
- Loaf mold or individual cavity molds
- Spatula or spoon for stirring
Step-by-Step: How to Make Rebatch Soap Smooth
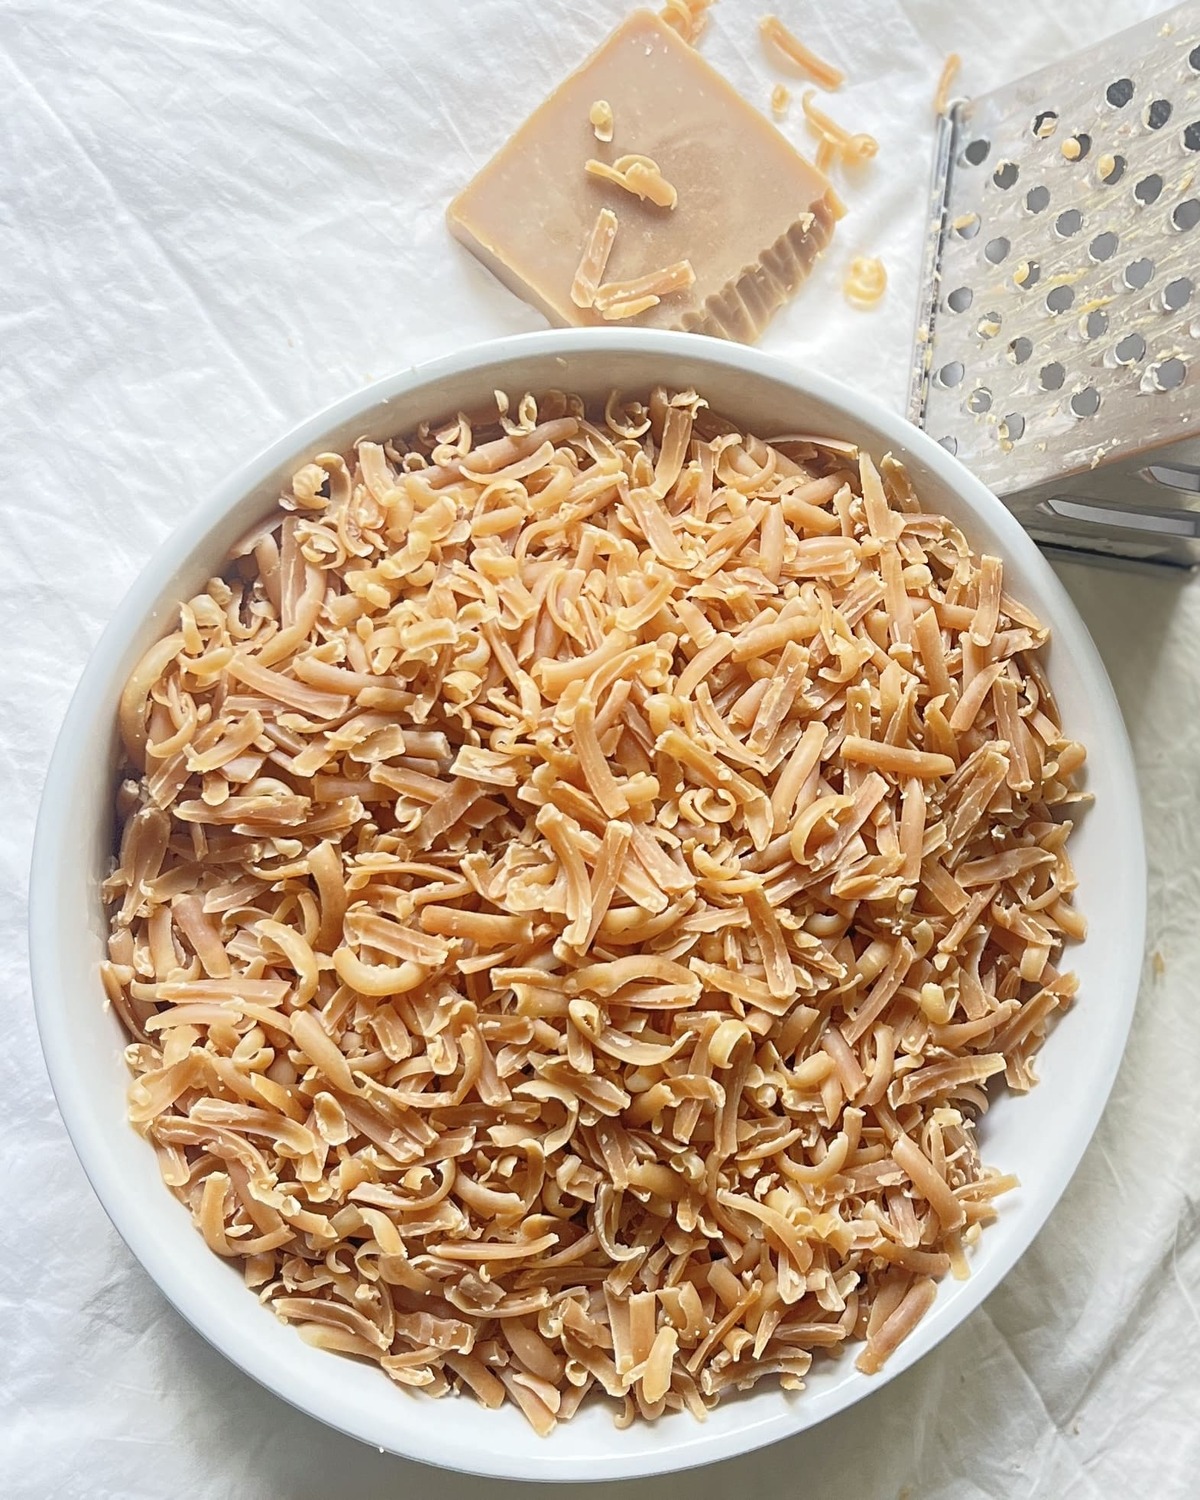
1. Grate Your Soap Finely
Using a cheese grater or a food processor, grate your soap scraps as finely as possible. Finer pieces soften more evenly, reducing lumps. If you use a food processor, you can pulse it until it resembles coarse rice.
2. Set Up Your Crock Pot or Double Boiler
Place your grated soap into your crock pot or slow cooker on low. If using a double boiler, ensure the water in the bottom pot is simmering but not boiling.

3. Add Small Amounts of Distilled Water
Start with about 2 oz of distilled water per pound of soap. You can add less water if your soap is freshly made and still contains much water or much liquid, or a little more if it’s very dry. It’s easier to add water later than to deal with soap that won’t harden. I heard a soap maker once say, think about adding dressing to your salad when thinking about how much liquid to add as a starting point.

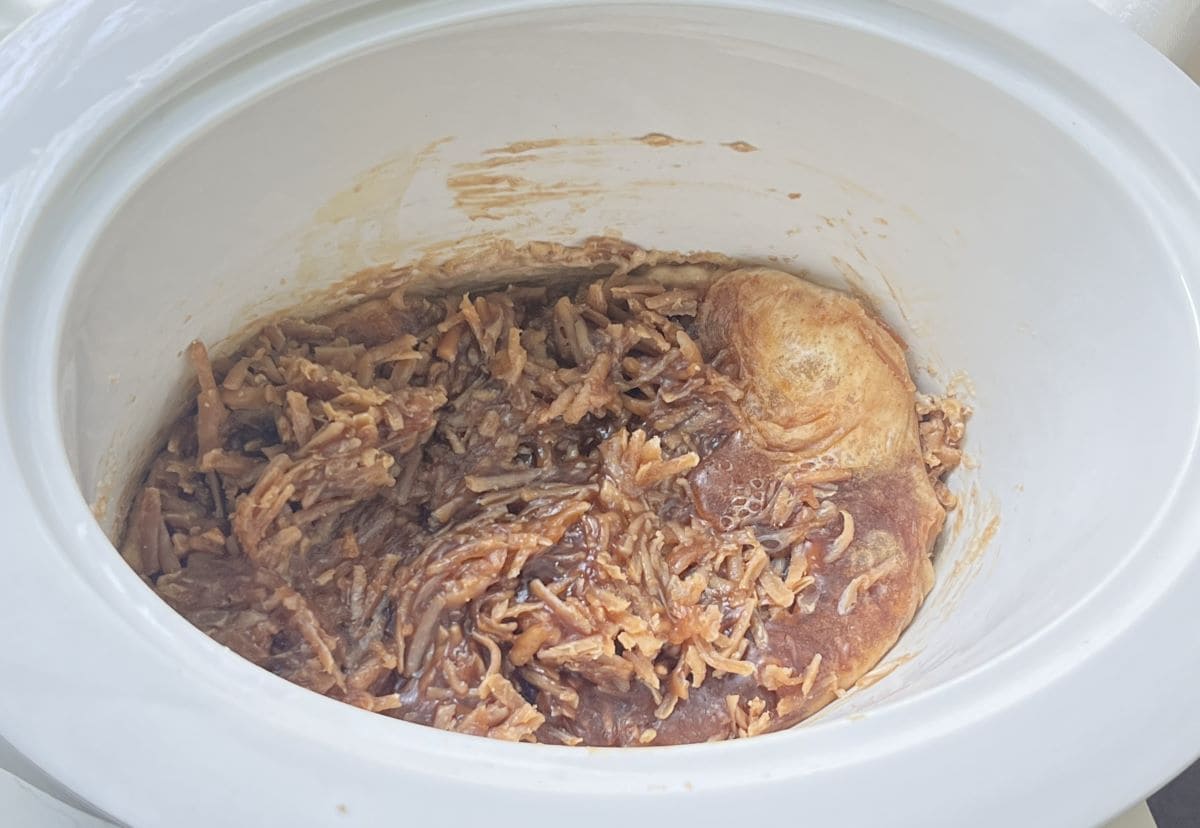
4. Let the Soap Heat Slowly
Cover and allow the soap to heat gently, stirring every 10-15 minutes. As the soap warms, it will begin to soften and swell. Heating slowly on low, will allow more time for the soap bits to melt completely. This step is very important to the smoothness of the final product. Having a spray bottle of hot water to mist the sides will help prevent soap hardening on the sides. It also prevents wasted soap and is a good way to slowly add moisture as you go.
5. Add Conditioning Oils (Optional)
If your old soap is drying, add 0.5 oz of olive oil, coconut oil, or cocoa butter per pound of soap. This will help improve glide and final texture.
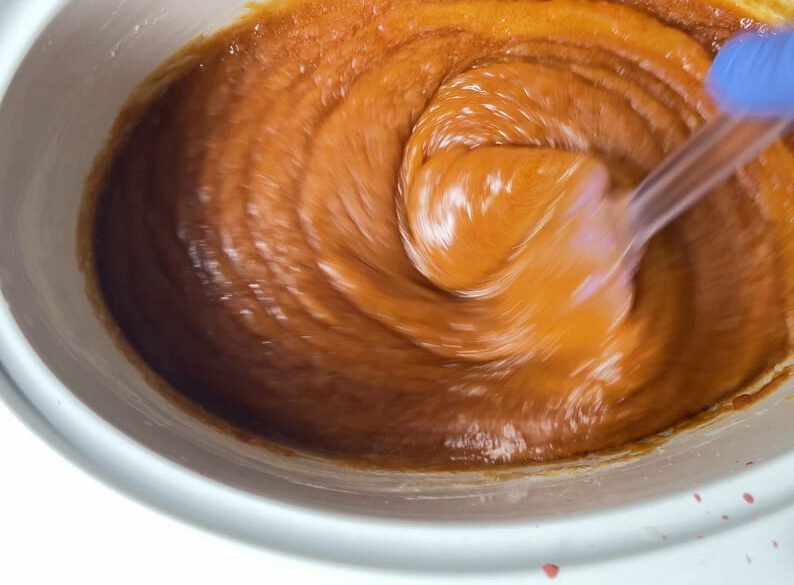
6. Stir Frequently and Mash or Stick Blend
As your soap heats, it will begin to look like mashed potatoes. Stick blend or mash lumps against the side with your spoon. If you see stubborn lumps, drizzle in a tablespoon of distilled water at a time and keep mashing.
7. Use a Stick Blender (Optional)
If you want an ultra-smooth texture, you can use a stick blender to help break down chunks, but do so carefully to avoid incorporating air bubbles. Only use it for a few seconds at a time. Although it is possible to acheive a smooth soap without a stickblender, this tool will really help you get the job done with ease.
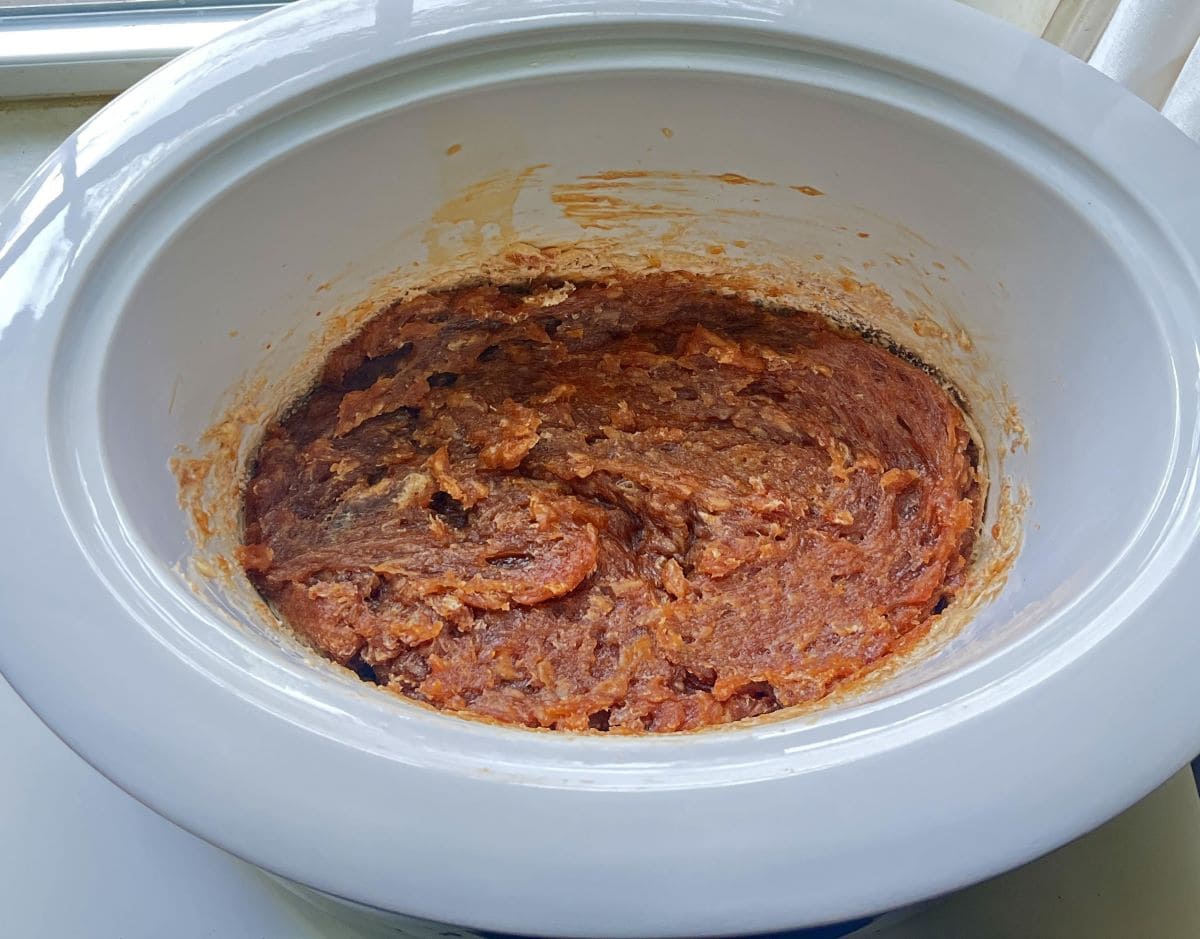
8. Add Fragrance and Essential Oils
Once the soap has fully softened, turn off the heat and let it cool slightly before adding your milk or yogurt, I have found adding milk or yogurt to to be the secret weapon in getting really smooth soap. It can be done anywhere in the process, but I choose to do it at the end more times than not. Now is the time to add essential oils or a fragrance oil if you are going with a scented soap. If the soap is too hot, your fragrance may evaporate. Be sure to incorporate these ingredients thoroughly.
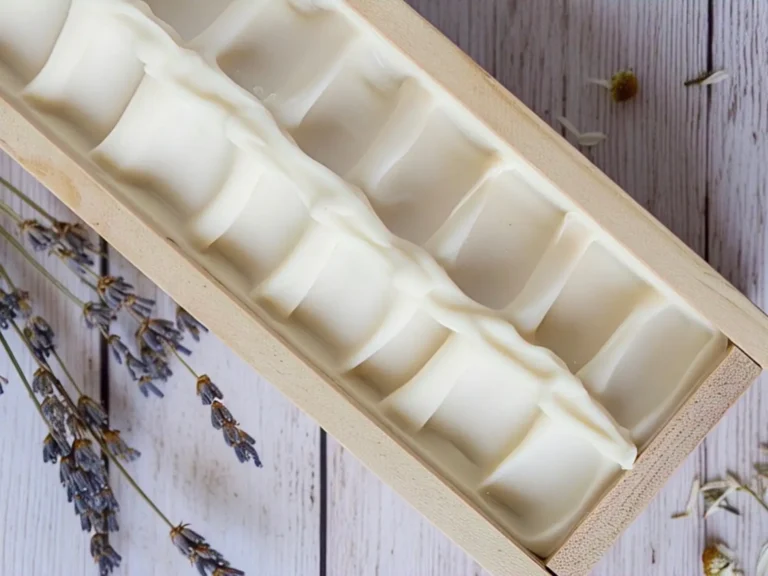
9. Pour Soap into Molds
Scoop your soap into your loaf mold or cavity molds, tapping gently on the counter to remove air bubbles. Smooth the top with a spatula or gloved hand dipped in alcohol.
10. Let Your Soap Harden
Allow the soap to sit in the mold for 24-48 hours before unmolding. Since you used less water, your soap should harden more quickly.
11. Cure Your Soap
While rebatch soap can be used immediately, it will last longer and become harder if you allow it to cure for 2-4 weeks. This ensures good soap that will not dissolve quickly in the shower.
Tips for a Smooth Rebatch Every Time
- Use freshly made soap or a soft rebatch soap base if possible. The softer the soap, the easier it is to smooth.
- Grate finely. The finer your grated soap, the smoother your rebatch.
- Use less water to start. It is easier to add a bit more water than to remove excess water.
- Avoid overheating. Low and slow is the key when using a crock pot or slow cooker.
- Optional superfatting helps. A small addition of olive oil, coconut oil, or cocoa butter can help your soap glide into the mold smoothly.
- Use a stick blender cautiously. It can smooth lumps but may add bubbles if overused.
- Choose your molds wisely. A loaf mold will give you traditional bars, while cavity molds can help reduce cutting and can yield smoother edges for your new soap.
Different Ways to Rebatch Soap
If you find that the crock pot or slow cooker method isn’t for you, here are different ways to rebatch soap:
- Double Boiler Method: Place your grated soap in a bowl over simmering water. Stir and mash until soft.
- Oven Method: Place your soap in a covered oven-safe dish and heat at 170°F, stirring every 10-15 minutes.
These methods can work well if you do not want to use a crock pot or slow cooker. You can usually find slow cookers at thrift stores for great prices.
Next Time: Create a Smooth Soap with Less Fuss
If you plan to rebatch often, consider making your cold process soap with rebatching in mind:
- Use simple, stable oils like olive oil and coconut oil.
- It may be preferable, although not necessary, to allow soap to cure for 1-2 weeks before rebatching so it contains less water but is not rock hard.
- Avoid adding too much fragrance initially if you plan to scent during rebatch.
- Sort scraps into logical colors that will look good together if you’re concerned about aesthetics. My family is unconcerned with this, but if you are giving as gifts, this is something to keep in mind. I sort scraps into bags by color for soaps I’m using for others.
This way, next time you rebatch, your process will be faster and easier.
Final Thoughts
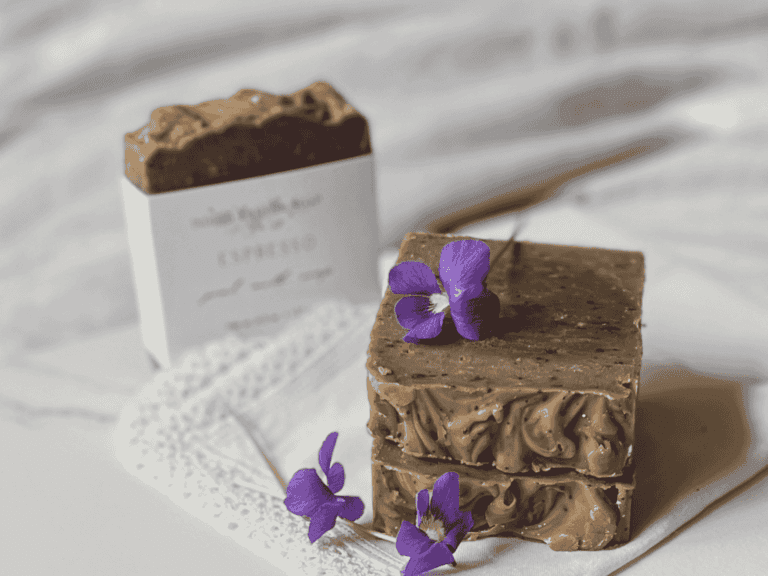
Rebatching is a great way to save lye-heavy soap, old soap, and soap scraps while learning more about your soap recipe. With the right amount of distilled water, low heat, fine grating, and patience, you can create rebatch soap that is smooth, creamy, and beautiful enough for gifts or sales.
Try this method the first time you rebatch to avoid the chunky, rough bars many beginners get, and you will discover how satisfying it can be to transform grated soap into good soap you are proud to use.
Other Soap Recipes:
- Beginner’s Guide to Soap Making
- The Ultimate Guide to Hot Process Soap Making
- How to Make Nourising Milk Soap
Soap Making FAQs
If you make this tutorial and love it, I would love if you gave it 5 stars! Tag me on Instagram @soapmakershomestead with your beautiful creation.


Leave a Reply