This beginner’s guide to soap making will walk you through the essentials of soap making and help you get started with confidence. Whether you’re looking to craft soap as a hobby, a gift, or even a business venture, making your own soap at home is a rewarding and creative process that allows you to control every ingredient, customize scents, and save money.

This post contains affiliate links, including Amazon links. As an Amazon Associate, I earn from qualifying purchases. This means I may earn a small commission at no extra cost to you. See full disclosure here
The Bed and Breakfast Encounter
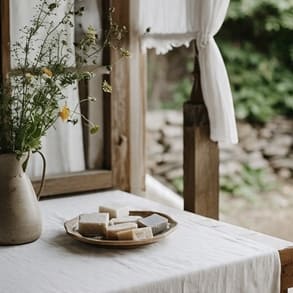
Years ago, I discovered handmade soap at this charming little bed and breakfast. There was this antique wooden table with a loaf of soap sitting on it—white with gorgeous raspberry-red swirls—and the smell? Absolutely divine. I had no idea what it was at first. The lady there explained it was handmade soap, and honestly, I’d never even heard of such a thing. But as someone who loves all things handmade, I was instantly intrigued.
She showed me how it worked—press the loaf down, and this little wire cutter would slice off a perfect bar. It was the coolest thing! And the soap itself? Amazing. It didn’t have that strong, chemical detergent smell. Instead, it smelled fresh, clean, and… well, natural.
When I used it, my skin felt incredible—not dry or itchy like usual. It was soft, moisturized, and to my surprise, it even cleared up my acne. I was hooked! From that moment on, I didn’t want to use anything else. There was just one problem…

The Lye Dilemma
Wait, this simple little bar had lye in it? I couldn’t wrap my head around that—it was so mild and gentle! I didn’t understand how that was even possible, but I knew I wanted to learn how to make it so I could pick my own ingredients and customize it.
So, I started doing a little research, and honestly? It sounded super science-y. Like, way too much chemistry for me. And math? Ugh, not my strong suit. Plus, let’s be real—I wasn’t trying to blow anything up… especially not myself!
The warnings on the lye bottle totally freaked me out, and I ended up talking myself out of it. I decided it was safer to just keep buying handmade soap and leave the science experiments to someone else!
My lye leap of faith
I absolutely loved the soaps I bought, but I couldn’t stop thinking about how cool it would be to make them myself. Every now and then, the thought would pop into my head, but I’d chicken out. For the longest time, I just kept putting it off.
Then one day, I started thinking, “This is ridiculous—I could totally make this stuff myself!” And honestly, it became a bit of a personal challenge. I didn’t like the idea of letting fear hold me back from doing something that I just knew would be so rewarding. I mean, come on, millions of people have made soap—it’s not rocket science, right?

The Ugly Duckling Batch
So, I had to give myself a little tough love. I was like, “Alright, you’re gonna suck it up and try this!” And guess what? I finally did!
I had this perfect picture in my head of what my soap would look like—crisp, white, with those little red swirls, just like that first bar I fell in love with years ago. That bar was made with goat milk, so I figured, why not start there? But here’s the thing about using milk—it has sugars in it, and that can make the lye get hotter than when you use water. So, I got all my ingredients together and went way overboard on safety measures…you know, just in case. I had towels ready, cold water running in the sink next to me, and basically prepped like I was about to handle a bomb.
I wasn’t sure what kind of disaster I was expecting, but I thought I was ready. Then I poured the lye into the goat milk, and BAM—it went from white to orange to almost blood red in seconds. I froze. My first thought? Oh my gosh, this is going to explode! Then I panicked about whether it was even safe to pour it down the sink, so I ran outside holding the container, just standing there, unsure of what to do. Honestly, I don’t even know why I was so afraid to set it down! Looking back, I can see how irrational that was, but in the moment? Pure panic.
Finally, it cooled down, and I went ahead and made my soap. And let me tell you—it was hideous. Like, the ugliest bar of soap known to man. I even thought adding blue food coloring on top would help (spoiler: it didn’t—it just ran down the sides). It was horrible, and if I had a photo I would show you, but just picture a rectangle rock with blue water running down the sides. It was bad! I had no clue what I was doing, but hey, why not, right? Despite how awful it looked, my measurements were spot on, and in the end, it was actually a good bar of soap.
From there, my soaps got better and better. I worked through my fear of lye, and now, here we are 20-some years later! Funny enough, I used to be embarrassed to tell anyone I didn’t make soap at first because I was scared of lye. But you know what? That’s the number one thing people tell me keeps them from trying to make soap!
If I can do it, you can do it too. I want you to feel like you’ve got someone right there next to you, holding your hand as you go through the process for the first time. I hope this beginner’s guide to soap making will give the kind of support I wish I had when I was starting out!
Why Make Your Own Soap?
Homemade soap offers benefits far beyond what commercial soaps provide. By making your own soap, you can:
- Avoid Harsh Chemicals: Many store-bought soaps contain synthetic additives that can irritate the skin.
- Customize for Your Needs: Add your favorite essential oils, natural colorants, or exfoliants.
- Save Money: While the initial investment in tools and ingredients may seem high, homemade soap is cost-effective in the long run.
- Reduce Waste: You can use minimal packaging and create an eco-conscious product.
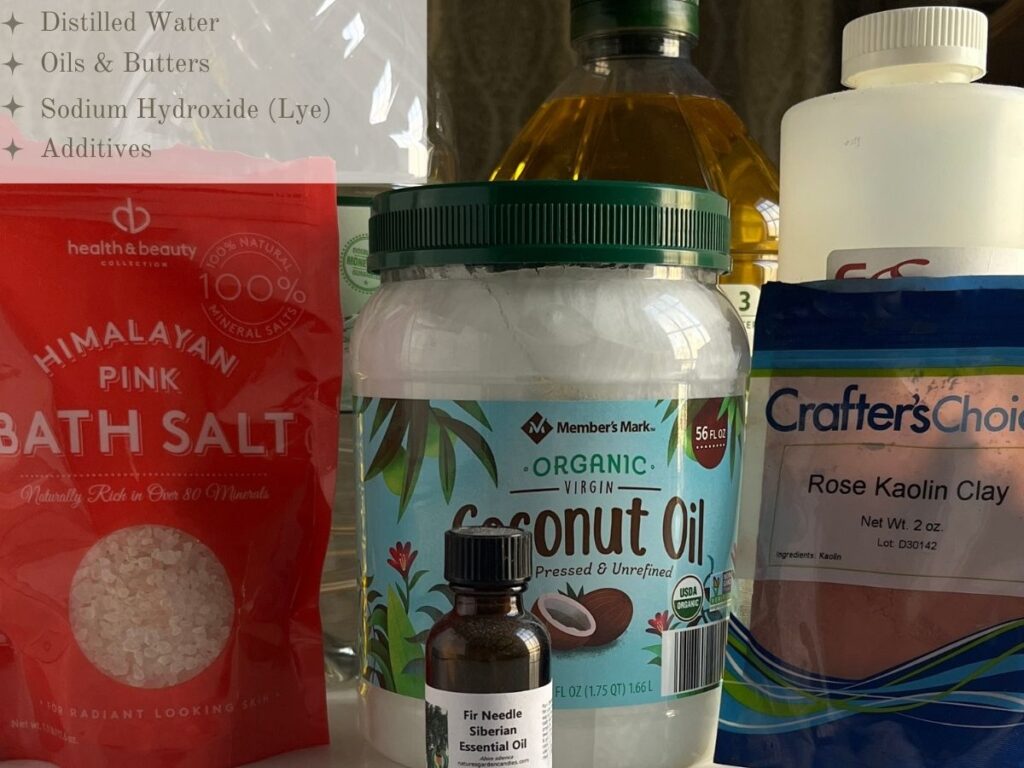
Essential Ingredients for Soap-Making
To make soap, you need just a few basic ingredients:
- Oils and Fats: These provide the base for your soap. Common options include:
- Olive oil for gentle cleansing.
- Coconut oil for lather and hardness.
- Shea butter for moisturizing properties.
- Lye (Sodium Hydroxide): Lye is necessary for the saponification process, which transforms oils into soap. While it’s a caustic ingredient, it’s completely neutralized in the final product if measured correctly. I buy mine from Essential Depot.
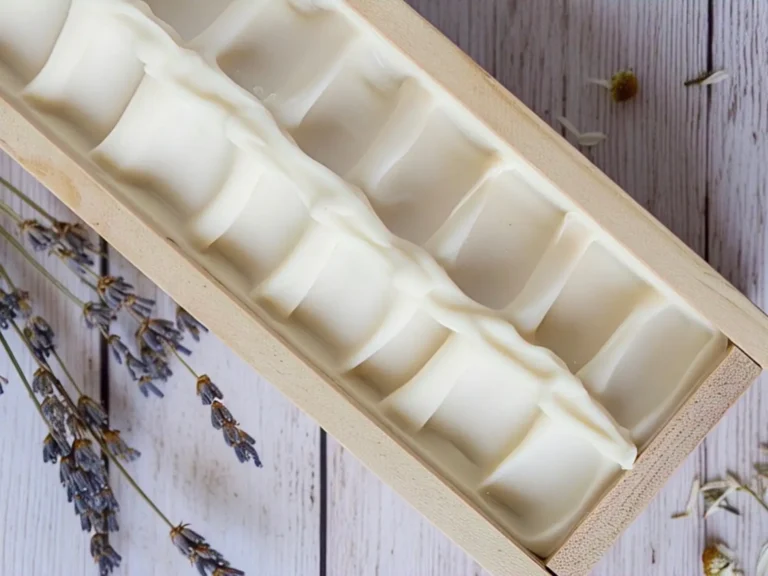
- Liquid: Distilled water is typically used, but you can also experiment with herbal teas, goat milk, or aloe vera juice for unique properties.
- Additives: Personalize your soap with:
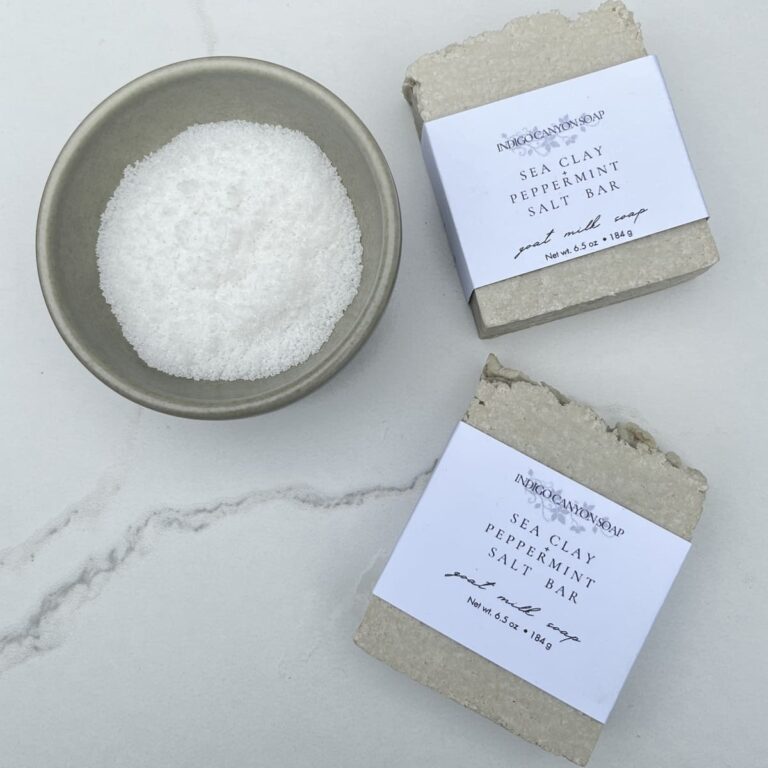
- Essential Oils: Lavender, peppermint, or tea tree for fragrance.
- Natural Colorants: Activated charcoal, turmeric, or spirulina.
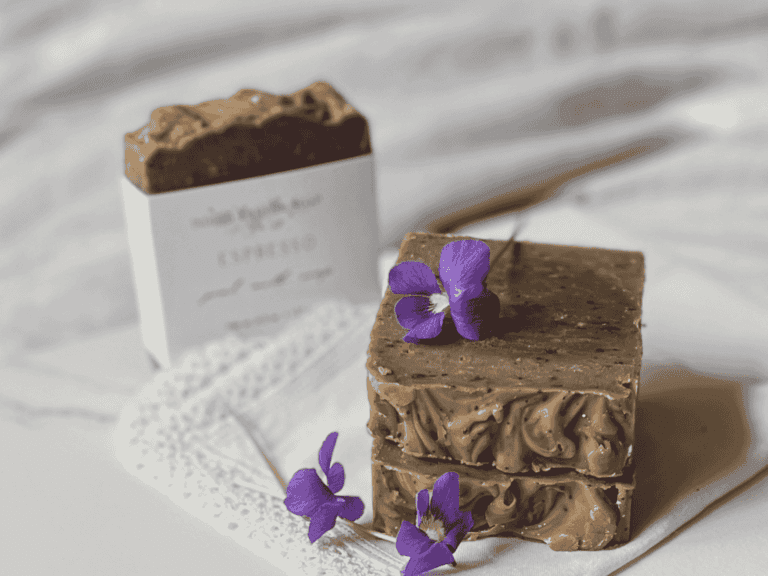
- Exfoliants: Oatmeal, coffee grounds, or dried herbs.
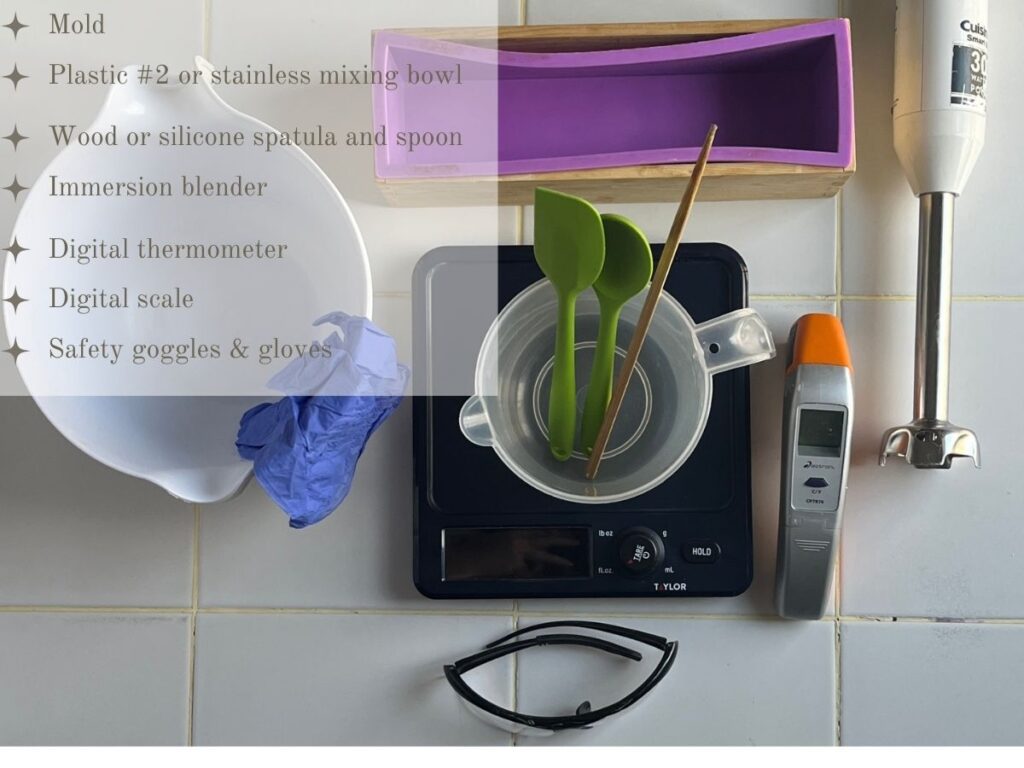
Must-Have Tools for Soap-Making
Before you begin, gather these essential tools:
- Soap Molds: Silicone molds are beginner-friendly and reusable.
- Mixing Containers: Use heat-resistant glass or plastic bowls.
- Digital Scale: Accurate scale measurements are crucial for safety and success.
- Stick Blender: Speeds up the saponification process. I like this blender because it separates from the top.
- Thermometer: A digital thermometer ensures your oils and lye solution are at the right temperature.
- Safety Gear: Wear gloves, goggles, and long sleeves to protect against lye splashes.


Kids ‘n Pets
Please remember to make sure that littles and pets are out of the way when you soap. Here are Kiara and Ollie watching curiously from the window as I make soap. Yes, I am growing a black cat! He has made that pot his own!

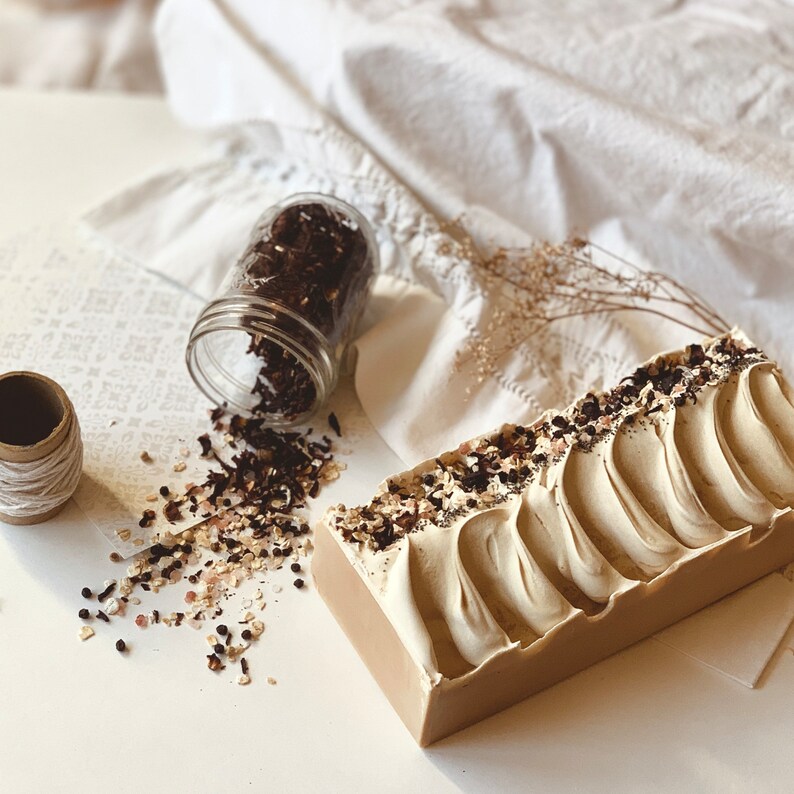
beginner’s guide to soap making: Step-by-Step Soap-Making Process

Soap Making Recipe
Instructions
- Prepare Your Workspace:
- Work in a well-ventilated area with easy access to water.
- Cover your workspace with newspaper or a plastic sheet.
- Mix the Lye Solution:
- Slowly add lye to your chosen liquid (never the other way around – picture it snowing on a lake) and stir until dissolved. It can release some fumes for a minute or so, so do it outside or in a well-ventilated area away from kids and pets.
- Let the solution cool to around 100-110°F.
- Heat and Combine Oils:
- Melt your solid oils and mix with liquid oils. Allow the mixture to cool to the same temperature as the lye solution. The temperatures do not have to be exact, but within 10°F of each other is recommended.
- Blend and Emulsify:
- Slowly pour the lye solution into the oils. Use a stick blender to mix until the batter reaches “trace” (a pudding-like consistency). If you can drizzle the soap batter across the top of the batter and it sit on top for a second, you’re reached trace.
- Add Fragrance and Color:
- Stir in essential oils, natural colorants, or other additives.
- Pour into Molds:
- Transfer the batter into your soap molds, tapping gently to remove air bubbles.
- Cure the Soap:
- Allow the soap to set for 24-48 hours before unmolding.
- Cure the bars in a cool, dry place for 4-6 weeks to ensure they harden and develop a mild pH. There is no lye present at this point. This is strictly to allow excess water to evaporate for milder, longer-lasting bars.
Common Mistakes and How to Avoid Them
- Soap Didn’t Harden: Ensure accurate measurements of lye and oils. A digital scale that measures in ounces is essential.
- Soap Overheats: Don’t insulate molds for recipes containing milk or honey, as these can generate extra heat.
- Soap is Too Soft: Use oils that contribute hardness, like coconut or palm oil, and allow for sufficient curing time.
FAQs
- Do I Need Lye to Make Soap? Yes, lye is required for saponification, but the finished product contains no lye if made correctly.
- How Long Does Soap Take to Cure? Most recipes require 4-6 weeks of curing for optimal hardness and performance.
- Can I Make Soap Without Special Molds? Absolutely! You can use recycled containers like milk cartons or lined cardboard boxes.
Wrapping Up!
Soap-making is an enjoyable and creative craft that can yield beautiful, customized products. By following this guide, you’ll be well on your way to creating high-quality soap for personal use or as a budding business.


Leave a Reply