There’s something special about making things from scratch—whether it’s fresh-baked bread, home-canned jam, or a bar of soap infused with ingredients from your kitchen. If you love the idea of self-sufficiency and simple, handmade living, learning cold process soap making is a skill worth having.
In a hurry? Pin for later!
Today, we’re making coffee goat’s milk soap, a rich, creamy bar that combines raw goat milk, brewed coffee, and used coffee grounds for a soap that exfoliates, nourishes, and smells just like a fresh cup of coffee on the porch at sunrise.
Whether crafting for sensitive skin, making great gifts for coffee lovers, or stocking up on homemade soap for your family, this guide will walk you through the process using simple ingredients and homestead-friendly techniques to make this coffee soap recipe with goats milk soap. Homemade coffee soaps are gentle for all skin types. They contain different oils that protect, moisturize, and nourish your skin. Coffee soap benefits are many. We will discuss the properties of these ingredients and how they can help multiple skin types: whether you’re struggling with dry, itchy skin or prefer natural skincare without all the harsh chemicals.
Why Every Homesteader Needs Coffee Soap
Homesteading is all about resourcefulness, and soapmaking fits right in. This recipe helps you make the most of items you probably have in your kitchen already. Let’s dig deeper into the benefits of each below.
Coffee Grounds
There are several different ways to make coffee soaps. Some people use fresh grounds, which may impart a darker color and a more potent coffee scent. However, many people choose to use the grounds from already-brewed coffee. Instead of throwing away used grounds, you can pop out the coffee filter to let them dry and reuse them as a natural exfoliant. This is a personal preference, and I’ve used both methods with great success. Grind them as fine as possible or consider using espresso powder. It has a finer texture. Coffee grounds are coarse, so very little is needed, especially if you have sensitive skin. Courser grounds are appropriate for a gardener’s soap or a mechanic’s soap. They make an excellent exfoliant. Unlike salt and sugar scrubs, coffee doesn’t dissolve and go down the drain. This is one of the main reasons many people prefer this coffee scrub soap.
Goat’s Milk
If you raise goats, this is a wonderful way to use fresh raw goat milk beyond the kitchen. Goat milk is rich in lactic acid. Yep! The same lactic acid that we enjoy the benefits of in fermented foods such as yogurt and kefir. Lactic acid is amazing for your skin. It is in the alpha-hydroxy acid (AHA) family. It is a humectant, meaning it attracts and holds moisture in the skin. This sets lactic acid apart from the typical drying qualities of other AHAs. Lactic acid has hydrating properties. But not only that.
Here are some of the properties goat milk adds to soap, including:
- Exfoliating and removing dead skin cells, revealing fresher, more youthful skin. In some cases, it even stimulates cell turnover.
- Lactic acid can stimulate collagen renewal, which helps firm and thicken the skin, improving the look of wrinkles and fine lines and possibly fading dark spots related to sun exposure.
- Lactic acid has antimicrobial properties that may be beneficial for acne and inflammatory skin issues.
- Lactic acid inhibits tyrosinase activity, which inhibits melanin formation, which has a lightening effect on hyperpigmentation.
Coffee
- Studies suggest that the caffeic acid in coffee, an antioxidant, may increase collagen and reduce prematurely aging skin cells.
- Coffee is also antimicrobial, helping to keep bacteria at bay.
- Caffeine encourages blood flow, which can help tighten skin and reduce fluid buildup underneath the eyes.
- Coffee contains polyphenols, which may help protect skin from ultraviolet (UV) rays and several sun-exposure-linked signs of aging.
- Coffee may help fight acne due to its antioxidant, stimulant, and chlorogenic (phenolic compound found in plants) properties.
Oils & Butters
A mix of olive oil, coconut oil, tallow, shea butter, cocoa butter, and castor oil makes a long-lasting, nourishing soap.
Why You’ll Love This Soap
Handmade Over Store-Bought – No unnecessary chemicals or detergents, just wholesome ingredients you can feel good about your family using.
Cost – Once you have purchased the initial supplies, you’ll find making soap to be significantly less expensive. I haven’t bought soap in years. I have a shelf of practically free soap that is wholesome and nourishing for my family. You will enjoy further savings if you make shaving soap and shampoo bars.
Ingredients: Keeping It Simple and Natural
Fats & Butters
Coconut Oil: Known for its cleansing properties and ability to create lather.
Olive Oil: Offers conditioning and gentle cleansing.
Shea Butter: Provides deep moisturizing.
Tallow: Contains anti-inflammatory and soothing properties.
Cocoa Butter: Adds richness, and unrefined cocoa butter imparts a delicate chocolate essence.
Castor Oil: Enhances the soap’s bubbles.
You may want to develop a recipe with something else, such as rice bran oil or mango butter. Each ingredient lends unique properties to a bar. I like SoapCalc’s recipe calculator. You can see the properties each oil or butter brings to the bar and develop a recipe tailored specifically for you. See How to Use Soap Calc below for help with this.
Liquids & Lye:
- Brewed coffee double strength (instead of water, for added intensity)
- Raw goat’s milk for creaminess.
- Sodium hydroxide was measured using a lye calculator.
Additives
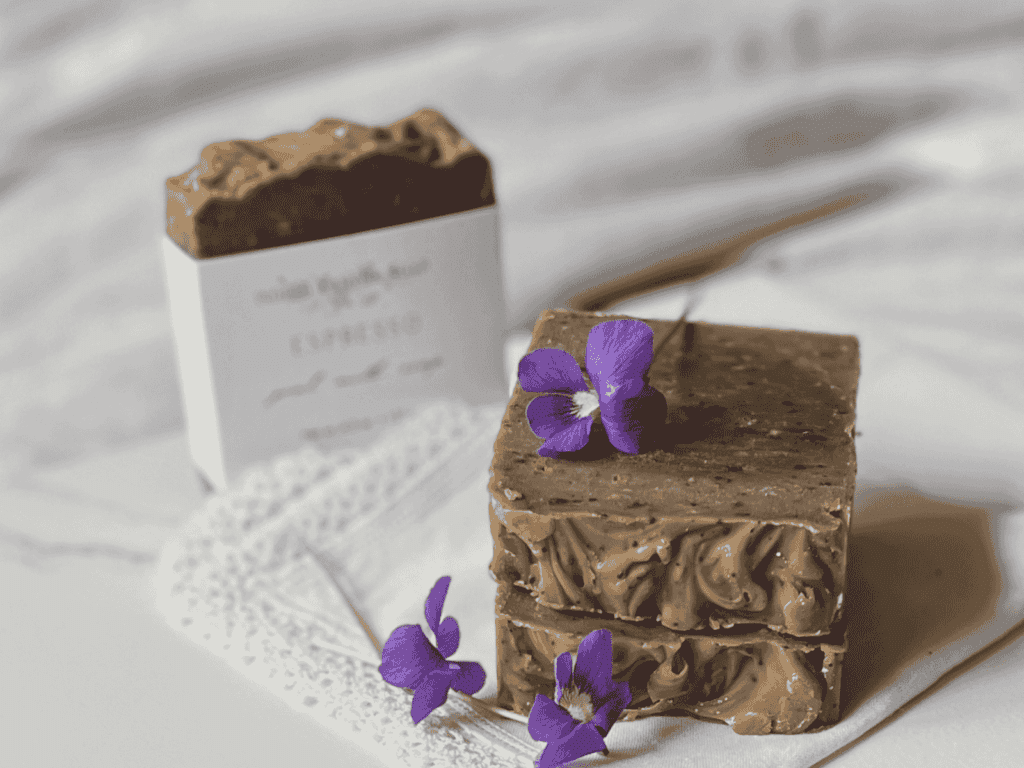
Used coffee grounds can be used for exfoliation, while fresh coffee beans serve as decorative elements.
Essential Oil
If you use essential oils, we recommend high-quality, therapeutic-grade oils. Coffee bean oil is an extra cost, but a lovely oil to use in your coffee soap.
Fragrance Oil
Fragrance oils are generally less expensive and available in a wide variety of scents. However, since these oils are produced in a laboratory, they may not be ideal for those who prefer completely natural soap. Additionally, fragrance oils are often used for scents like strawberries, which do not produce a natural oil; therefore, lab-created scents are the only option in such cases. Fragrance-free soaps are wonderful on their own, and the coffee in the soap imparts a wonderfully delicate aroma.
Safety Tip
Please keep children and pets safely away from the area where soap is being made.
How to Make Coffee Goat Milk Soap (The Homestead Way)
Step 1: Prepare Your Work Area
- Line your soap mold (or upcycle a wooden box) with freezer paper.
- Have a soap calculator handy to double-check measurements. I use Soap Calc’s calculator.
- If working in the kitchen, protect surfaces. A paper towel, brown paper bag, or anything to catch drips will work.
- I work near my kitchen sink where I keep a bucket to toss used implements as I go to make clean up simple.
Step 2: Making the Lye Solution
Goat’s milk tip: Freeze your raw goat milk into cubes first. This prevents scorching when you mix in the sodium hydroxide.
- Slowly stir the lye into the brewed coffee and goat’s milk until it is completely dissolved. Always remember to pour the lye into the water, as pouring water into lye can cause a small combustion. I visualize this process as “snowing on a lake.” You may notice a strange coffee smell during this stage, but it will dissipate once the soap is finished. Although you can use tap water, it’s recommended to use distilled water. The different minerals in tap water can different effects to the soap’s properties, so using distilled water ensures a consistent bar every time, without any surprises.
- Full disclosure: If this is your first time making soap, be prepared for some precautions. The chemical reaction will produce fumes that last for only a minute or so, but it’s best to avoid inhaling them. I recommend covering your nose and mouth with a towel to shield yourself from the fumes. It’s important to work in a well-ventilated area, and doing this outside is optimal if you have the space. Allow the mixture to cool to around 110 degrees F.
Step 3: Melting & Mixing Oils
- Use a double boiler or a heat-safe bowl over a pot to melt the coconut oil, cocoa butter, and other fats.
- After melting, allow the oils to cool to room temperature before combining them with the lye mixture.
- Once melted, let the oils cool to room temperature before combining with the lye mixture.
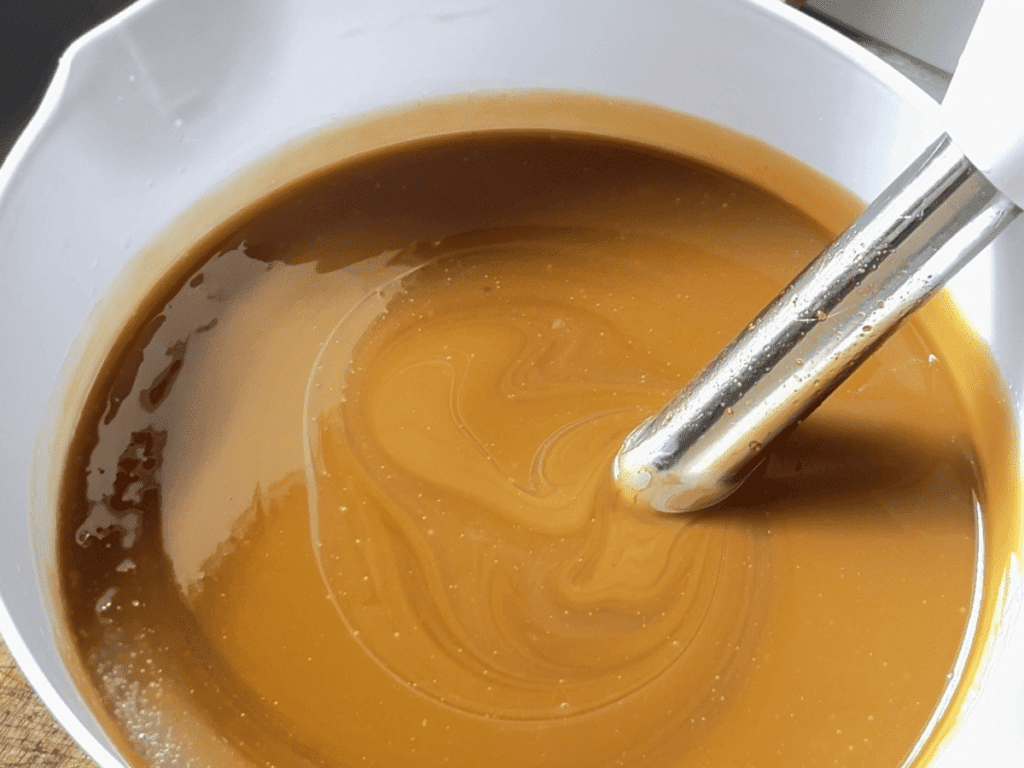
Step 4: Bringing It to Trace
- Pour the lye solution into the oils and blend with a stick blender. Once you combine the oils and lye solution, the saponification process begins, so you need to have everything set up before this point.
- Blend the soap mixture until it reaches the trace stage. You will know you’ve achieved this stage when you drizzle the soap batter onto itself and it creates a line that briefly remains on the surface of the mixture for a second or two.
- Stir in the used coffee grounds at this point. Stirring them in sooner when the batter is still thin may result in a bar of soap with coffee grounds on the bottom layer only.
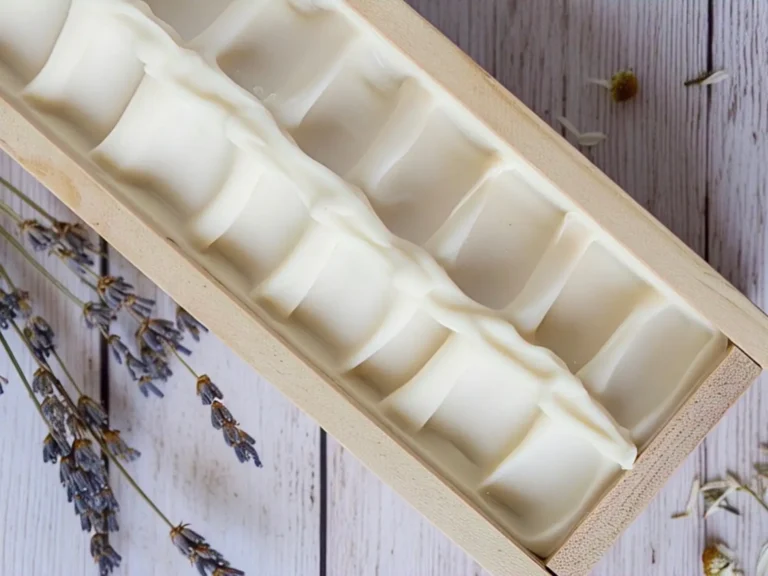
Step 5: Pouring & Curing
- Pour the soap batter into a prepared mold. I recommend using a silicone loaf mold, but any sturdy mold you have available will work.
- Cover the soap with a towel and leave it in a dry place for 24 to 48 hours. After 24 hours, the lye should be completely neutralized. If you prefer, you can purchase inexpensive test strips to check for lye content, although I have never used them and don’t believe they are necessary. However, using them might make you feel more comfortable when trying out your first recipes. Some people perform what is known as the “zap test.” This involves touching the soap to their tongue; if they feel a slight “zap,” similar to the sensation of licking a battery as a child, it indicates that the lye is still present. I had no idea this was a common practice! It seems to be a small zap and not a significant risk. If you’re curious, you can try this method as well. I find that waiting the full 48 hours yields the best results.
- After unmolding, cut into bars and let the soap cure for 4-6 weeks.
How to Use SoapCalc
Here’s a simplified tutorial on how to use SoapCalc’s recipe calculator to help you get started.

3. Water : The default water setting is 38%. You can perform a water discount by lowering this number, but that’s a more advanced technique you’ll learn over time. If you’re using goat’s milk or another liquid in your soap, substitute that for water here.
4. Super fat & Fragrance: I have never used this, but there are instructions if you need them on the SoapCalc website.
5. Soap Qualities & Oils, Fats and Waxes: In this section, you can see the attributes that different ingredients add to your soap, such as bubbly, cleansing, moisturizing, creamy, etc. As you add oils, fats, and butters, these values will adjust, helping you create a bar that meets your preferences.
6. Find your oils, etc. here from the extensive list on the left. You can add or remove them here by weight or percentage.
7. Calculate Recipe: Once you have finalized your recipe and the totals at the bottom equal 100%, click on “Calculate Recipe.” Congratulations! You have just created your first soap recipe!
Homestead Tips & Troubleshooting
Want your bar to last a long time? Keep it in a dry and in drain soap dish that drains.
Want a rustic look? Use a wooden mold lined with freezer paper.
Need harder bars? Add more cocoa butter or increase the coconut oil.
Soap too soft? Make sure your lye mixture is properly measured.
Prefer hot process? Use a crock pot to speed things up!
Final Thoughts: Handmade Soap, Handmade Life
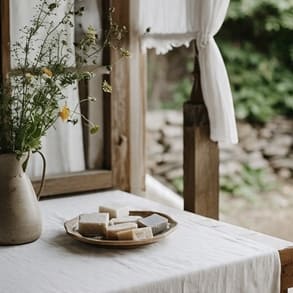
There’s something truly satisfying about making your own soap—just like baking your own bread or growing your own vegetables. This homemade coffee soap isn’t just a great gift; it’s a reminder that small, handmade things bring joy to everyday life.
Next time you enjoy a cup of coffee, save those used grounds—they just might become your next favorite bar of soap!
Other Soap Tutorials From the Homestead
If you make this tutorial and love it, I would love if you gave it 5 stars! Tag me on Instagram @soapmakershomestead with your beautiful creation.


Leave a Reply