(With a Simple Step-by-Step Guide for Beginners and Pros Alike!)
Looking for a way to make your own sea salt soap bars that look gorgeous and feel amazing on your skin? This Hot Process Sea Salt Soap Recipe makes perfect bars for exfoliating dead skin cells and leaving you feeling fresh, smooth, and spa-day fancy. Today, we’ll walk through how to make natural hot process sea salt soap using the hot process method, sea salt, and your favorite essential oils—all from the comfort of your own kitchen!
Whether this is your first time or you’re a seasoned soap maker, this hot process sea salt soap recipe is a breeze to make. This guide is packed with helpful tips to make sure your homemade soap turns out just right.
In a hurry? Pin it for later!
What Are Salt Bars, and Why Make Them?
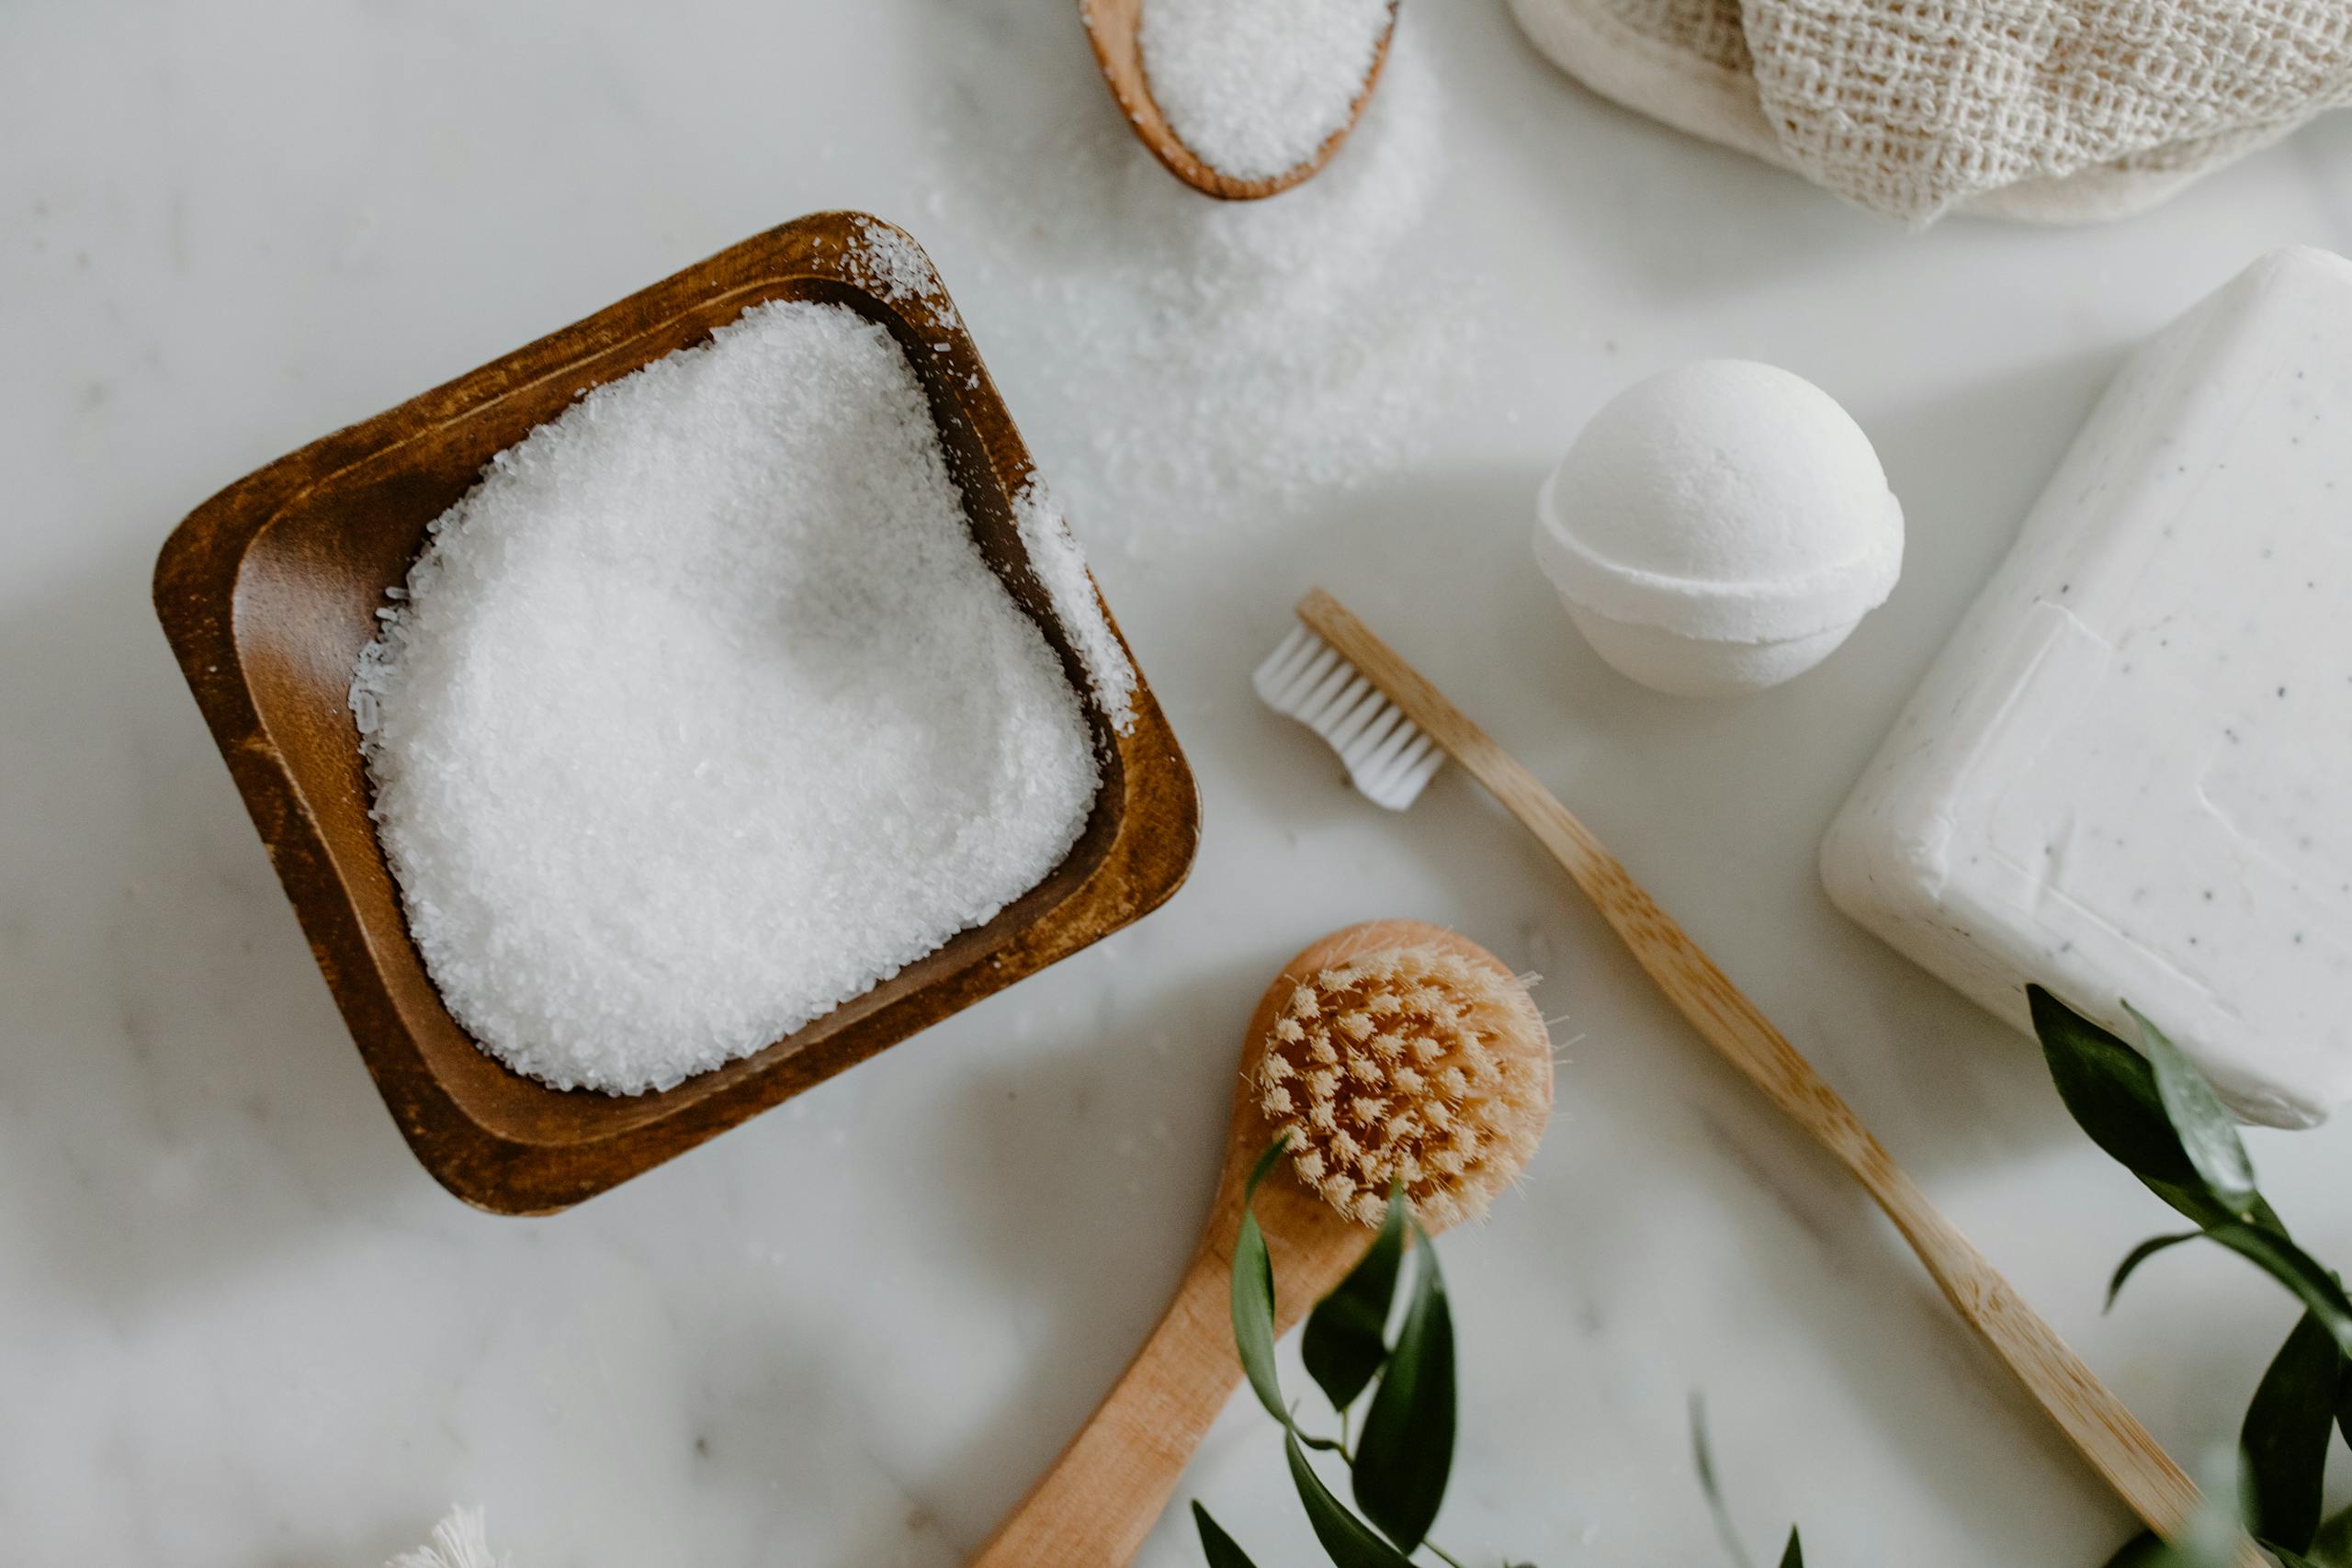
Salt bars are a type of natural soap that includes salt—usually Himalayan salt, or sea salt—for gentle exfoliation and extra hardness. These bars are popular with folks who want a more spa-like experience at home. You CAN use dead sea salt, but I personally have found it to leave the soap a bit oily and produces little-to-no lather. If you have tried it successfully, let me know in the comments, I’d love to hear your experience.
Many soap makers love these bars for their ability to:
- Buff away dead skin cells
- Leave skin feeling clean and soft
- Help with acne-prone skin
- Last longer than regular soap
This post may contain affiliate links. Please read our disclosure policy.

Hot Process vs. Cold Process: What’s the Main Difference?
If you’ve made a cold process soap recipe before, you’re already halfway there! The main difference is how the soap is finished:
- Cold process soap cures for 4–6 weeks
- Hot process soap is cooked in a crock pot and ready to use much sooner
Using the hot process method allows the soap to be used almost right away and gives it a rustic, homemade look. Plus, it’s easier to work with extra oil and salt this way. Many soapmakers use a higher coconut oil ratio as it can make your bar more bubbly. I’m completely satisfied with using less coconut oil, so the recipe below will reflect that, but you can use change the ratio to suit your needs. It’s all about creativitiy here, not perfection. Just make sure to run your recipe through a lye calculator like SoapCalc before you do. By the way, there are other soap calculators. SoapCalc is just the one I learned on. It is very comprehensive and so I never felt the need to try anything else. Simple girl here!
Tools and Ingredients You’ll Need to Make this Hot Process Sea Salt Soap Recipe
Before getting started, gather your materials. Here’s what you’ll need:
Ingredients (by Oil Weight):
- Coconut oil – 4.8 oz (great for cleansing and lather)
- Olive oil – 9.6 oz (gentle and moisturizing)
- Tallow Beef – 12.8 oz
- Avocado Oil – 1.60 oz
- Castor oil – 1.6 oz (boosts lather)
- Cocoa butter – 1.6 oz (hardens the bar)
- Sea salt or pink Himalayan salt – 8 oz to 12 oz (adjust based on preference)
- Distilled water – As calculated
- Sodium hydroxide (lye) – Use a lye calculator to get the correct amount
- Essential oil blend – Up to 1 oz (optional but heavenly)
- Milk – Optional for extra creaminess. I use goat, sometimes coconut. Yogurt is good too. (Deduct this liquid amount from your water amount) Have fun with it!
Tools:
- Crock pot
- Stick blender or immersion blender
- Digital scale
- Soap molds (a loaf mold or silicone mold works well)
- Separate containers for oils, lye, and salt
- Double boiler (or microwave) for melting hard oils
- Protective gear – gloves, goggles, and long sleeves
- Well-ventilated area for mixing lye water
Safety First
- Working with sodium hydroxide (lye) can be dangerous. Always:
- Keep kids and pets out of the room
- Wear protective gear
- Mix lye in a well-ventilated area
- Add lye to warm water, not the other way around
Step-by-Step: Making Your Own Sea Salt Soap Bars
1. Measure & Prepare Ingredients
Use a digital scale to weigh your oz of oils and oz of salt. Use a soap calculator to figure out how much lye and water you need for your specific amount of oils.
Tip: Typically salt bars usually work best with 80–100% coconut oil. But I often use much less and find great results. The bar will have a creamier lather rather than big fluffy bubbles. It is really a matter of preference. I have included some other goodies (like cocoa butter and castor) to make it gentler on acne-prone skin.
2. Create Your Lye Solution
Wearing protective gear, slowly pour sodium hydroxide into the warm distilled water. Never pour water into lye. Stir gently until fully dissolved. Set aside in a safe place to cool.
This mixture is often called lye water or a lye solution.
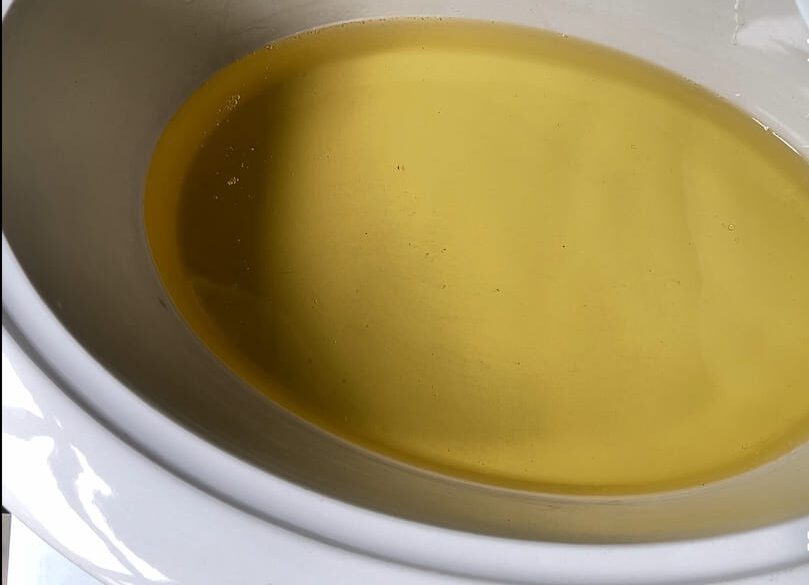
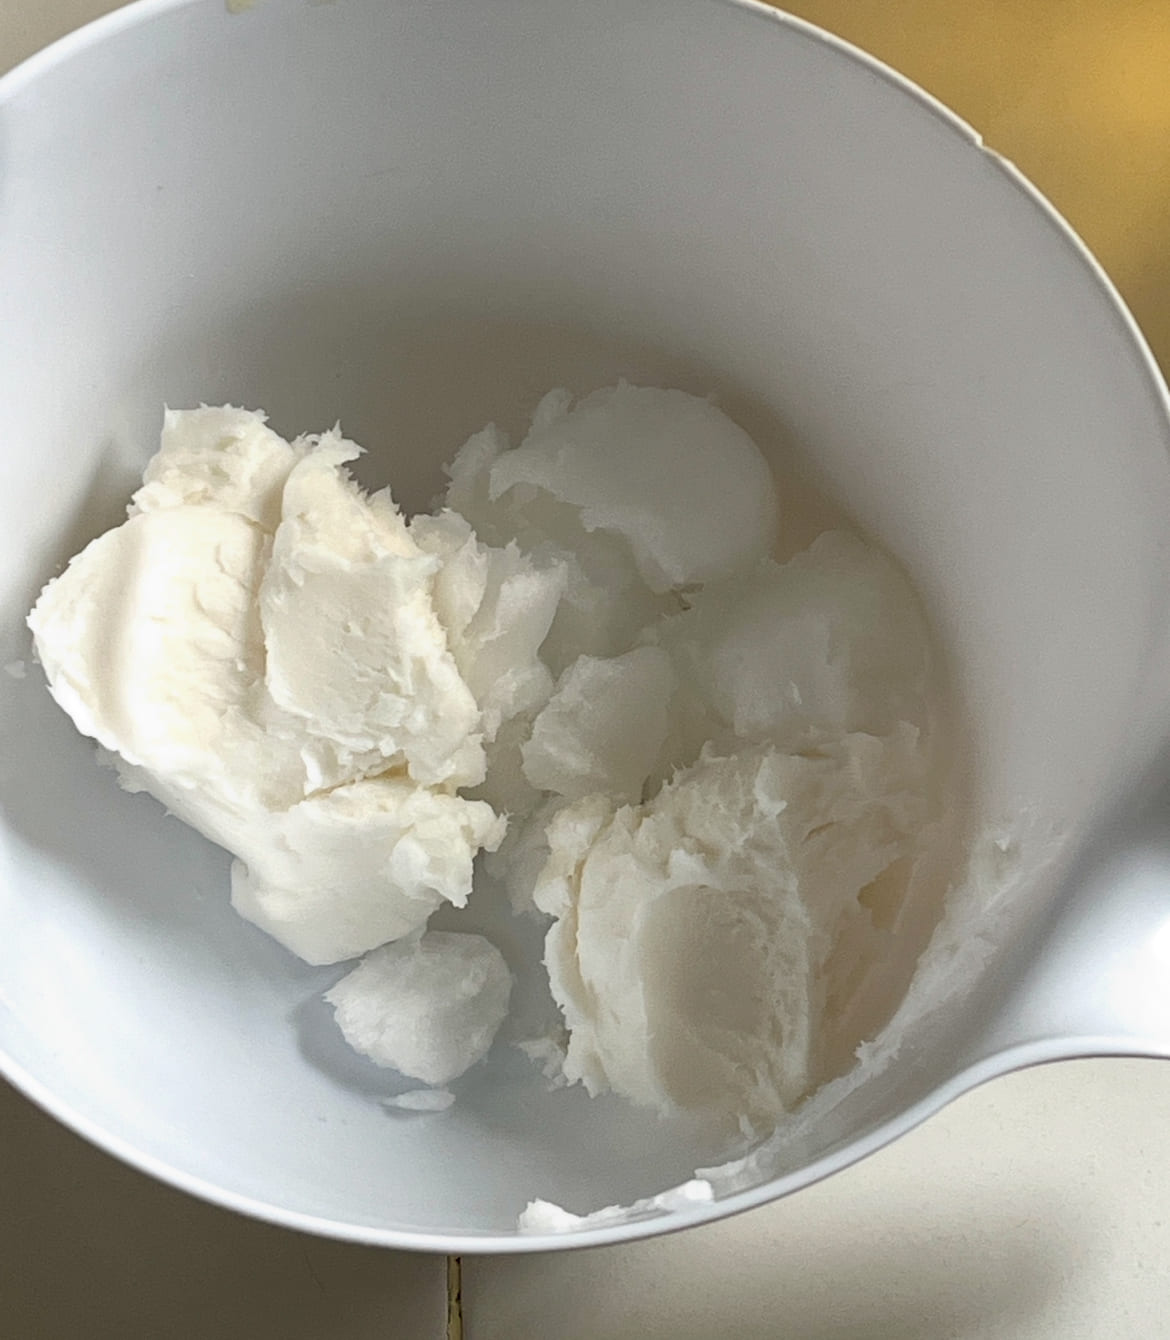
3. Melt the Hard Oils
Use a double boiler or your crock pot to melt the coconut oil, cocoa butter, and shea butter. Once melted, stir in your olive oil and castor oil. Let the oils cool slightly before moving on.
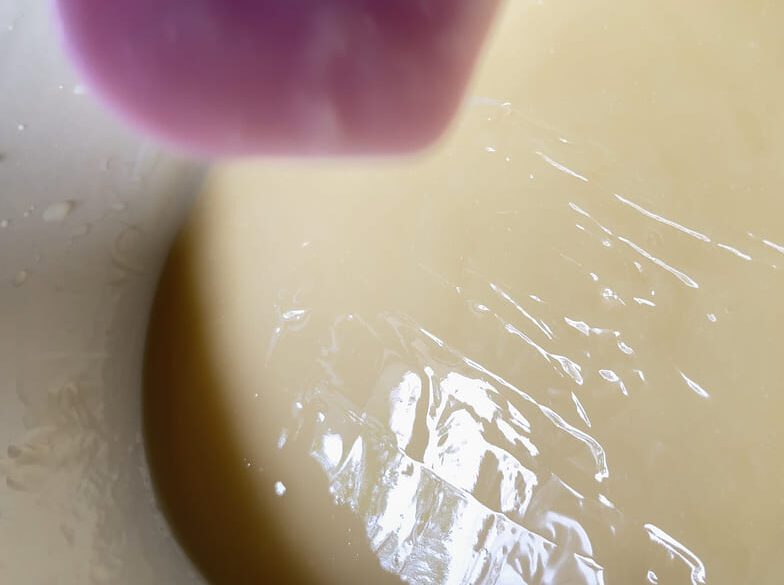
4. Combine Oils & Lye
Pour your lye solution into the melted oils slowly. Use your stick blender to mix until you reach trace (the point when your soap batter is thick like pudding).
What’s “Trace”? Trace means the batter is thick enough to leave a treail or “trace” on the surface when drizzled. This is when you stop blending and get ready to cook.
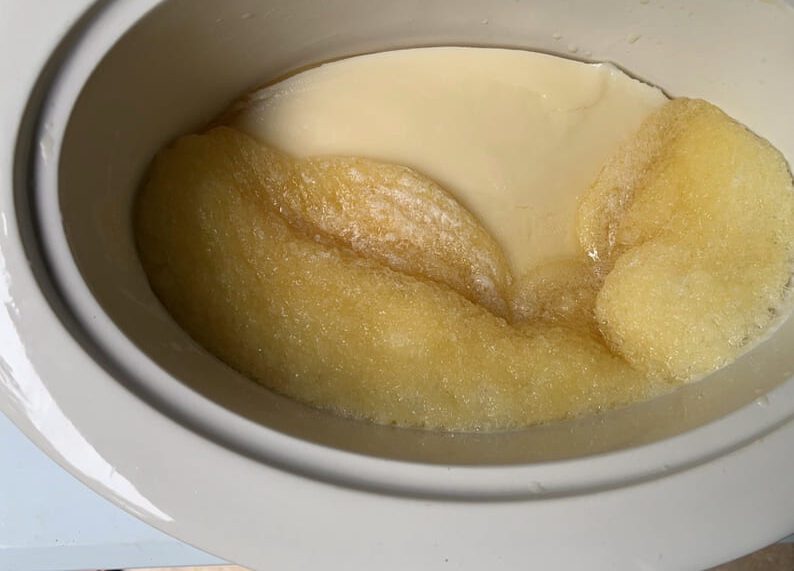
5. Cook the Soap
Turn your crock pot to low and stir occasionally as the soap cooks. This step can take 30–60 minutes. Watch for the soap to go through several phases: pudding, mashed potatoes, then glossy and sticky. That’s when it’s done!
You’ve just completed the hot process method!
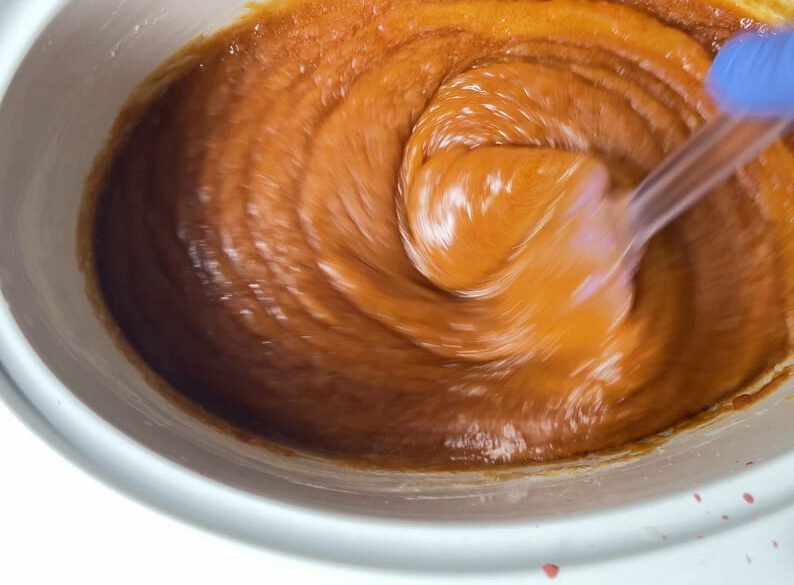
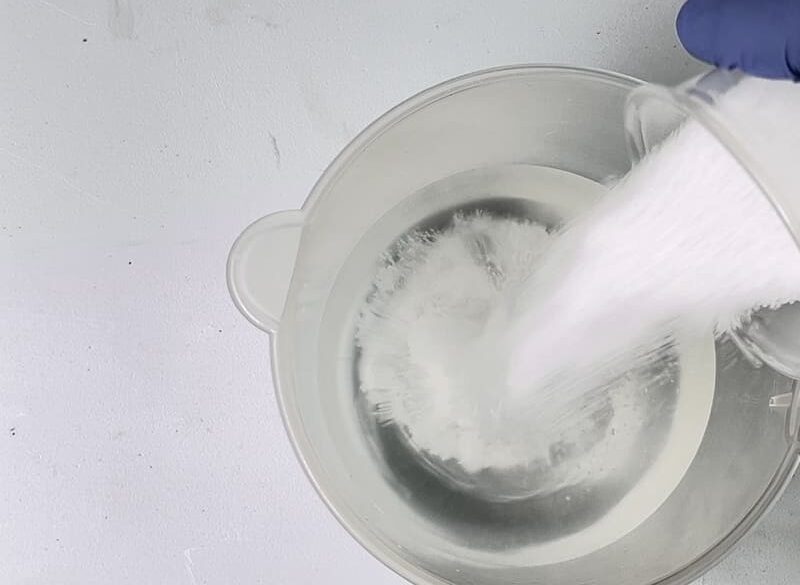
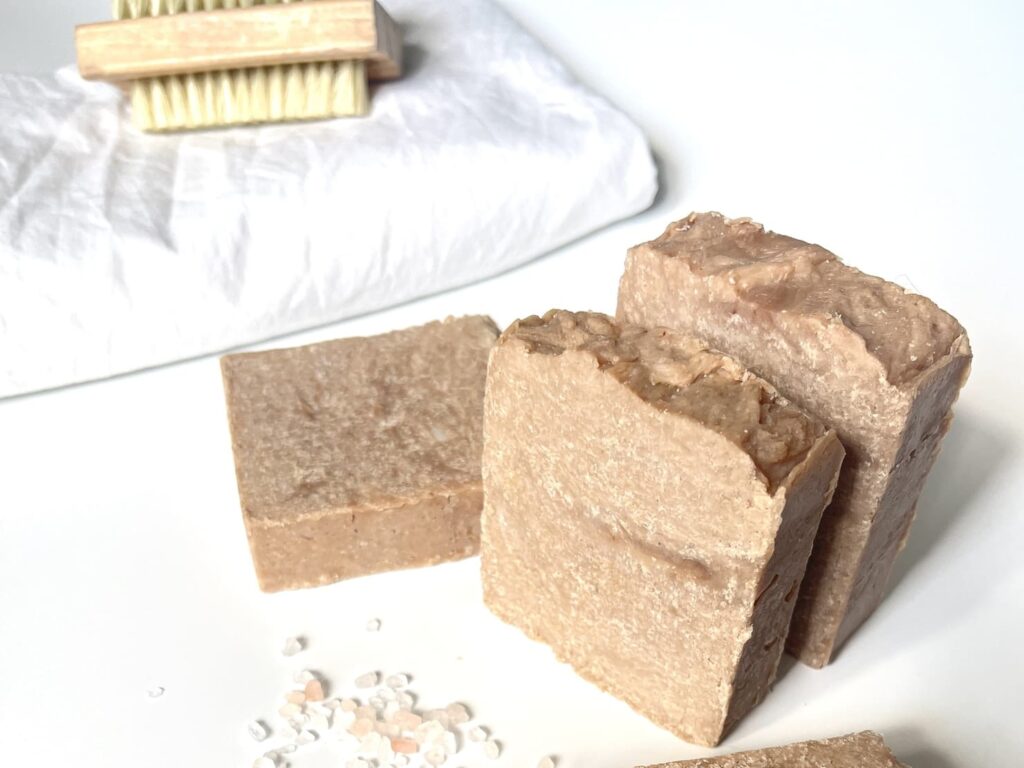
6. Add the Salt & Extras
Once fully cooked, let the soap cool slightly before stirring in your oz of salt. Adding too much salt can cause your bars to crumble, so stick to about 50–100% of the oil weight.
This is also the time to add your essential oils, colorants, or coconut milk for added moisture. I added rose clay. Don’t worry the orange will change, I promise!
Optional: Try pink salt on top of the bars for a beautiful look!
Scoop the thick soap into your loaf mold or silicone mold. Press it down firmly and tap it to remove air bubbles. Use gloved hands or a spatula to smooth the top.
Let the soap cool and harden for at least 12–24 hours. Hot process soap doesn’t need a long cure like cold process, but waiting a day or two helps it firm up nicely.
If you used a loaf mold, cut your bar of soap into even pieces once cooled. You can use it right away, but a little bit of extra curing (up to 1 week) can help dry it out and make it last longer.
If you used a loaf mold, cut your bar of soap into even pieces once cooled. You can use it right away, but a little bit of extra curing (up to 1 week) can help dry it out and make it last longer.
Troubleshooting Tips
- Soap too crumbly? You may have used too much salt. Try reducing the amount next time.
- Bars too soft? They may need to set longer, or you might need a higher hard oil ratio.
- Didn’t reach trace? Try blending a bit longer or using warmer oils.
Dead Sea Salt or Pink Himalayan Salt?
These natural salts offer more than just scrubbing power:
- Dead Sea salt is not recommented for salt bars and it can result in an oily bar that does not lather. Save this for amazing scrubs.
- Pink salt is known for its beautiful color and gentle exfoliation
- Regular sodium chloride (sea salt) also works well. It’s my go-to salt.
You can even try making a brine soap (dissolving salt in water) or experiment with sea water—just be sure to run it through a soap calculator first. If you need help understanding how to use a soap calculator, I go more in depth in this post.
Storage and Use
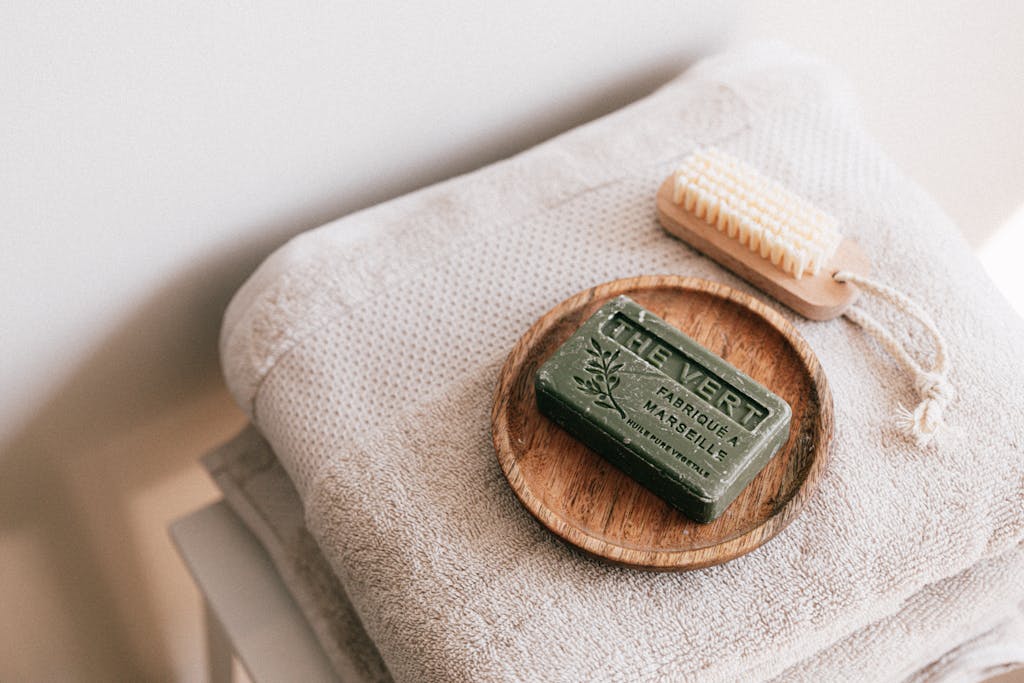
Once fully set, your handmade soap is ready to use or give as gifts. Store bars in a cool, dry place. Keep extras wrapped or in airtight containers to stay fresh longer.
Salt bars can last a long time and often improve with age!
FAQs
Want to Go Further?
- Experiment with different soap molds for fun shapes
- Use a lye calculator to make custom batches
- Explore cold process soap recipes for a different finish
- Try using extra oil for a more moisturizing bar
- Keep notes so you can tweak things next time. I put together a simple kit for taking notes. You can get it here.
Final Thoughts + My Favorite Things
You just made your own sea salt soap bars using the hot process method—well done! These bars are perfect for pampering yourself or giving as gifts. Try different oils, salts, and essential oil blends to see what works best for your skin.
- Bella 6.0 Qt Manual Slow Cooker (no need to be fancy here. Goodwill can be a great source!)
- Silicone rectangle cavity soap mold
- Red Hot Devil Lye (I found this to be a cheaper option unless you purchase in bulk. Great for beginners
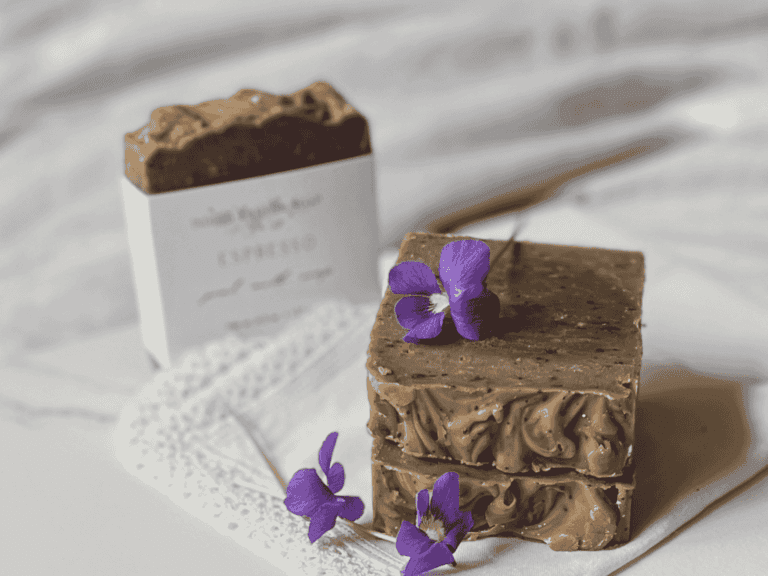
Natural soap is a joy to make—and hot process sea salt soap is a fabulous recipe to start with or add to your collection. With exfoliating salts, nourishing oils, and a rich creamy lather, these bars feel like a luxury, even when you’re on a budget.
Give it a try, and don’t forget to share your results. Homemade doesn’t mean complicated. It just means made with care.
Soapmaking Tutorials From the Homestead
- Coffee Goat Milk Cold Process Soap Recipe (Easy)
- How to Make Nourishing Milk Soap|
- The Ultimate Guide to Hot Process Soap Making (With Foolproof Tips!)
- Beginner’s Guide to Soap Making: Step-by-Step Tips
If you found this hot process sea salt soap recipe helpful, here’s what you can do next…
Grab my free soapmaker’ Starter kit printable guides
I put together this handy soapmaking tool checklist, recipe log, soap batch planner and more to help you organize your soapmaking, along with some helpful tips to have at a glance
- Join my email list for tips, tutorials, and handmade soap goodness every week (No spam. Just helpful soapmaking tips from Soapmaker’s Homestead.)
- Do you have a great salt bar tip? Drop it in the comments—I’d love to hear what works for you!
Like this? Leave a comment below
How to Make Natural Hot Process Sea Salt Soap (Recipe)
Print RecipeEquipment
- Crock pot
- Stick blender or immersion blender
- Digital scale
- Soap molds (a loaf mold or silicone mold works well)
- Separate containers for oils, lye, and salt
- Double boiler (or microwave) for melting hard oils
- Protective gear – gloves, goggles, and long sleeves
- Well-ventilated area for mixing lye water
Ingredients
- Coconut oil – 4.8 oz great for cleansing and lather
- Olive oil – 9.6 oz gentle and moisturizing
- Castor oil – 1.6 oz boosts lather
- Cocoa butter – 1.6 oz hardens the bar
- Tallow beef – 12.8 oz
- Avocado Oil – 1.6 oz
- Sea salt or pink Himalayan salt – 8 oz to 12 oz adjust based on preference
- Distilled water – As calculated
- Sodium hydroxide lye – Use a lye calculator to get the correct amount
- Essential oil blend – Up to 1 oz optional but heavenly
Instructions
- Working with sodium hydroxide (lye) can be dangerous. Always:
- Keep kids and pets out of the room
- Wear protective gear
- Mix lye in a well-ventilated area
- Add lye to warm water, not the other way around


Leave a Reply