Hey there, friend! Pull up a chair, grab a cup of tea—maybe the kind your grandma used to make with a splash of love and a sprinkle of stories—or coffee (no judgment here), and let’s talk about making milk soap. It’s a straightforward process that can give you creamy, nourishing bars perfect for your skin.
Most of the ingredients you probably already have in your pantry, and if you are new to soap making, this is for you.
Soap making can be intimidating. There is a lot to pay attention to, and learning anything new can be challenging, It’s one reason many people don’t even try, but I promise you, you can do this! Our soap milk recipe is perfect for the beginner, and once you get your feel for it, move on to some more advanced techniques. Basic unscented milk bars are some of my favorites.

Why You’ll Love Milk Soap?
Milk soap isn’t just a fun project—it’s a treat for your skin. Milk adds creaminess, boosts hydration, and gives your skin a healthy, soft feel. Whether you use goat milk, cow milk, or coconut milk, your skin will thank you. Goat’s milk in particular, contains a high amount of lactic acid, which is a member of the alpha-hydroxy acid family with the additional benefit of being very hydrating for your skin.
What You’ll Need
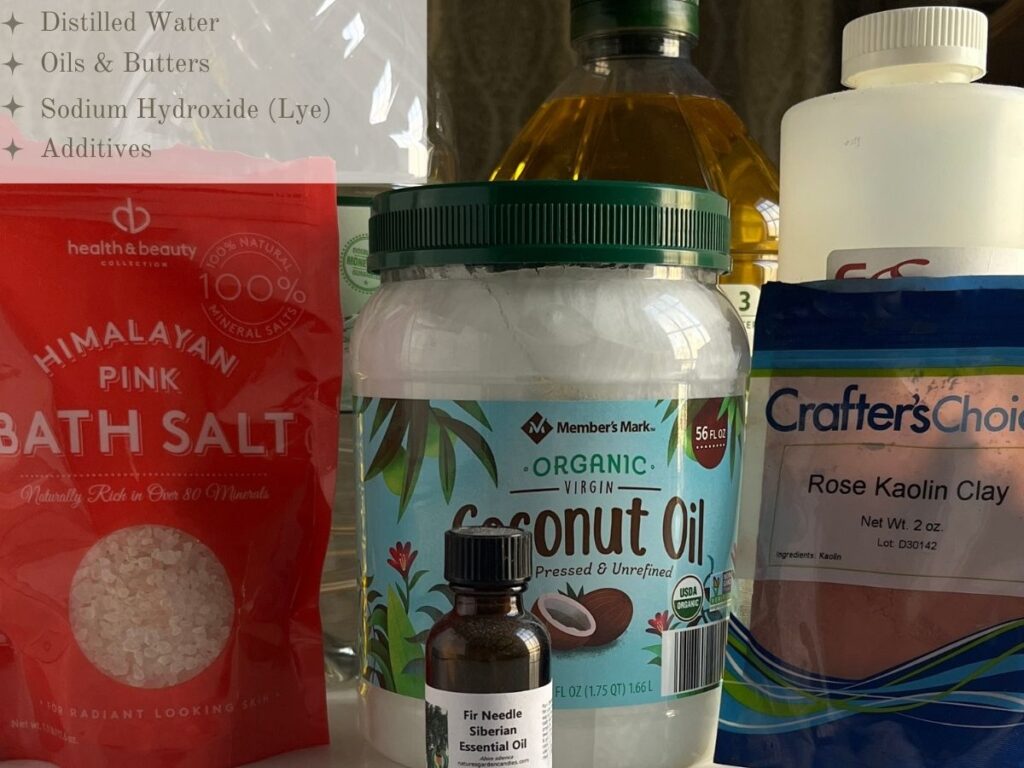
- Milk: Goat milk is a popular choice, but cow, coconut, or almond milk work well too.
- Lye (Sodium Hydroxide): Necessary for soap-making, but handle with care.
- Fats & Oils: Olive oil, coconut oil, and tallow are great choices.
- Extras: Essential oils, honey, or oatmeal for added benefits.
Pro Tip: Freeze your milk into cubes before starting. This keeps the milk from scorching when you add the lye.
Step-By-Step Instructions
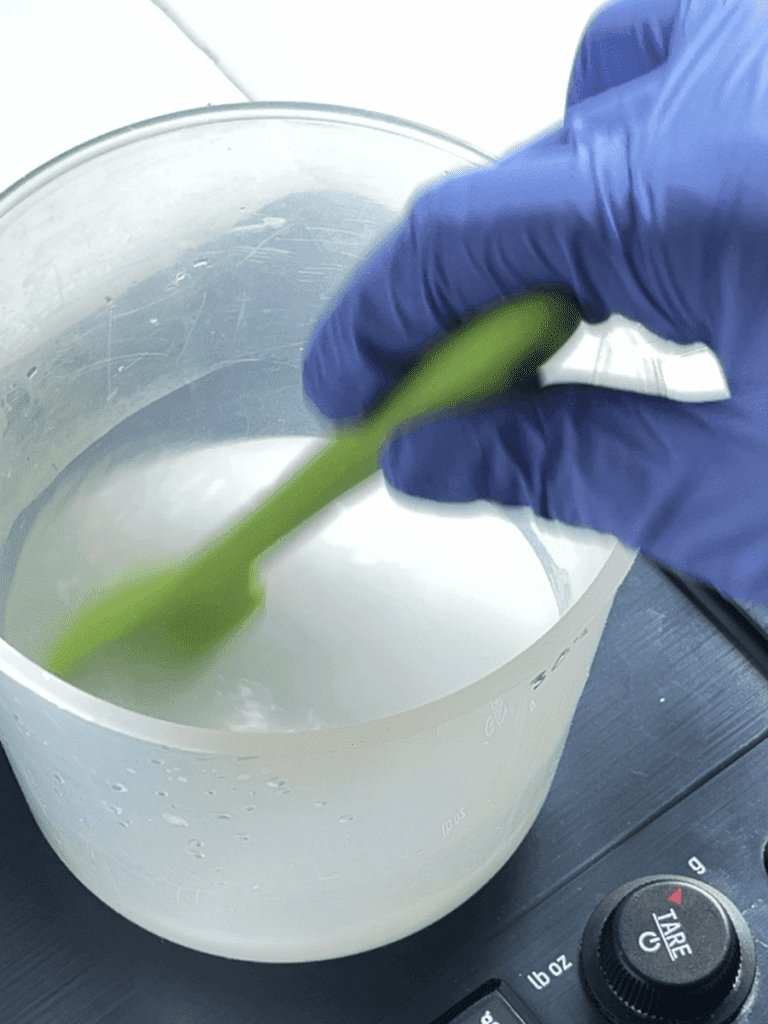
Add Lye to Frozen Milk
Sprinkle lye over frozen ice cubes a little bit at a time, (maybe a tablespoon at a time), stirring as you go. We want to go slowly so the milk doesn’t get to hot. If the milk scorches, the soap will not be that creamy color we are looking for. This process should only take a few minutes.
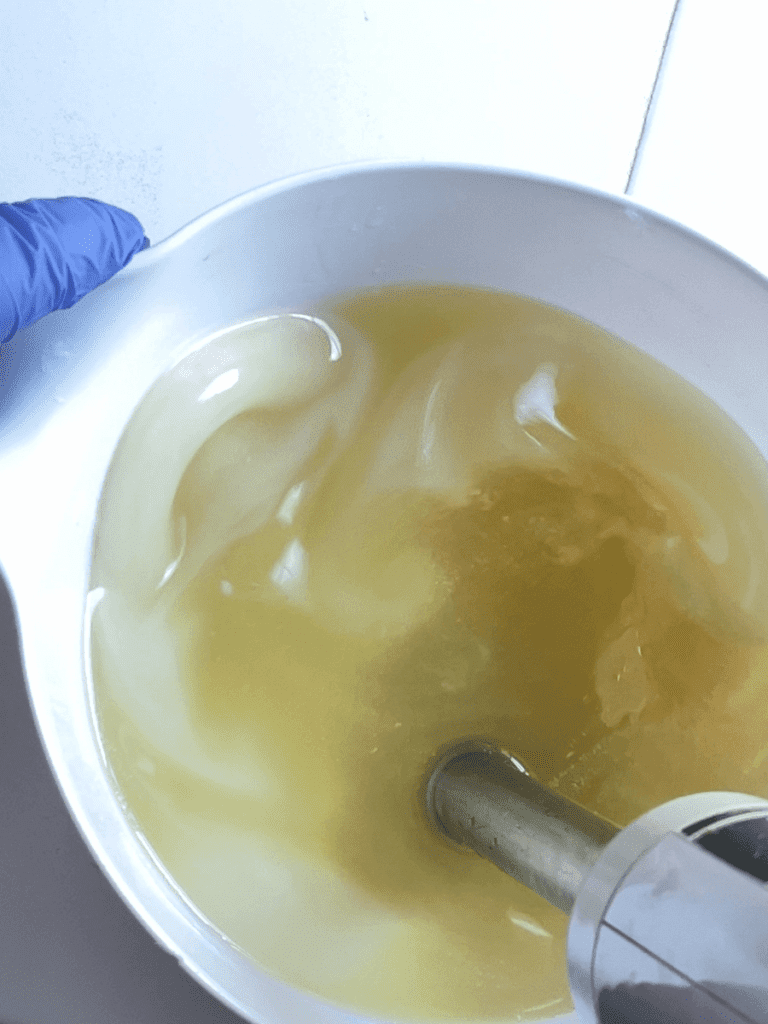
Adding Lye to Oils
When you add your lye milk solution to your oils, it will begin to change from translucent to opaque. This is normal. Blend in short bursts until you reach trace.
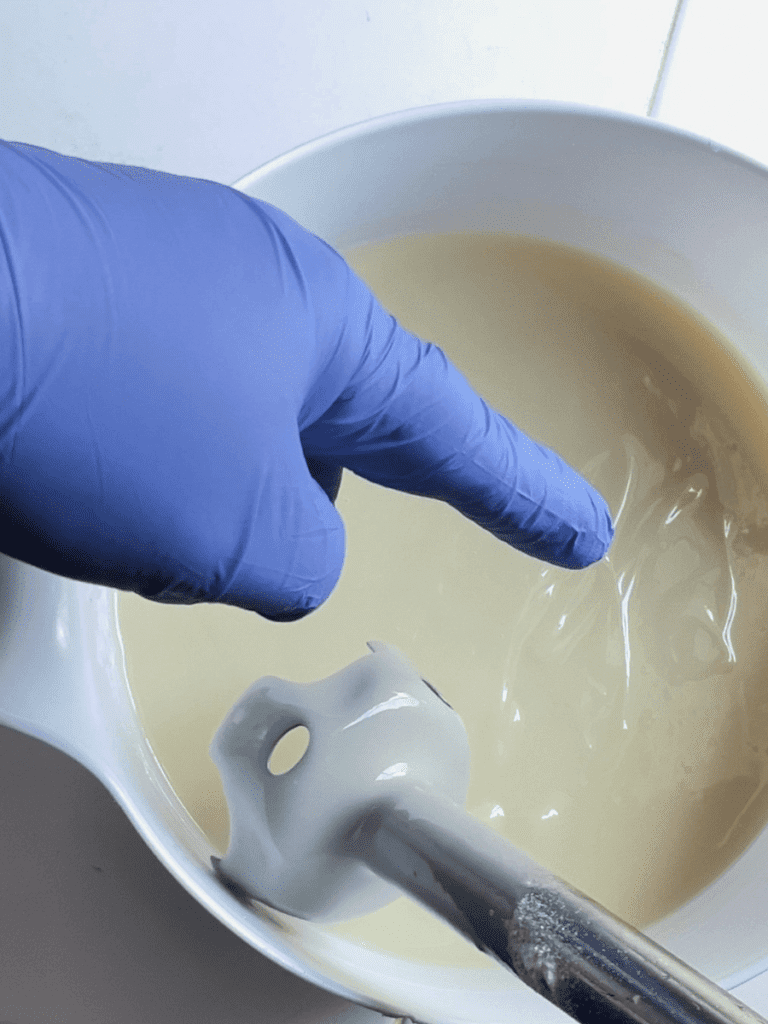
Trace
Once you have blended for a while, the batter will begin to thicken up. Different ingredients will move at different speeds. For instance, 100% olive oil soap can take a very long time. Most recipes can reach trace within minutes. Pull the stick blender out of the batter and drizzle it over the top of the soap. When the soap sits on top, giving it an embossed look, you have reached trace.
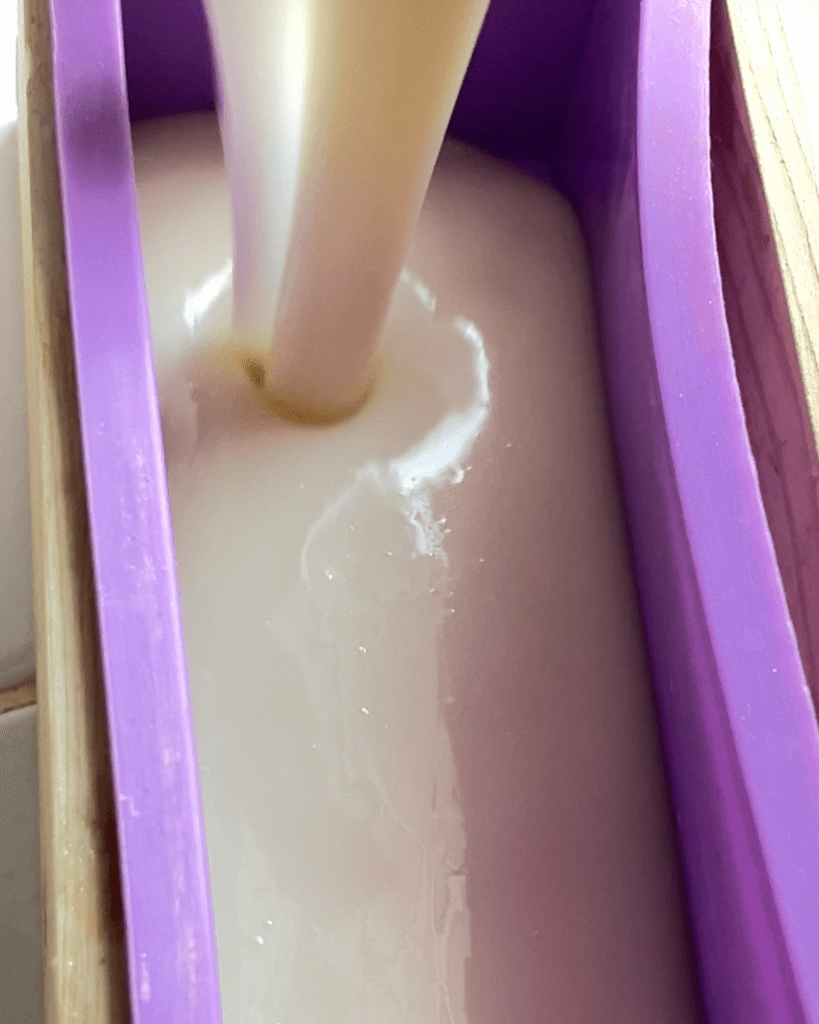
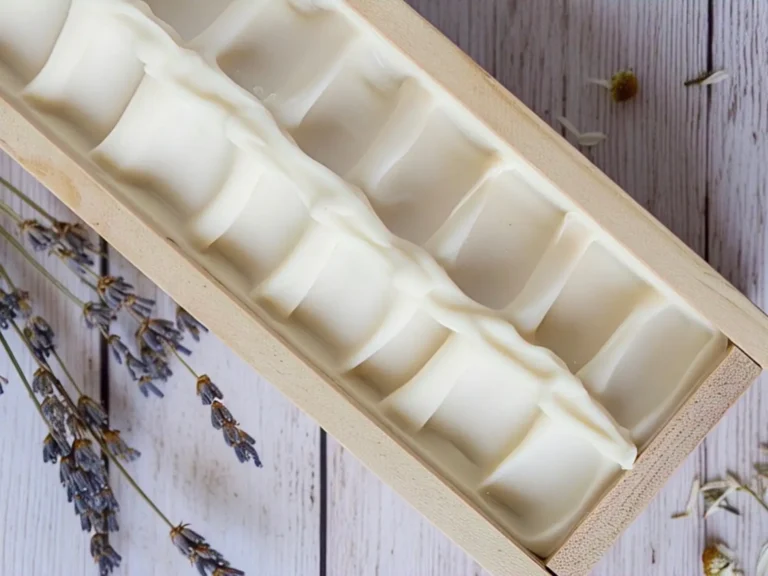
Pouring Soap Batter
Once you reach trace, you can safely pour your soap into the mold. Pour gently, tapping the mold on the counter lightly to ensure there are no trapped air bubbles in your soap.
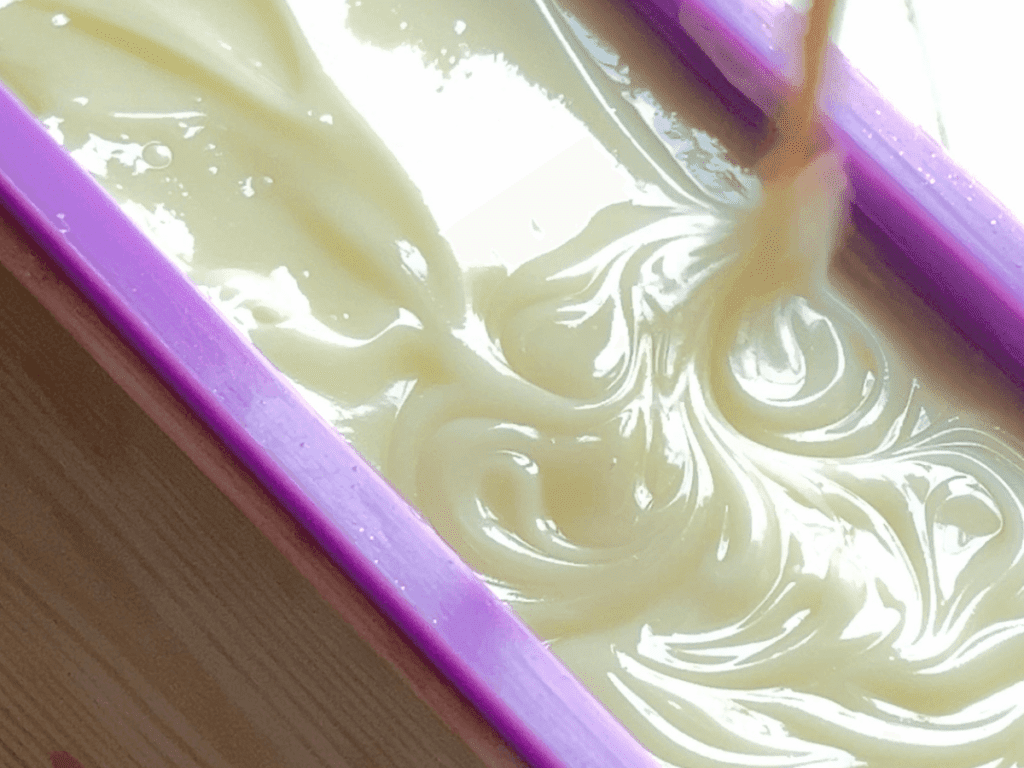
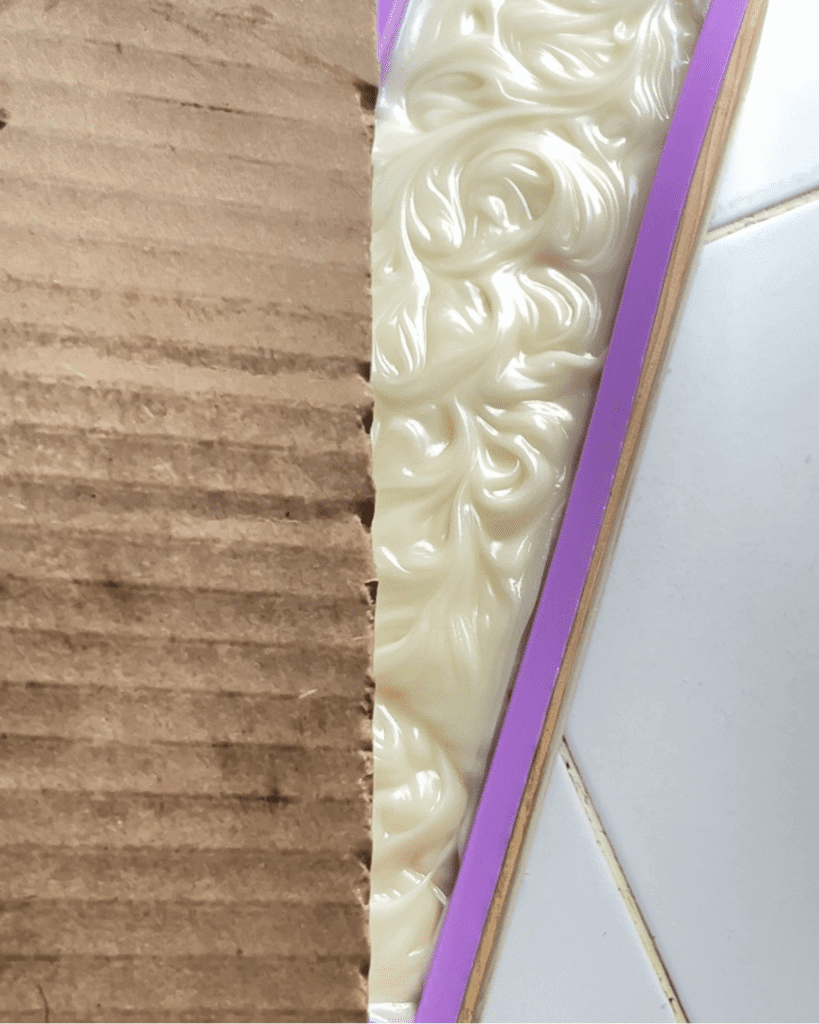
Texturizing
With a chopstick, skewer, spoon or other utensil, swirl the soap any way you like. This is the fun part!
Insulation
Some soap molds come with lids, but cardboard, plastic wrap also work just as well. This is just to prevent soda ash from forming on the top of your soap, giving it a dusty appearance. It’s not bad and it can be removed, but this will save you a step. It is simply aesthetics. I acually like the look of it on some soaps.
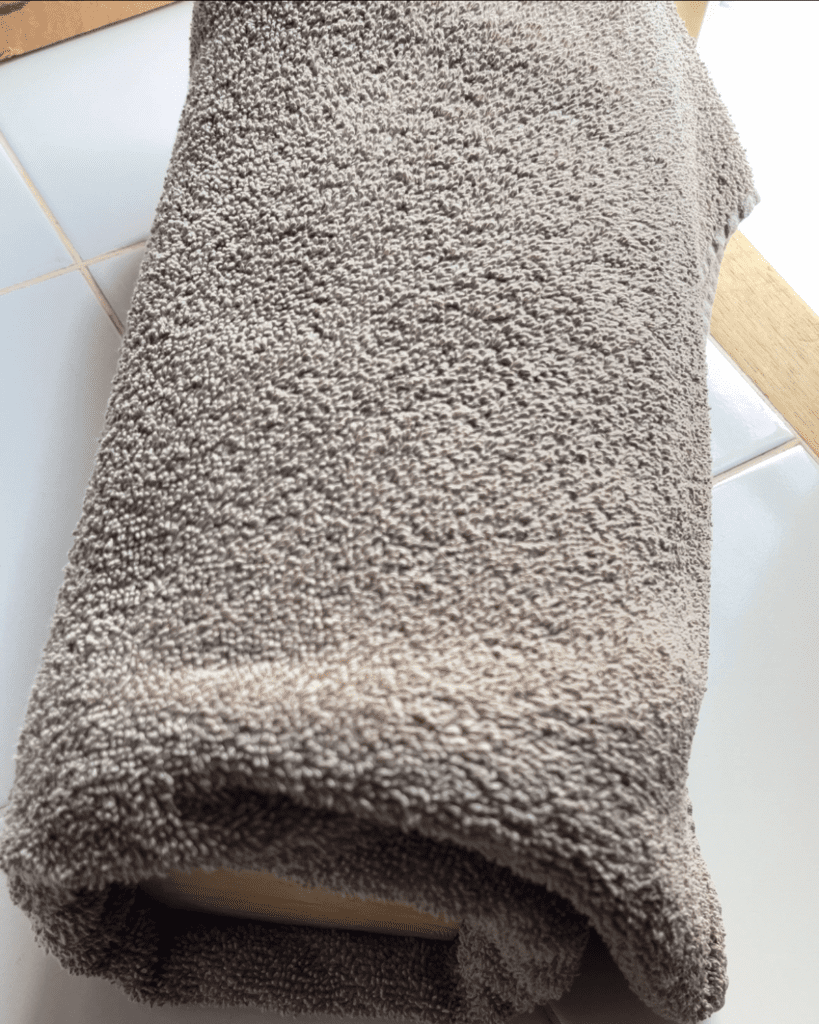
Putting Your Soap to Bed
Wrap your mold in an old towel and tuck it in overnight.
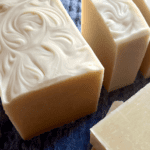
Unmold & Cut
If you have a silicone mold, gently pull the edges apart to release the airlock, the silicon should pull right off. If you have lined your mold. Release the soaf loap and peel off the liner. Congratulations! You did it. You can cut it with a knife, a soap cutter, etc. I still use a miter box and a pastry scraper. The box helps me measure accurately and the pastry scraper (or bench scraper) slides right down through it. At this point, there is no more lye in your soap. It is recommended that you cure it for 4 to 6 weeks in a dry place with plenty of air circulation to let the extra moisture evaporate. This will result in a milder, harder and longer-lasting bar.
Tips for Making Milk Soap
- Soap too soft? You might need more time or harder oils.
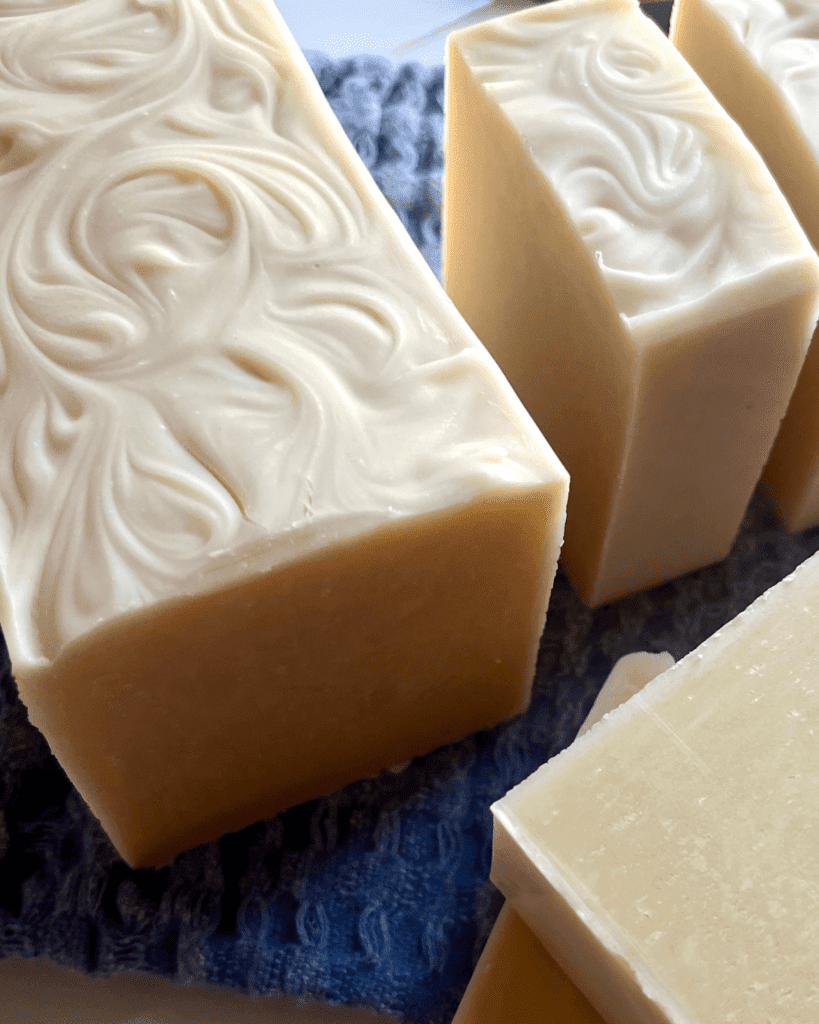
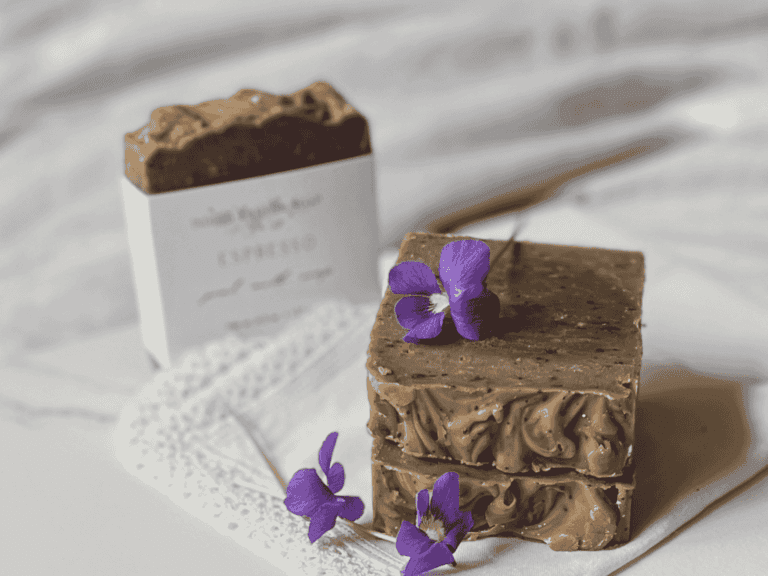
- Discoloration? Milk soap often turns a creamy tan or light beige. This is normal.
- Unusual smell? The milk and lye mixture can smell strange initially, but it fades as the soap cures.
Soap Making FAQs
Other Soap Recipes:
- Beginner’s Guide to Soap Making
- The Ultimate Guide to Hot Process Soap Making
- How to Make Nourising Milk Soap
If you make this tutorial and love it, I would love if you gave it 5 stars! Tag me on Instagram @soapmakershomestead with your beautiful creation.
Milk Soap Step-by-Step
Instructions
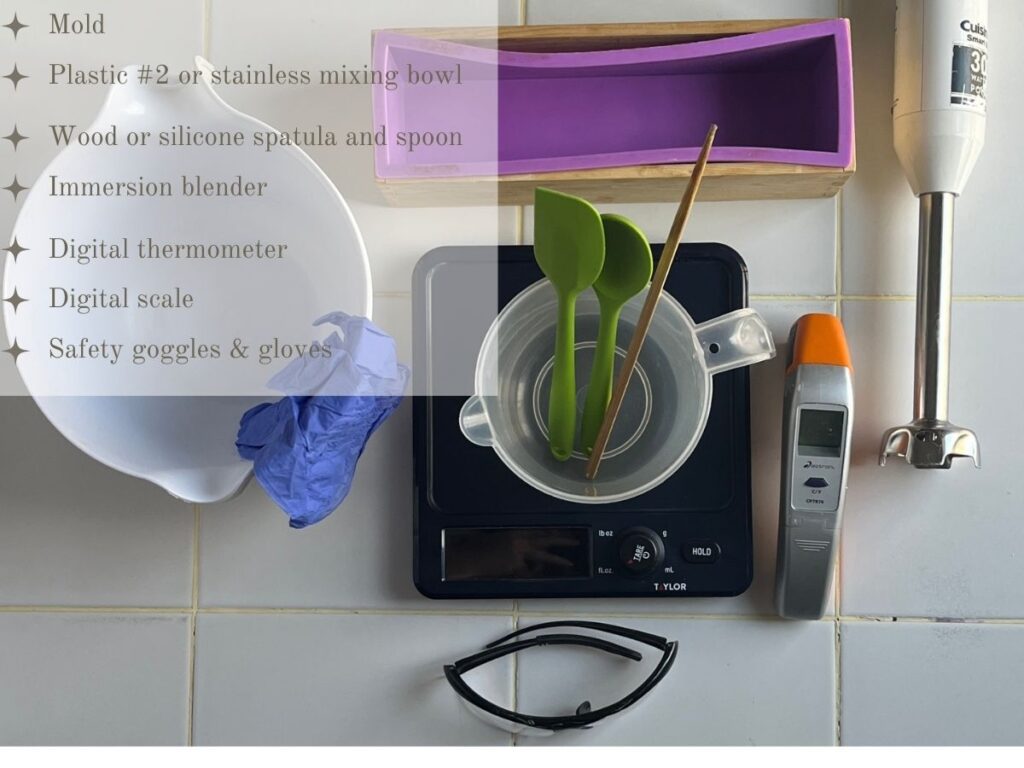
- Prepare Your Workspace:
- Wear gloves and goggles for safety.
- Line your mold with parchment paper to make removal easier.
- Mix Lye and Milk: Slowly sprinkle lye into the frozen milk cubes. Stir gently. The mixture might change color and smell strange—that’s normal.
- Melt Oils: Heat your oils until fully melted but not too hot.
- Combine and Blend: Slowly pour the lye-milk mixture into the oils. Slowly pour the lye-milk mixture into the oils. Blend with an immersion blender until you reach trace, which looks like pudding.
- Add Extras: Stir in essential oils, honey, or oatmeal if you’d like.
- Mold & Wait: Pour into your mold and cover with a towel.
- Cure the Soap: Let your soap cure for 4-6 weeks. This allows it to harden and become milder.
Like this? Leave a comment below.
Sharing is caring!


Leave a Reply