This post may contain affiliate links. Please read our disclosure policy.
There is something about the first cool, rainy day of fall that makes me want to slow down and make things.
Today, the windows are open, rain is tapping against the glass, and I’m in the kitchen making fall-scented goat milk soaps. I’ve got chicken simmering slowly for homemade bone broth, and sourdough dough is waiting to become apple cinnamon rolls for breakfast tomorrow.
It’s the kind of day that reminds me why I love making things at home in the first place.
And if you’ve ever wanted to try your hand at soapmaking but the thought of working with lye has kept you from starting, there’s another way to begin: melt and pour soap.
Melt and pour is one of the easiest ways to make beautiful handmade soap at home, and you don’t have to start with a complicated recipe or a kitchen full of specialized equipment.
In a hurry? Pin in for later
What Is Melt and Pour Soap?
Melt and pour soap starts with a commercially prepared soap base that has already gone through the soapmaking process.
Unlike traditional cold-process soapmaking, you aren’t starting with oils, water, and sodium hydroxide and creating the soap yourself. The base has already been formulated and processed for you.
Your job is to melt the base, customize it with your chosen fragrance and color, pour it into a mold, and let it cool.
That’s the beauty of it.
Melt. Customize. Pour. Cool. Unmold. Enjoy.
For someone who is curious about soapmaking but isn’t ready to learn cold-process soapmaking, it’s a wonderful place to start.
Why Try Melt and Pour Soap?
There are several reasons melt and pour is so appealing to beginners.
You don’t have to work with lye
The soap base has already been made, so you’re not handling sodium hydroxide as part of the soapmaking process.
That makes melt and pour a much less intimidating introduction to handmade soap.
Of course, you still want to follow basic safety precautions when working with hot melted soap, fragrance oils, and other ingredients. But the process itself is wonderfully straightforward.
It’s quick
Traditional cold-process soap needs time to harden and then cure before you can use it.
Melt and pour is much faster.
Once your soap has cooled and hardened, you can remove it from the mold and use it. That makes it especially satisfying when you want to make something beautiful without waiting weeks to see the finished result.
It’s easy to customize
This is where the fun really begins.
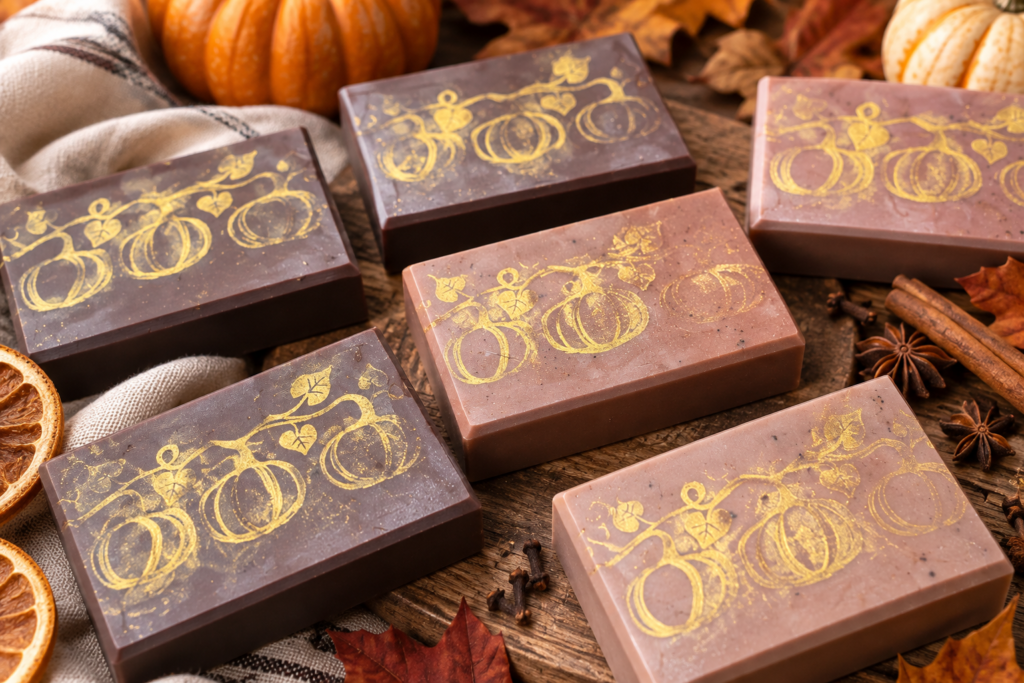
You can choose different soap bases, fragrances, colors, molds, and simple decorative additions to create something that feels completely your own.
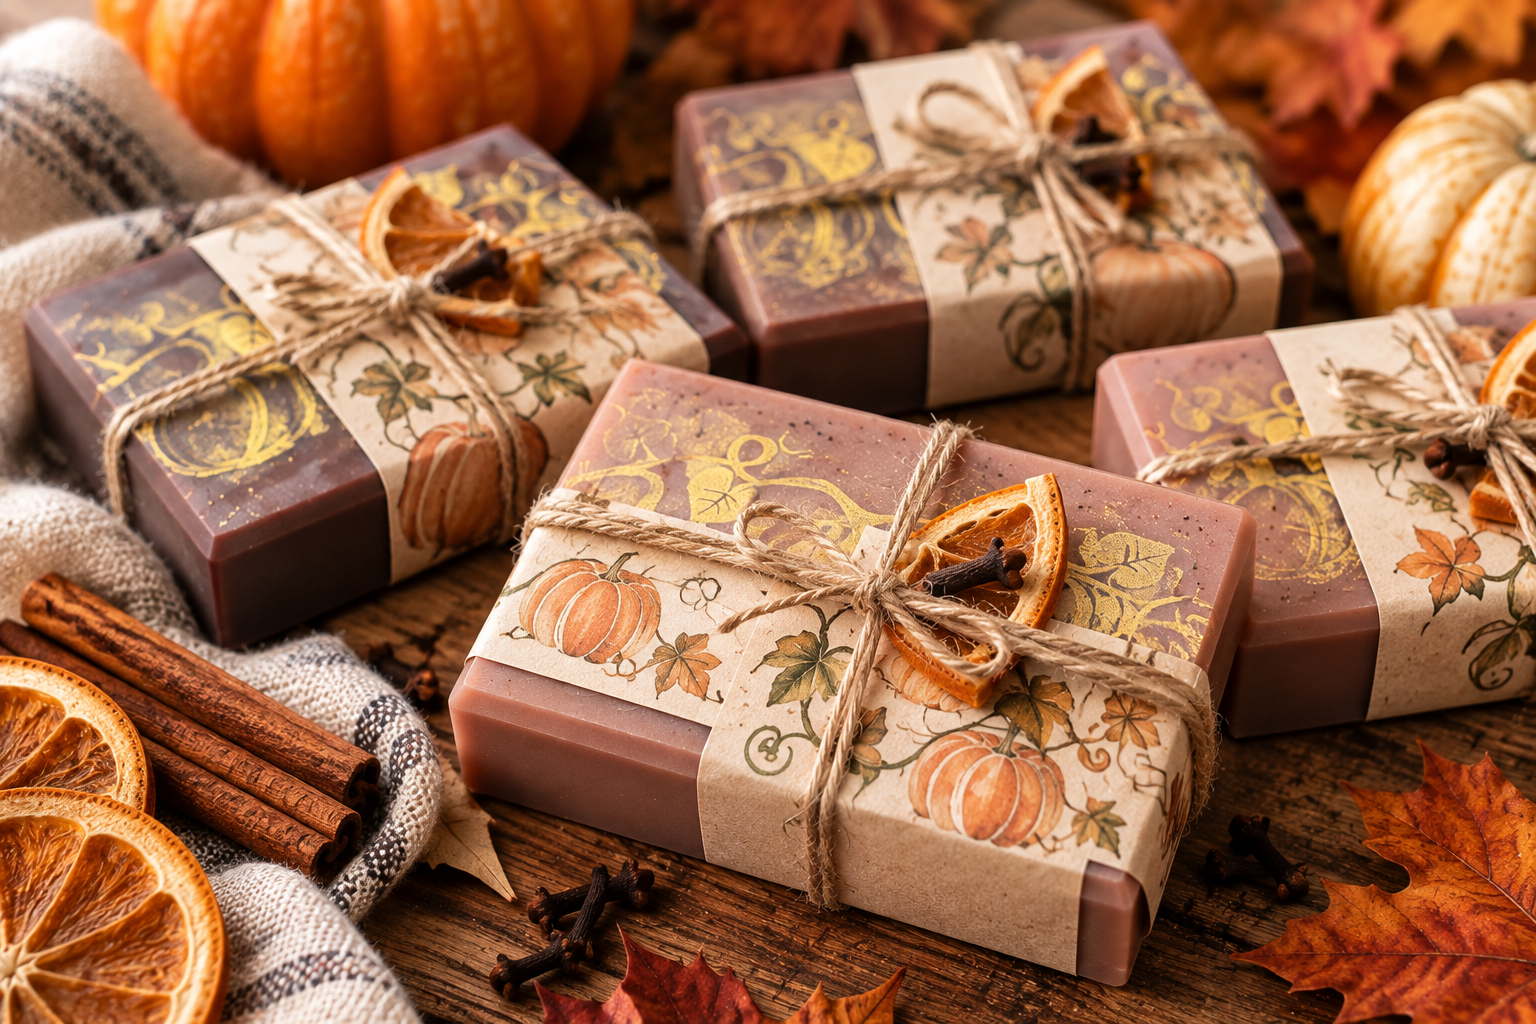
And because the process is relatively quick, it’s easy to make small seasonal batches. I made Pumpkin Pie Spice and Orange Clove today.
What You Need to Make Melt and Pour Soap
You don’t need a huge collection of equipment.
For a basic batch, you’ll need:
- Melt and pour soap base
- A microwave-safe measuring cup or heat-safe container
- A sharp knife for cutting the soap base
- A silicone soap mold
- Fragrance oil formulated for soap. I like Nature’s Garden Candles or Brambleberry.
- Soap-safe colorant, if desired.
- A spoon or spatula for stirring (I get mine at Dollar Tree)
- A spray bottle of rubbing alcohol, if you want to help eliminate surface bubbles. I recommend 91% alcohol.
That’s really about it.
You can certainly get more elaborate as you gain experience, but I love that you can start with a relatively small investment.
Choosing Your Soap Base
Melt and pour bases come in several varieties, including clear, white, shea butter, aloe, and goat milk.
For my fall soaps, I’m using a goat milk melt and pour base by Primal Elements. You can find it here.
Goat milk soap has a creamy appearance and makes a beautiful base for soft, cozy seasonal soaps.
When you’re choosing a base, look at the ingredients and the manufacturer’s directions.
Different bases can behave somewhat differently when melted, and it’s always worth following the recommendations that come with the particular base you’re using.
How to Make Melt and Pour Soap
The actual process is wonderfully simple.
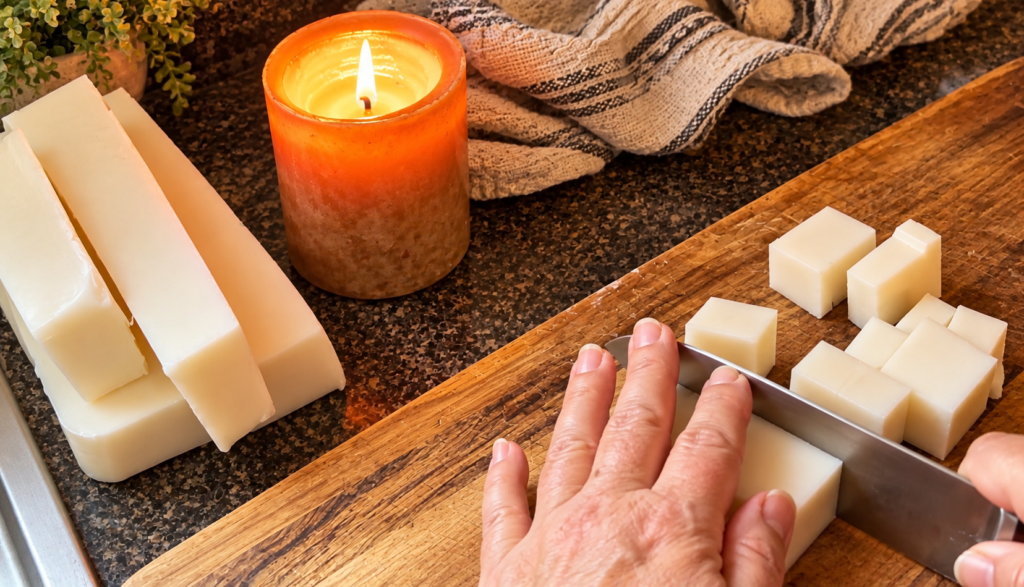
1. Cut the soap base
Cut the base into small, fairly even cubes.
Smaller pieces melt more evenly than one large block, which helps prevent some pieces from becoming excessively hot while others are still solid.
2. Melt the soap gently
Place the pieces in a microwave-safe container and heat them in short intervals, stirring between each one.
The goal is to melt the soap, not cook it.
Overheating can cause problems with the texture and appearance of your finished soap, so take your time.
If you’d rather avoid the microwave, you can also melt the base gently using a double boiler or another appropriate low-heat method.
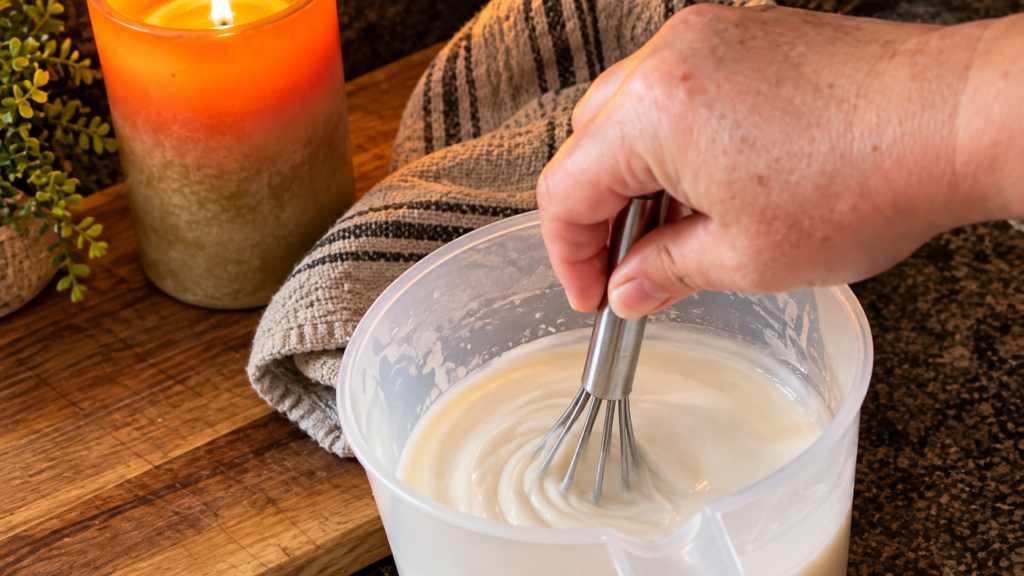
3. Add your fragrance
Once the soap base is melted, it’s time to add fragrance.
This is where you can really make the soap your own.
For my fall batch, I’m making three scents:
Pumpkin Pie Spice — warm, spicy, and wonderfully nostalgic.
Orange Clove — bright citrus paired with warm spice.
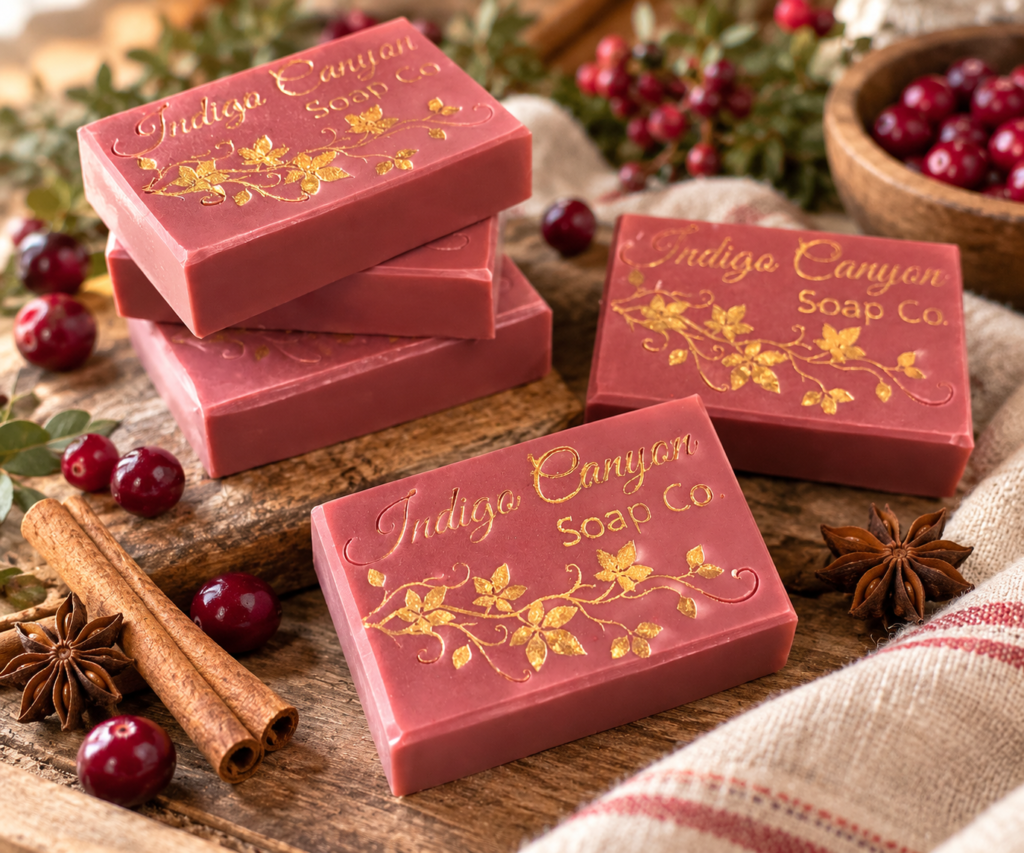
Spiced Cranberry — fruity and tart with a cozy spicy note.
When using fragrance oils, always check the manufacturer’s recommended usage rate and make sure the fragrance is approved for use in soap.
More fragrance does not necessarily mean better soap. In fact, using too much can cause problems with both the soap and your skin.
4. Add color, if desired
You can leave melt and pour soap completely natural, or add a little soap-safe colorant.
For seasonal soaps, I tend to prefer understated colors rather than going overboard. A soft cream, warm amber, muted orange, or gentle cranberry tone can be enough to make a bar feel distinctly autumnal.
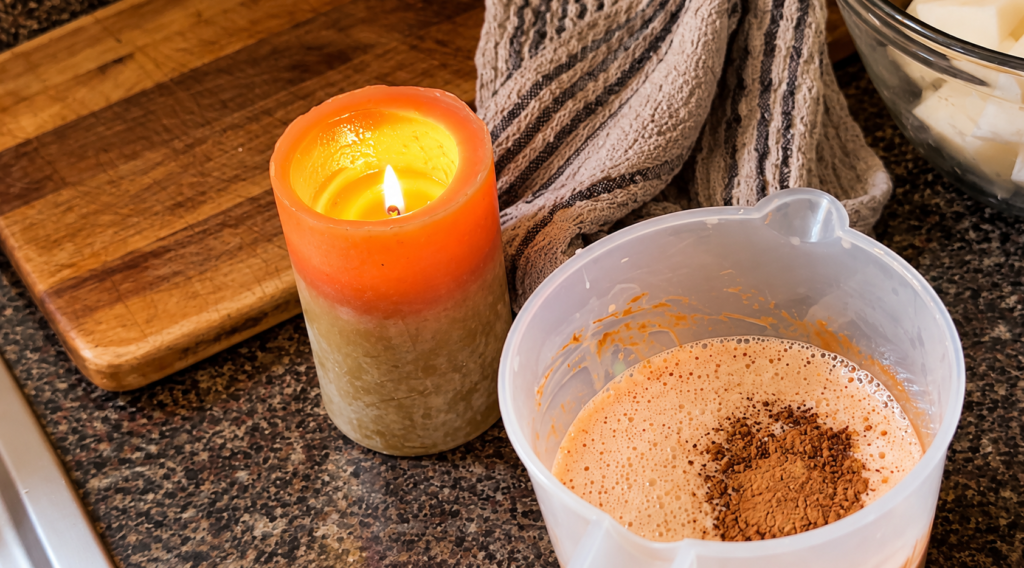
5. Pour into the mold
Carefully pour the melted soap into your molds.
If bubbles form on the surface, a light mist of rubbing alcohol can help break them up.
Don’t overfill your molds. Leave enough room for the soap to settle neatly into each cavity.
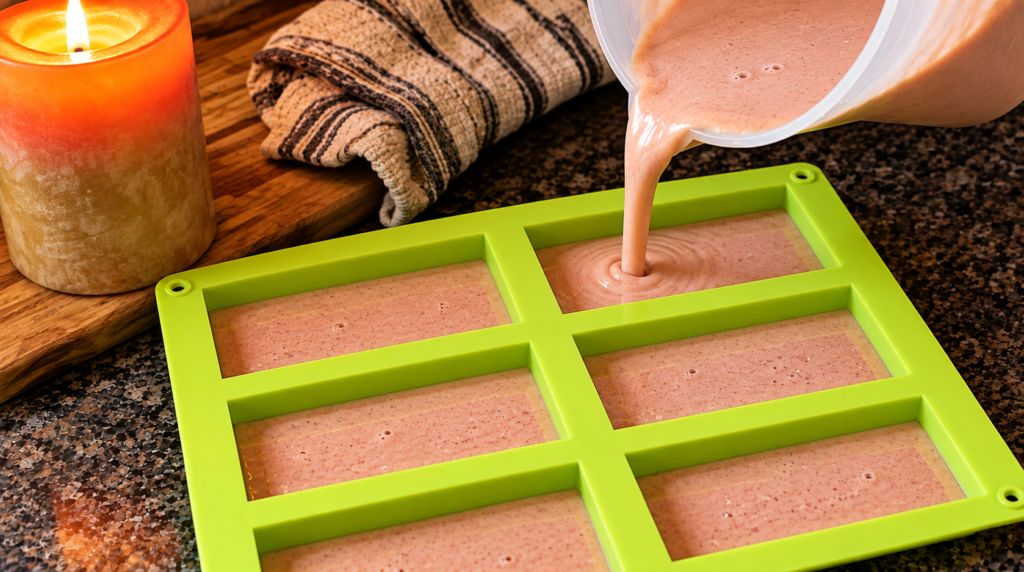
6. Let the soap cool
Now comes the hardest part:
Leave it alone.
Allow the soap to cool and harden completely before trying to remove it from the mold.
Depending on the size and shape of your molds, this may take several hours.
Once the bars are firm, gently remove them from the molds.
And that’s it.
You’ve made soap.
A Few Melt and Pour Mistakes to Avoid
Although melt and pour soap is beginner-friendly, there are a few things that can make the process less successful.
Don’t overheat the base
Gentle heating is your friend.
If you’re using a microwave, short heating intervals with stirring in between are much better than putting the soap in for several minutes at once.
Don’t use too much fragrance
Always follow the fragrance supplier’s recommended usage rate.
This is particularly important with strong fragrances and spices such as cinnamon and clove.
Be careful about what you add
It’s tempting to start throwing all sorts of things into melted soap—fresh fruit, herbs, milk, food ingredients, and other kitchen ingredients.
Resist the urge.
Some ingredients contain water or can introduce moisture and other stability problems into your finished soap.
If you’re experimenting, stick with ingredients intended for soapmaking and learn how they behave before adding them to something you’re planning to sell.
Don’t rush the unmolding
I know.
You’ve made the soap and you want to see it.
But give it time.
Trying to remove a soft bar from its mold too early can leave you with a lopsided or damaged bar.
Ask me how I know.
Melt and Pour vs. Cold Process Soap
If you’re wondering whether melt and pour is “real” soapmaking, I’d say it depends on what you want from the experience.
Cold-process soapmaking gives you much more control over the formulation. You choose the oils, calculate the lye, formulate the recipe, and take the mixture all the way through the soapmaking process yourself.
Melt and pour starts with a finished soap base and lets you focus on customization and design.
They’re simply two different approaches.
For someone who wants to learn the entire soapmaking process, cold process is worth exploring.
For someone who wants to make beautiful handmade soap without beginning with lye and a complicated formulation, melt and pour is a wonderful option.
And there’s absolutely nothing wrong with starting simple.
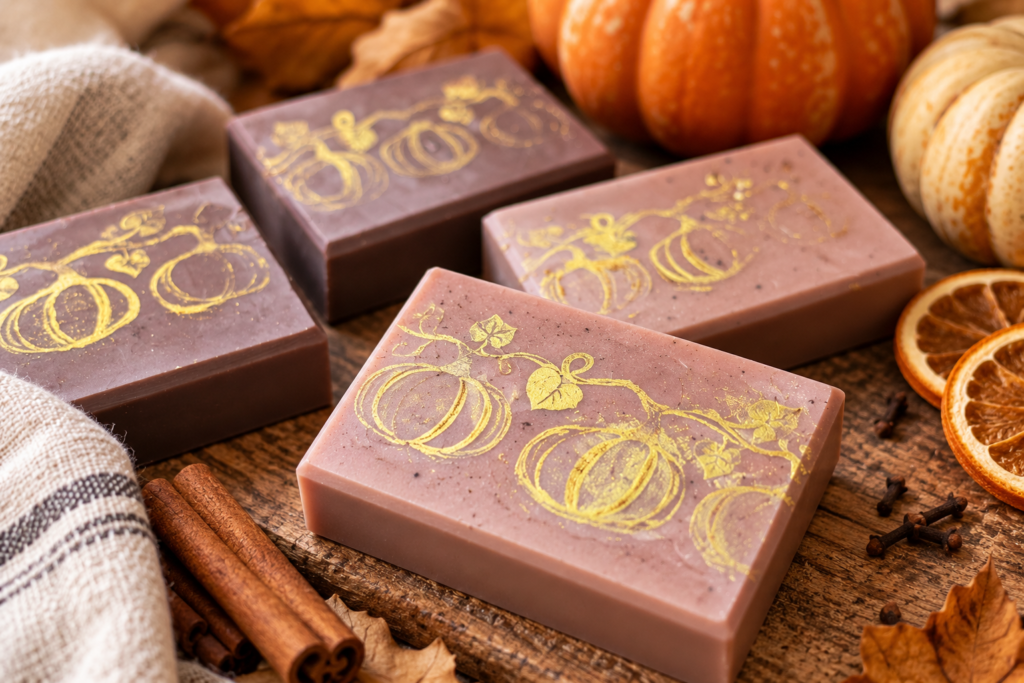
Making Fall Soap on the First Cool Day of the Season
That’s exactly what I’m doing today.
The weather finally feels like fall. The rain is coming down, the windows are open, and I’m making a small batch of goat milk melt and pour soaps for the season. ething particularly satisfying about making seasonal things by hand.
The scents I chose remind me of everything I love about this time of year—warm spices, citrus, cranberry, cool mornings, and cozy afternoons at home.
And while the soap is cooling, dinner is happening too.
I’m pulling apart a roasted chicken and putting the bones into a pot to slowly make a rich homemade broth. Tomorrow morning, the sourdough dough I’ve been working on will become apple cinnamon rolls.
It’s not particularly complicated.
It’s just home.
And I think that’s one of the reasons I enjoy making things myself.
You don’t always need to make something difficult to make something meaningful.
Sometimes it’s enough to open the windows, listen to the rain, make a few bars of soap, and put something homemade on the table.
Want to Try Melt and Pour Soap?
If you’ve been curious about soapmaking but haven’t felt ready to tackle cold-process soap, melt and pour is a great place to begin.
Start small.
Choose a good soap base, pick one fragrance you love, find a simple mold, and make a few bars.
You don’t need a perfect setup.
You don’t need a beautiful studio.
And you certainly don’t need to know everything before you begin.
Make something. Learn from it. Make it a little better next time.
That’s how most worthwhile skills are learned.
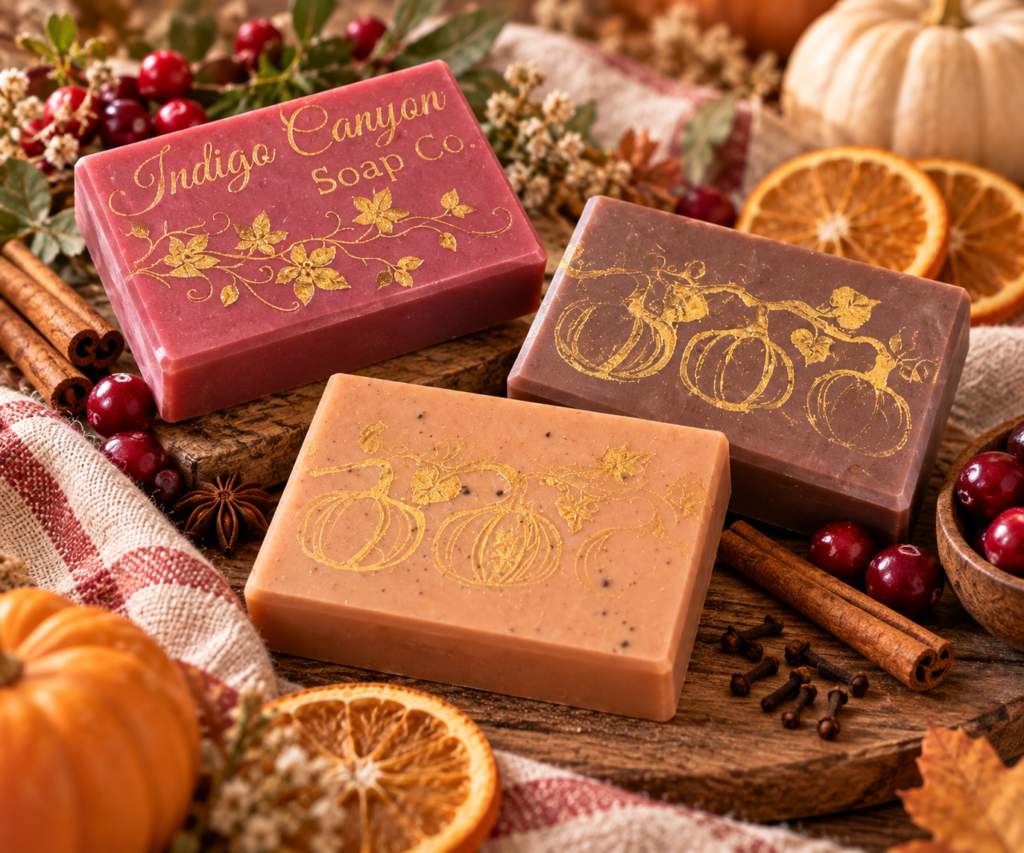
And if you’d rather enjoy the finished soap without making it yourself, I’ve also made a small seasonal collection of goat milk melt and pour soaps inspired by these first days of fall.
Pumpkin Pie Spice • Orange Clove • Spiced Cranberry
Happy fall, and happy making.
A Few Tips for Making Seasonal Soap
Choose your fragrance carefully. Some fragrance oils can cause soap batter to thicken quickly, so it’s worth checking the supplier’s usage and behavior notes before making a large batch. Have everything ready before you begin. Once you’re working with soap batter, you don’t want to be hunting for a mold or measuring fragrance. Don’t rush the curing process. Handmade cold-process soap needs time to become a harder, longer-lasting bar. Make notes. I keep track of my recipes, colors, fragrances, and anything I’d change next time. Future-you will be very grateful.
Maybe that’s what I love most about fall—the invitation to slow down, make things, and prepare our homes for the months ahead. A batch of soap isn’t going to change the world, but there’s something pretty wonderful about making something useful with your own two hands. And if it happens to make the bathroom smell like orange, cloves, and pumpkin pie? Even better.
More Soapmaking and Homemade Goodness
The Five Biggest Mistakes I Made as a New Soapmaker
Beginner’s Guide to Soap Making
How to Make Nourishing Milk Soap
Hot Process Sea Salt Soap Recipe
If you give this a try, come back and show us what you made! We’d love to see your creations over on our Facebook page.
2 responses to “Melt and Pour Soap: An Easy Way to Make Handmade Soap at Home”
-

I’ve never been interested in making soap. This blog has changed that. It makes soap making feel both appealing and doable. I’m definitely going to try my hand at it now. Thanks for the motivation! Great, inspiring, practical blog. I appreciate the step by step instructions as well as the tips for increasing readers’ chances of success. I also appreciate the fact that you offer completed soaps for those who are still not ready to make their own.
-
Debra,
Thanks for the sweet comment. If you do try it, please let me know how it goes. I can’t wait to hear. They make wonderful Christmas gifts!
-



Leave a Reply