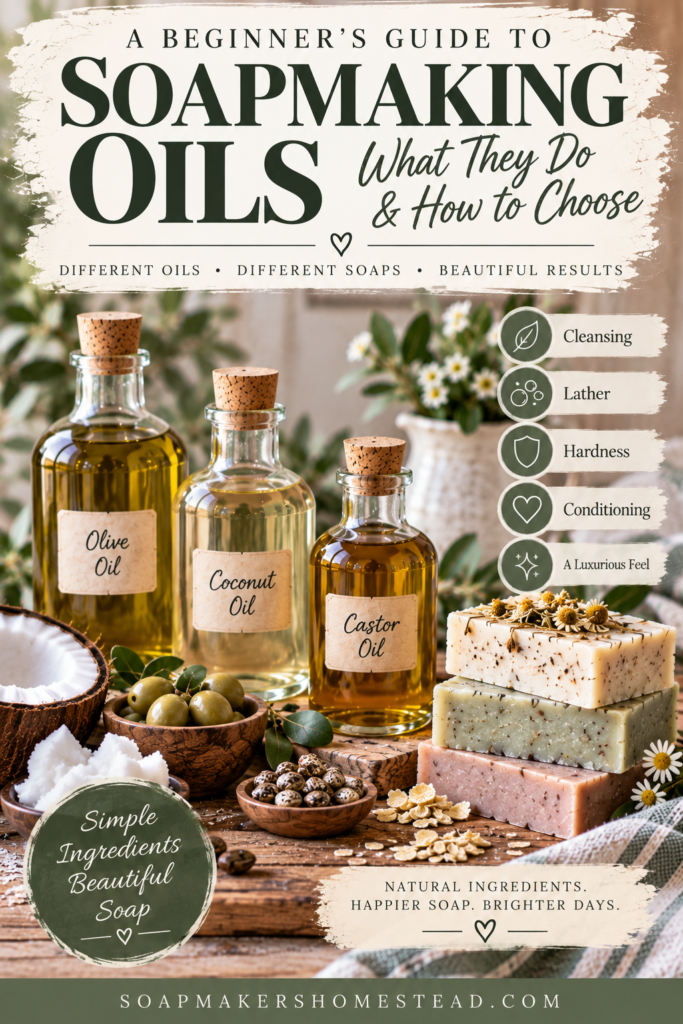
In a hurry? Pin it for later
When I first started making soap, I thought the oils were mostly interchangeable.
If a recipe called for olive oil and I had something else in the cupboard, surely I could just swap it out and carry on.
Nope.
That was one of those soapmaking lessons I had to learn the hard way.
Because while oils might all look like…well, oils, they don’t all behave the same way in soap. Each oil brings its own characteristics to a recipe, and changing the oils can change the finished bar in some pretty significant ways.
Some oils contribute hardness. Some help create bubbly lather. Some contribute a creamy feel. Others are prized for their conditioning qualities.
And once you understand that, soap recipes start making a whole lot more sense.
Instead of looking at a recipe and thinking, Why on earth did they choose six different oils? you can start looking at the formula and understanding what each ingredient is doing there.
So let’s talk about it.
This post contains affiliate links, including Amazon links. As an Amazon Associate, I earn from qualifying purchases. This means I may earn a small commission at no extra cost to you. See full disclosure here
Why Are There So Many Different Oils in Soap?
One of the things that confused me most as a beginner was seeing soap recipes with four, five, or even more different oils.
I remember thinking, Isn’t that a little excessive?
Sometimes it is.
But often, each oil is contributing something different to the finished bar.
Soapmakers are essentially building a recipe around the qualities they want in the finished soap.
Maybe you want a hard bar that lasts a long time.
Maybe you want lots of fluffy bubbles.
Maybe you prefer a creamy, luxurious lather.
Maybe you want a bar with a particular balance of cleansing and conditioning qualities.
The oils you choose help determine those characteristics.
And that’s why you can’t always substitute one oil for another simply because they’re both liquid oils sitting in your pantry.
They’re not necessarily going to behave the same way in a soap recipe.
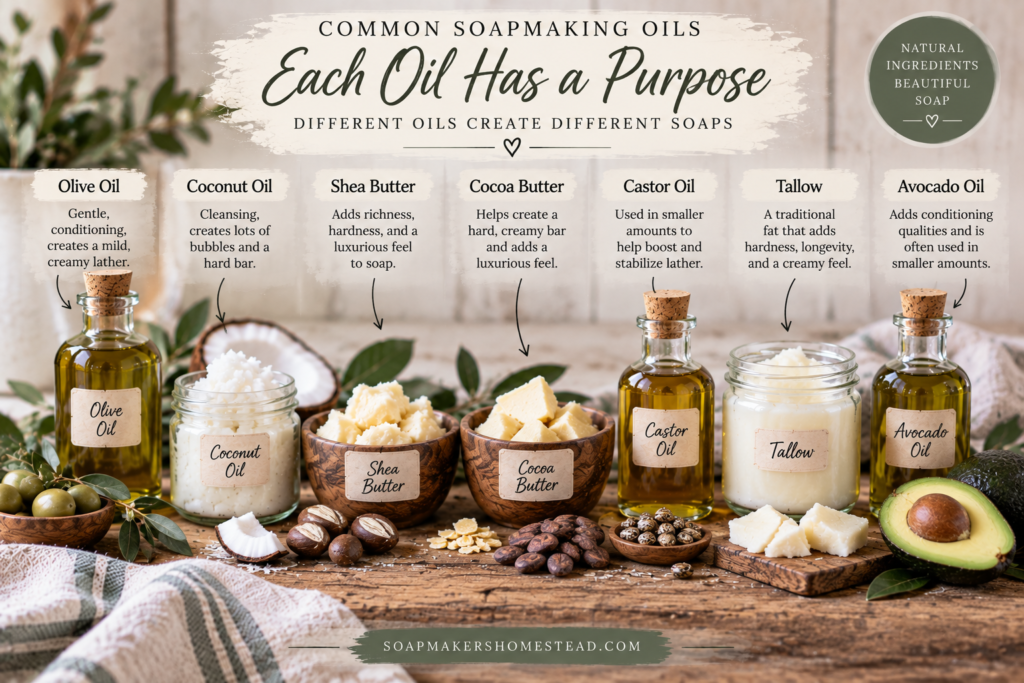
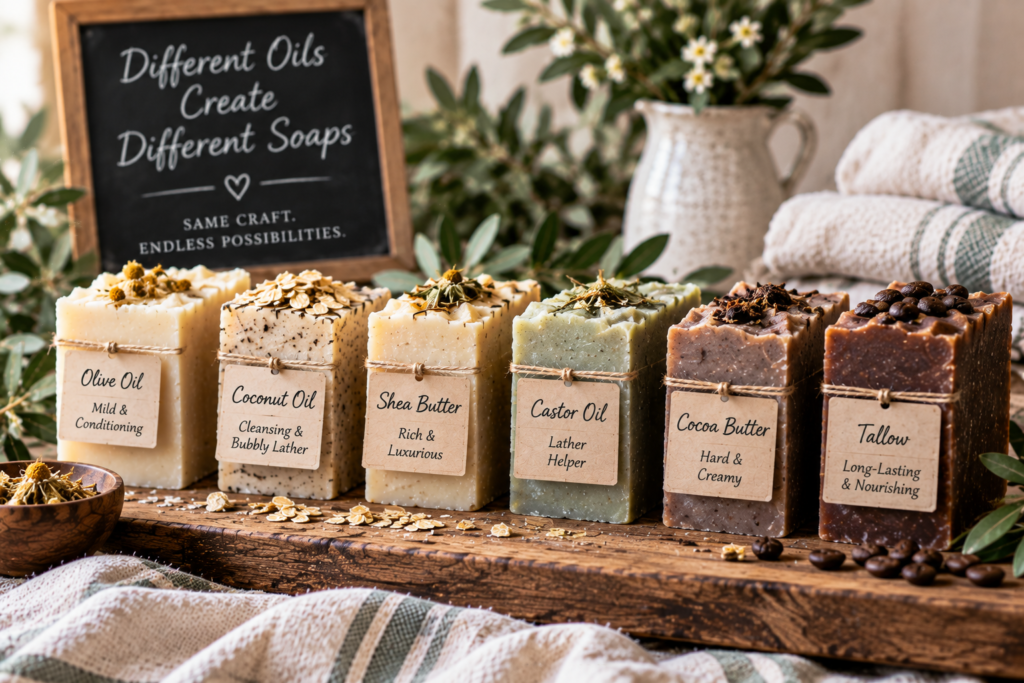
Olive Oil: Gentle and Conditioning
Olive oil is one of the classic soapmaking oils, and for good reason.
It’s commonly used in recipes designed to create a mild, conditioning bar.
One thing I love about olive oil soap is that it reminds me that soap doesn’t have to be complicated to be wonderful.
Olive oil can produce a lovely, creamy lather, although soaps made with a very high percentage of olive oil can behave differently from recipes containing a blend of oils.
And there’s another reason olive oil is such a useful ingredient for beginners: it’s relatively easy to find and familiar enough that it doesn’t feel intimidating.
If you’ve ever wondered why so many handmade soap recipes contain olive oil, this is one of the big reasons.
Coconut Oil: Cleansing and Bubbles
Coconut oil is another very common soapmaking oil.
It’s known for contributing cleansing properties and a big, bubbly lather.
But here’s where things get interesting.
More isn’t always better.
A recipe containing a large amount of coconut oil can produce a very cleansing bar, while a recipe containing less may have a different balance of qualities.
This is a perfect example of why you shouldn’t look at one oil in isolation.
You’re not trying to find the best soapmaking oil.
You’re trying to build a combination of oils that creates the kind of soap you want.
Shea Butter: Richness and Hardness
Shea butter is one of those ingredients that makes a soap recipe feel a little fancy.
It’s a plant butter that’s often used in soapmaking formulas to contribute hardness and a rich, creamy feel.
It also adds a lovely luxurious quality to the recipe.
But you don’t need shea butter in every batch of soap.
That’s something I wish I’d understood earlier.
A recipe doesn’t become better simply because you’ve added more expensive ingredients.
Sometimes a beautifully balanced recipe made with relatively simple oils makes a fantastic bar of soap.
Cocoa Butter: Hard, Creamy Bars
Cocoa butter is another popular soapmaking butter.
It can contribute hardness and a creamy quality to the finished bar.
And yes, it smells absolutely wonderful when you’re working with unrefined cocoa butter.
There is something about standing at your worktable with cocoa butter melting that makes you feel like you’re making something very special.
But again, cocoa butter has a job to do in the formula.
It’s not there simply because it sounds luxurious.
That’s the mindset shift I wish I’d made much sooner:
Don’t choose an ingredient because it sounds impressive. Choose it because you understand what it contributes.
Castor Oil: The Lather Helper
Castor oil is usually used in smaller amounts than oils like olive or coconut oil.
Its claim to fame in soapmaking is helping support and stabilize lather.
You don’t need a huge amount to get the benefit, which is one reason you’ll often see it used as a smaller percentage of a recipe rather than as the main oil.
It’s one of those ingredients that may not seem particularly exciting when you’re looking at a recipe—but once you start understanding what each oil contributes, its place starts to make sense.
Tallow: A Traditional Soapmaking Fat
Tallow has been used in traditional soapmaking for generations, and it remains a popular ingredient among many handmade soapmakers.
It can contribute hardness, longevity, and a creamy quality to the finished bar.
I particularly like the way traditional ingredients connect soapmaking to the older, more practical side of homemaking.
People were making useful things from what they had long before soapmaking became an Instagram-worthy hobby.
There’s something pretty satisfying about that.
Avocado Oil: A Specialty Oil
Avocado oil is another oil you may come across in handmade soap recipes.
It’s often included in smaller amounts alongside other oils to add conditioning qualities to the overall formula.
And this is where you start to see why soapmaking can become such a rabbit hole.
Once you understand the basics, you start looking at every oil in the grocery store thinking:
I wonder what that would do in soap?
Ask me how I know.
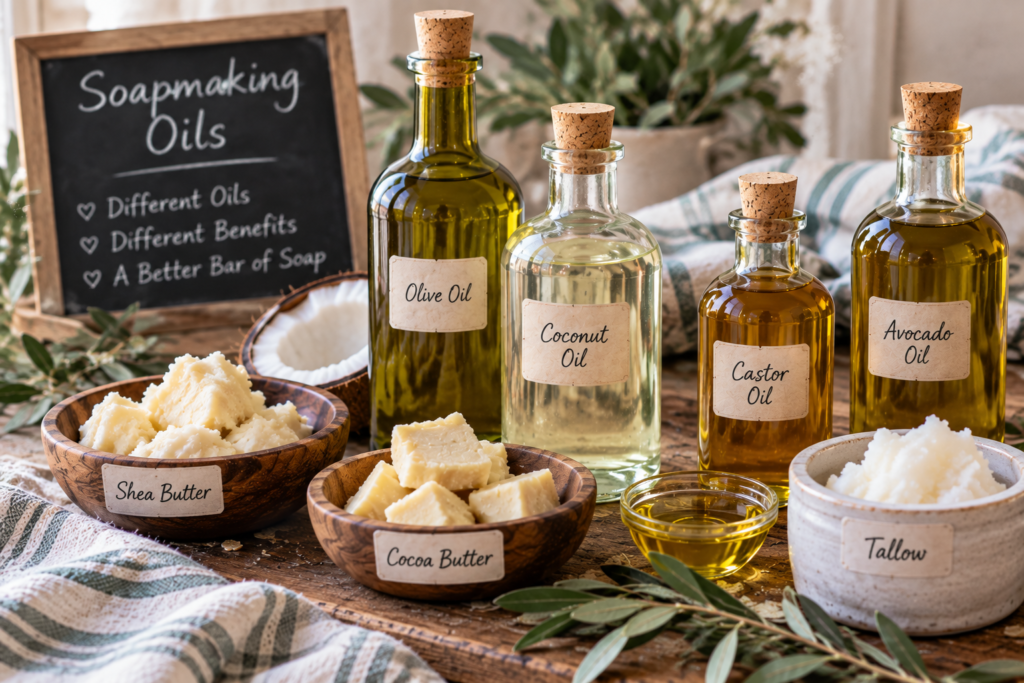
So Which Oil Is Best for Soapmaking?
Here’s the answer I wish someone had given me when I started:
There isn’t one best soapmaking oil.
There are oils that are better suited to certain jobs.
The goal is to combine them thoughtfully.
Think of a soap recipe like a team.
You don’t necessarily want five players who are all really good at the exact same thing.
You want different strengths working together.
One oil may contribute hardness.
Another may contribute cleansing.
Another may support a creamy lather.
Another may add conditioning qualities.
Together, they create the finished bar.
That’s why changing one oil can change the personality of the entire recipe.
Can You Substitute Oils in a Soap Recipe?
This is where I really want beginners to slow down.
Don’t treat soap recipes like soup recipes.
If a soup recipe calls for chicken and you have turkey, you can probably make the substitution without completely changing the nature of dinner.
Soap isn’t quite that forgiving.
Different oils have different fatty acid profiles and different properties in soap. Changing an oil can affect the finished bar, and it can also change the amount of alkali required by the formula.
So if you want to make a substitution, don’t simply replace one oil ounce-for-ounce and assume everything else stays the same.
Recalculate the formula using a reliable soapmaking calculator before making the batch.
That’s not being overly cautious.
That’s understanding the recipe.
And understanding the recipe is what allows you to experiment confidently later.
A Simple Way to Start Understanding Soapmaking Oils
You don’t have to memorize every oil and its properties.
Please don’t.
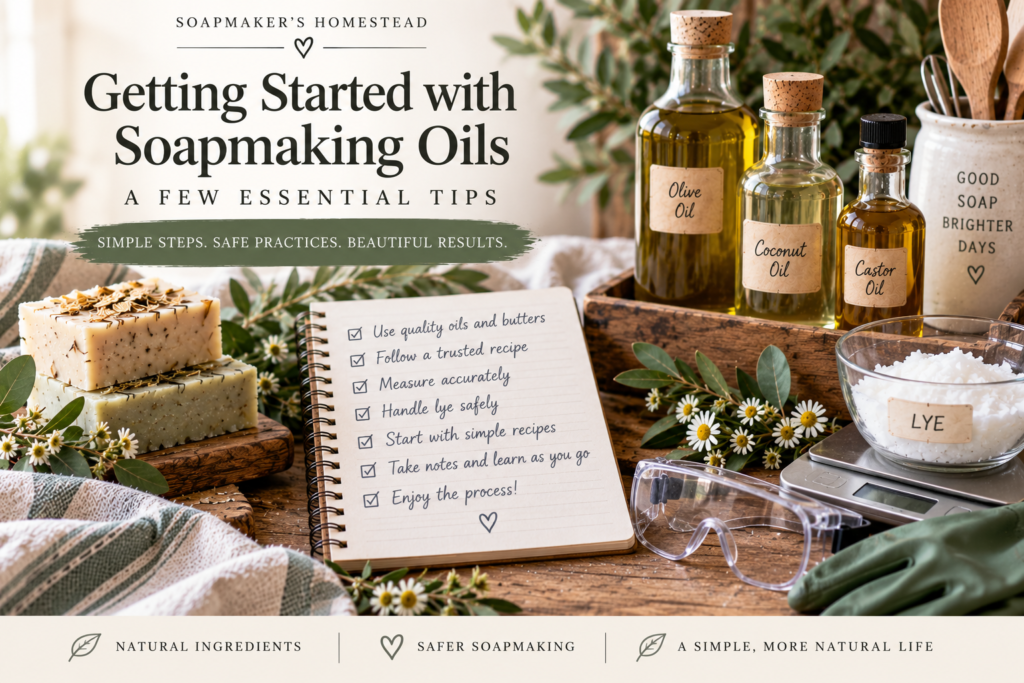
Instead, start keeping a little soapmaking notebook.
When you make a recipe, write down:
- Which oils you used
- The percentage of each oil
- How quickly the batter thickened
- How the finished bar felt
- How hard the bar became
- What the lather was like
- Whether you liked the recipe
- What you would change next time
After a few batches, you’ll start developing your own preferences.
You’ll learn which oils you love working with.
You’ll learn which combinations give you the kind of bar you enjoy.
And eventually, you’ll stop looking at a recipe as a mysterious list of ingredients and start seeing the reasoning behind it.
That’s when soapmaking gets really fun.
What I Wish I’d Known When I Started
Your brain has enough things to remember.
I spent a lot of time early in my soapmaking journey looking for the perfect recipe.
What I really needed was to understand why the recipe worked.
There’s a big difference.
Once you understand what your ingredients contribute, you can make informed decisions instead of blindly following someone else’s formula.
You can look at a recipe and ask:
What is this oil doing here?
What kind of bar is this formula designed to make?
Why did the soapmaker choose these particular ingredients?
And eventually:
What kind of bar do I want to make?
That’s a much more empowering place to be.
You don’t have to become a soapmaking chemist overnight.
Start with one oil at a time.
Pay attention.
Take notes.
Make some soap.
And don’t be afraid of the ugly batches.
I’ve certainly made my share.
Final Thoughts
Learning what different oils do in soap was one of the things that helped me move from simply following soap recipes to actually understanding soapmaking.
And that distinction matters.
Because once you understand the ingredients, you can start making better decisions.
You can troubleshoot when something doesn’t go as planned.
You can choose recipes more confidently.
And eventually, you can begin creating formulas of your own.
That’s when this hobby starts to feel less like following instructions and more like learning a craft.
And honestly?
That’s the part I love most.
Want to Keep Learning?
If you’re just getting started, my Beginner’s Guide to Soapmaking is a great place to start.
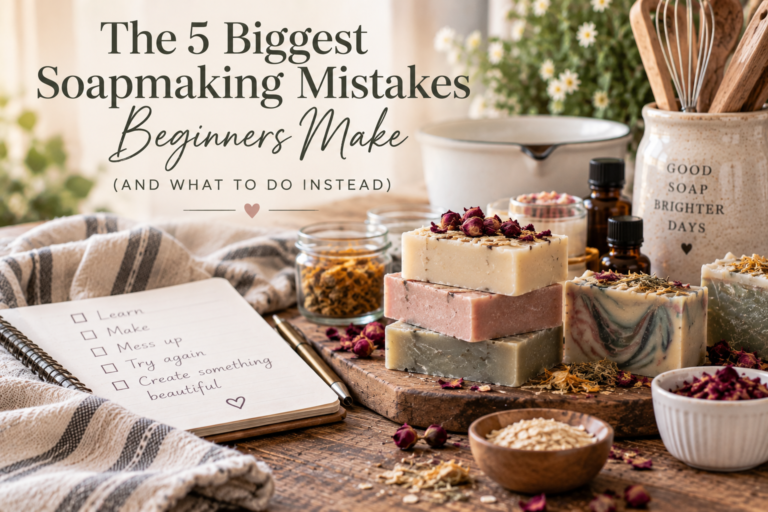
And if you’ve already made a few batches, don’t miss The 5 Biggest Soapmaking Mistakes Beginners Make. Those are lessons I learned through plenty of trial, error, and questionable-looking soap.
Because apparently, ugly soap is just part of the education.


Leave a Reply