There’s a joke in my household that if I’m making a recipe for the first time, it’s probably going to stink.
My family didn’t discover this. I did.
So if I say, “I’m trying a new recipe tonight,” that’s code for: I tried. Please be gracious.
Is it just me?
It was no different when I started making soap.
The oils and lye came together, the mixture turned into soap, and I considered that a success. But y’all—it was the ugliest bar of soap I had ever seen.
It smelled great and lathered beautifully, but it was hideous. Lumpy, uneven, and definitely not what I had pictured in my head. I even tried to make a pretty blue swirl on top with food coloring. Instead, the blue pooled into one of the crevices like a tiny puddle and ran down the side when I picked up the bar.
And yet, I was so proud of that first batch.
Because here’s the thing: for ten years, I put off making soap because I was terrified of lye.
Ten years.
And when I finally worked up the courage to try it, I made a lumpy, blue-streaked mess—and I loved it.
That first batch taught me something I’ve learned over and over again since then: you’re going to have some wins, some losses, and a whole lot of learning along the way. And honestly, I’ve learned some of my most valuable lessons from the batches that made me think, Well, I’ll never do THAT again.
So, after years of making soap, I’ve made plenty of mistakes. These are five of the biggest—and more importantly, what I wish I had known before I made them.
Pin it For Later
Mistake #1: Using a Recipe you Didn’t Understand
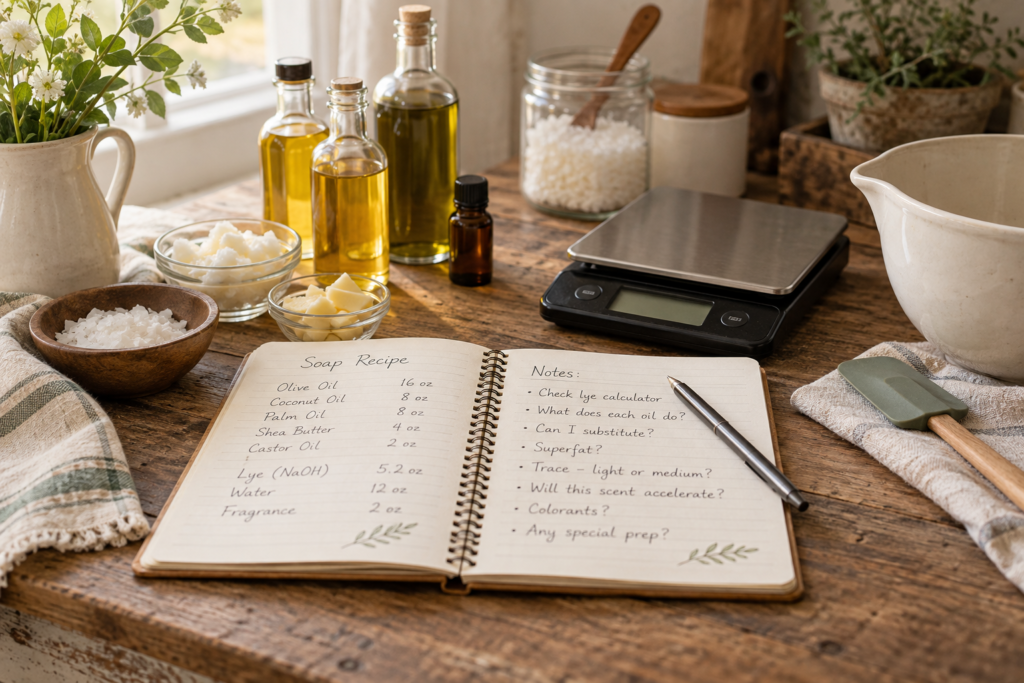
One of my biggest mistakes when I first started making soap was assuming that if someone had written down a recipe, it must be a good recipe.
Seems reasonable, right?
I mean, if it says 10 ounces of this, 8 ounces of that, add your lye and water, mix it up, and pour it into a mold, surely that’s all there is to it.
Well…not exactly.
I was so focused on making soap that I didn’t take the time to understand what the individual oils were actually doing in the recipe. I didn’t yet understand why one recipe might use olive oil while another used coconut oil, or why adding more of one oil could completely change the finished bar.
I also didn’t understand that you can’t simply swap oils because you happen to have something else in your cupboard.
Soapmaking recipes aren’t like soup recipes.
If a soup recipe calls for chicken and you have turkey, you can probably make the substitution and carry on with your life. Soap is a little less forgiving. Changing an oil changes the fatty acid profile of the recipe, which can change the hardness, cleansing, conditioning, lather, and overall feel of the finished soap.
And then there’s the lye.
The amount of lye is calculated based on the specific oils and fats in the recipe. So if you change the oils, you need to recalculate the recipe. You don’t just keep the same amount of lye and hope for the best.
And this is where I want to give every new soapmaker an important reminder: lye is something to respect, not fear.
Always follow proper safety practices when working with sodium hydroxide. Wear appropriate eye and skin protection, work in a well-ventilated area, keep children and pets away from your workspace, and follow a trusted recipe and lye calculator (such as SoapCalc or Brambleberry) carefully. Don’t improvise with lye measurements or make substitutions without recalculating the entire formula.
You don’t need to be terrified of lye—I certainly don’t want you to wait ten years like I did—but you do need to take it seriously.
This was one of those things I had to learn the hard way: following a recipe is not the same thing as understanding a recipe.
What I’d do Instead
Today, before I make a new batch, I want to know why those particular oils are in the formula, what each one contributes, how the recipe is expected to behave, and whether I have enough working time to make the design I’m planning.
And if I’m going to change an ingredient?
I run the new formula through a reliable soapmaking calculator rather than guessing.
Because there’s a big difference between experimenting and just winging it.
And trust me, I’ve done enough winging it to know which one keeps you from standing over a mold of questionable soap wondering where it all went wrong.
Mistake #2: Measuring Ingredients by Volume Instead of Weight
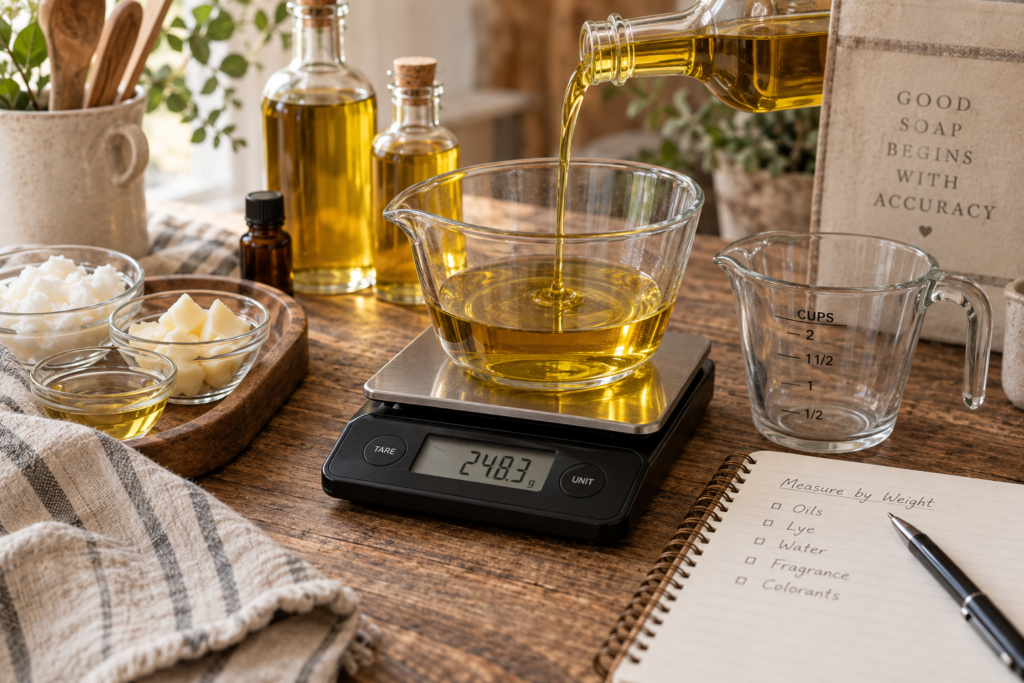
Another mistake I made early on was thinking, A cup is a cup.
If a recipe called for a cup of oil, I reached for a measuring cup. Makes sense in regular cooking, right?
Not in soapmaking.
Soapmaking is one of those hobbies where your kitchen measuring cups need to stay in the kitchen. Your soapmaking scale is your friend.
When you’re making soap, ingredients should be measured by weight, not volume. Oils have different densities, and a cup of one oil does not necessarily weigh the same as a cup of another. The same goes for other ingredients.
And when you’re working with lye, precision matters even more.
A small measuring difference that wouldn’t matter much in a batch of cookies can matter in a chemical reaction like soapmaking. That’s why a good digital scale is one of the first pieces of equipment I’d recommend buying.
What I’d do Instead
You don’t need an expensive, fancy setup. You need a scale that measures accurately in grams and ounces (this is the one I use) and can handle the size of your batch.
And here’s another lesson I learned: don’t eyeball it.
Not the oils. Not the lye. Not the water.
Measure everything carefully, follow your recipe, and if you make a change to the formula, recalculate it before you start.
It might feel a little fussy at first. I know I wanted to just pour, measure, and get on with making the pretty soap.
But there’s something wonderfully reassuring about knowing that every ingredient going into your bowl is exactly what the recipe calls for.
Save the improvising for dinner.
Your soap will thank you.
Mistake #3: Using the Wrong Colorants — Hello, Blue Food Coloring
Remember that first batch of soap I told you about?
The one that was lumpy, uneven, and generally not going to win any beauty contests?
Well, I decided it needed a little color.
Because apparently, making a perfectly good bar of soap wasn’t enough. I needed to make it pretty.
So I grabbed some blue food coloring from the kitchen.
What could possibly go wrong?
Pretty much everything.
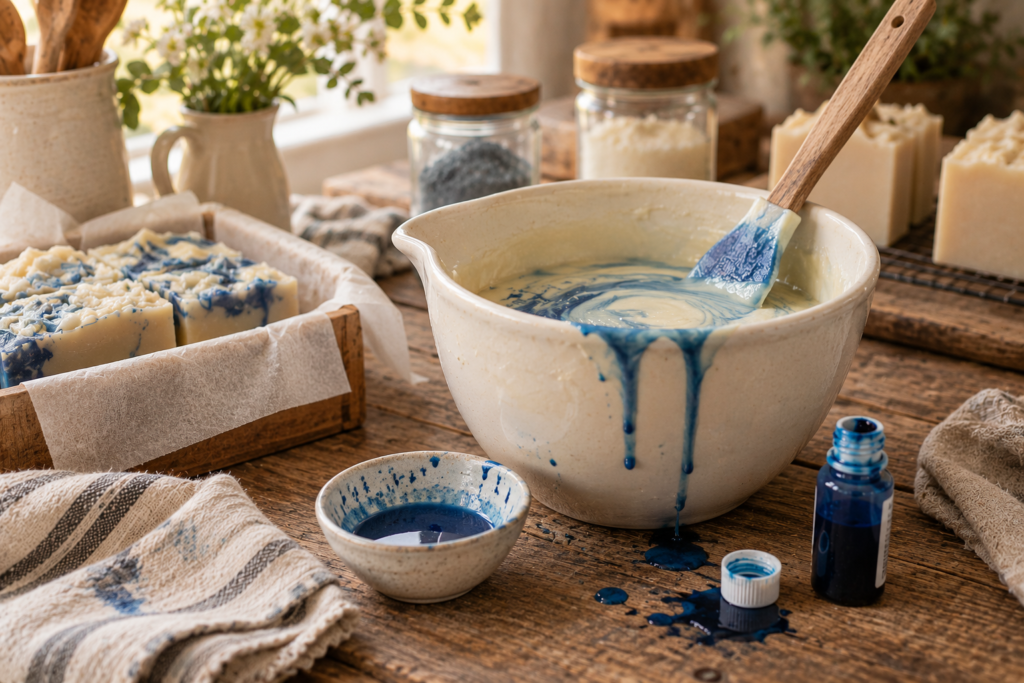
Instead of giving me the lovely blue swirl I had envisioned, the color settled into one of the crevices on top of the soap. When I picked up the loaf, it ran down the side like a tiny blue waterfall.
It was…not the look I was going for.
What I’d do Instead
I learned an important lesson from that batch: not everything that adds color is suitable for soapmaking.
Cold-process soap is a chemical reaction, and colorants need to be chosen specifically with soapmaking in mind. Some colorants can fade, bleed into neighboring colors, morph into completely unexpected shades, or behave differently once they’re exposed to the high-pH environment of fresh soap.
And some simply aren’t meant to be used in soap at all. I remember using a beautiful bright lilac colorant that morphed into the ickiest gray. Please make sure your colorant is made to work with cold-process soap.
Today, there are so many beautiful soapmaking colorants available—micas, oxides, clays, and other colorants formulated for use in soap—that there’s really no reason to raid the kitchen junk drawer.
But even with soapmaking colorants, there’s a little learning curve.
Some colors need to be dispersed before adding them to your batter. Some can accelerate your trace, and some may look completely different in the finished bar than they did when you first mixed them in.
My advice for beginners? Start simple.
Pick one colorant, test it in a small batch, and see how it behaves before planning an elaborate six-color swirl that requires the patience of a saint and the working time of a marathon runner.
And please, don’t be discouraged if your first beautifully planned design doesn’t turn out exactly like the picture in your head.
Mine certainly didn’t.
That blue food coloring may have been a disaster, but it was also part of the learning process. It’s also a very funny memory, because it was really bad, y’all!
And honestly?
I kind of love that ugly little bar of soap for it.
Mistake #4: Over-Blending — When Soap Turns to Cement
This one took me a while to figure out.
When I first started making soap, I thought the goal was to get everything thoroughly mixed and reach trace as quickly as possible.
So I blended.
And blended.
And blended some more.
Because surely if a little blending was good, more blending was better.
Spoiler alert: it wasn’t.
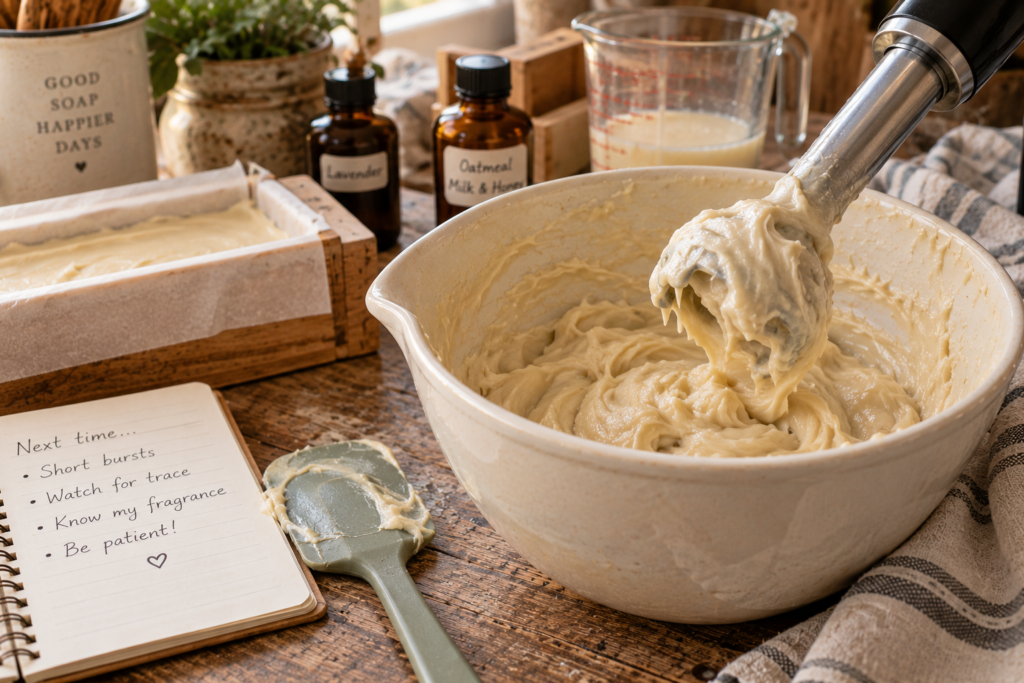
One of the things I didn’t understand yet was that once your oils, lye solution, and other ingredients are combined, the soap batter will naturally begin to thicken as saponification gets underway. How quickly that happens depends on your recipe, your temperatures, your fragrance, and even how aggressively you’re mixing.
And I was impatient.
The problem with continuously running your stick blender is that you can go from beautifully fluid batter to why-does-this-look-like-pudding? surprisingly quickly.
And if you’re trying to make a swirl or another design that requires some working time, that can be a problem.
What I’d do Instead
I’ve learned that you don’t have to keep the stick blender running the entire time. Short bursts of blending followed by gentle hand stirring can give you much more control over how quickly your batter thickens.
You want to bring your batter to the trace your recipe calls for—not see how quickly you can turn it into concrete.
There’s another lesson here, too: know your fragrance oil.
Some fragrances can cause soap batter to accelerate, sometimes dramatically. If you’re making a complicated design, choosing a fragrance that gives you plenty of working time can make the entire process much easier.
These days, before I start a batch, I think about how much time I’ll need to work with the batter. If I’m making a simple one-color soap, a faster trace may not matter much. If I’m attempting a swirl with several colors, I want all the working time I can get.
And if the batter starts thickening faster than I expected?
I stop blending.
Because sometimes the best thing you can do is put the stick blender down and work with what you’ve got. I love florals, but they are notorious for accelerating. I’m not saying all florals do this. I’m saying, they are the most likely to in my opinion.
Ask me how I know.
Mistake #5: Trying to get too Fancy too Soon
I think this one is almost a rite of passage for new soapmakers.
You make a few basic batches, discover that you can actually turn oils and lye into soap, and suddenly you’re looking at soap online thinking, Oh, I can make that.
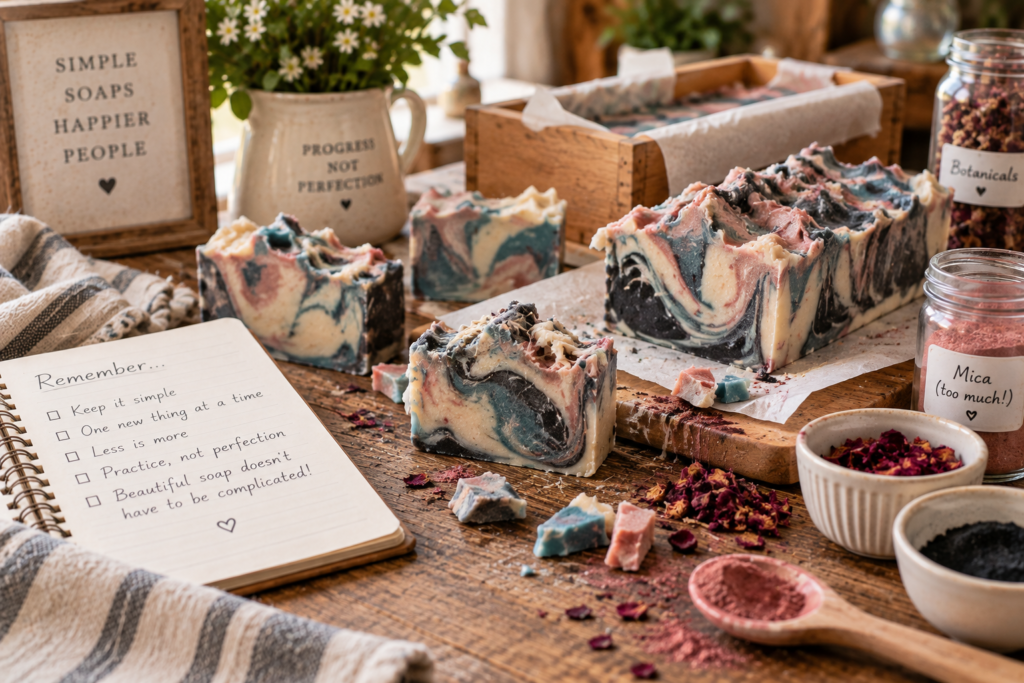
A beautiful three-color swirl.
A layered soap with dried flowers.
A complicated drop swirl.
A soap that looks suspiciously like a slice of cake.
Suddenly, you’re no longer just making soap. You’re attempting a tiny work of art.
And there is absolutely nothing wrong with that.
Except when you’re still learning how to make the soap itself.
One of the biggest mistakes I made was trying to do too much too soon. I wanted the pretty colors and complicated designs before I really understood how my soap batter was going to behave.
The problem is that every extra element gives you another opportunity for something to go sideways.
Your fragrance might accelerate trace. Your colorant might behave differently than expected. Your batter might thicken before you’re finished pouring. Your layers might not cooperate. And that beautiful design you’ve been planning for three days can turn into a very expensive loaf of well…soap.
What I’d do Instead
I’ve learned that there is tremendous value in making a simple bar really, really well.
A one-color bar with a pretty top can be every bit as lovely as an elaborate swirl. And when you know your recipe, understand how quickly it traces, know how your fragrance behaves, and can confidently work with your batter, then it’s time to start playing.
Add a second color.
Try a simple swirl.
Change the shape of your mold.
Experiment with a new technique.
But don’t feel like you have to make something worthy of Pinterest on your third batch.
Learn the basics first. Then make it fancy.
Your soap doesn’t have to be complicated to be beautiful.
And if your first few batches are a little plain?
That’s okay.
Plain soap that works is still soap.
Trust me, I’ve made enough questionable-looking bars to appreciate that particular victory.
A Quick Safety Reminder
Lye is an essential part of traditional soapmaking, but it needs to be handled with care. Always follow proper safety precautions, use appropriate protective equipment, keep children and pets away from your workspace, and follow a properly calculated recipe. When in doubt, stop and double-check before proceeding.
What I Wish I Had Known Before My First Batch
If I could sit down with the woman who was standing in her kitchen ten years ago, terrified of lye and staring at that first ugly batch of soap, I’d tell her to be proud. You overcame an obstacle because you had the courage to try. Now you know you CAN do this and you are going to have so much fun creating. There will be disappointing batches. We all have them. Even those of us who have been soaping for years have them more often than we would like to admit. The great news is. Ugly batches usually still are good useable soaps. You will improve greatly with every batch. You are well on your way. Congratulations! You overcame this hurdle and found that that mountain in your head was really just a teeny-tiny speedbump. Keep going!
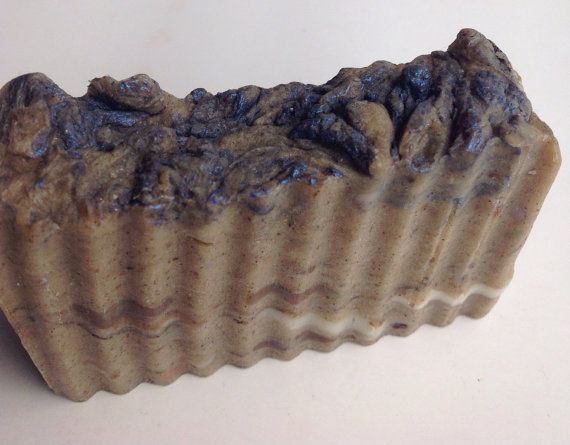
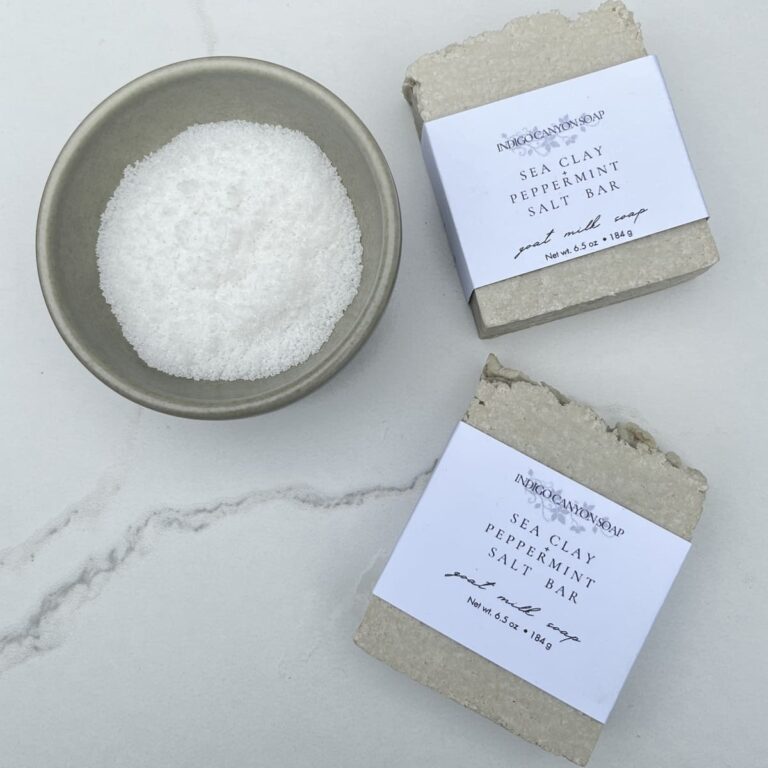
This was my first batch of soap with a rough, canyon-like top and blue food coloring running down the side (I wiped the food coloring off once I realized food coloring does not work for coloring soap, so I smeared blue mica on top). It was objectively ugly. It was also the beginning of Indigo Canyon.
Ready to Give Soapmaking a Try?
If you’ve been intimidated by making soap, I hope this post saves you a few of the mistakes I had to learn the hard way.
More Soapmaking Help
Beginner’s Guide to Soap Making: Step-by-Step Tips
The Best Soap Molds to Transform Your Handmade Bars Instantly
Leave a Reply